Asciinema (pronounced as-kee-nuh-muh) is an open-source lightweight command-line program created exclusively for recording terminal sessions and sharing them with other Linux users through the web using an embedded code or the source file as required. It aims to be a “go-to” place for each terminal user who wants to share their expertise with others. Or putting it differently, it’s a place to show off your skills.
[ You might also like: Exa – A Modern Replacement for ls Command ]
How Asciinema Works
asciinema program is built of various complementary pieces:
- a purely text-based command-line terminal session recorder, asciinema,
- a website with an API at asciinema.org,
- a javascript player
When you run the asciinema rec command in your terminal the recording starts and captures all the output that is being displayed to your terminal while you are executing the commands. When the recording completes (by hitting Ctrl-D or running exit) then the captured output is uploaded to the asciinema.org website and ready for playback on the web.
Install Asciinema in Linux
There are various ways to install asciinema, but we will install it from the default repositories using the system package manager as shown.
Install Asciinema in Debian/Ubuntu & Mint
$ sudo apt-add-repository ppa:zanchey/asciinema
$ sudo apt-get update
$ sudo apt-get install asciinema
Install Asciinema in Fedora/CentOS & RHEL
$ sudo dnf install asciinema
Or
$ sudo yum install asciinema
Install Asciinema in Arch & Manjaro Linux
$ sudo pacman -S asciinema
Install Asciinema in openSUSE
$ sudo zypper in asciinema
Install Asciinema in Gentoo Linux
$ sudo emerge -av asciinema
If none of the above works for you, then you need to install it from the source by cloning the repo and run the latest version of asciinema:
$ git clone https://github.com/asciinema/asciinema.git
$ cd asciinema
$ python3 -m asciinema --version
Once the asciinema installation completes, you can move forward to learn the basic usage of this software as shown.
Basic Usage of Asciinema in Linux
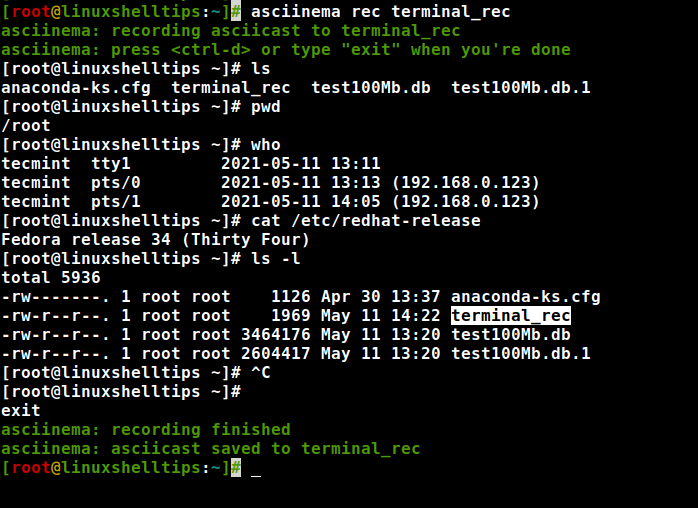
To start recording your terminal session, you will run the following command.
$ asciinema rec terminal_rec
Now execute whatever commands that you wish to record. Once you are ready to end the recording, just use the Ctrl + D or type exit. Here’s what this looks like.
To play a recorded file locally, run:
$ asciinema play terminal_rec
In order to share your terminal recordings with other users, you need to first upload the file to the asciinema.org site by running:
$ asciinema upload terminal_rec
To work this, you need to create an account and authenticate your terminal with your account on the asciinema website. For more information on how to do this, visit the auth section bottom of the webpage.
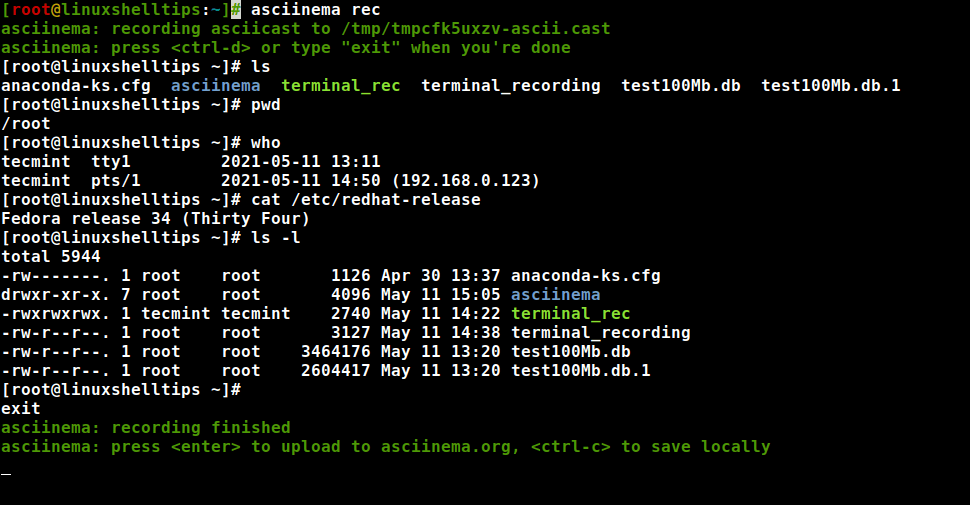
Alternatively, you can start recording without specifying the filename, then the resulting recording by default uploaded to asciinema.org, where it can be watched and shared.
$ asciinema rec
Once you have uploaded your recordings, you can log into your asciinema account and view them. Once you are here, it’s as simple as grabbing the embed code or URL and share with other members.