Setting up a Linux distribution from scratch is not an easy thing. When I am a newbie to Linux I Installed Linux Mint on my laptop and spent weeks setting up all my development tools, packages, and customized my desktops.
After few weeks my OS crashed and I was not able to recover from it because I haven’t got any backup. At this point, I searched for good backup solutions in Linux and found many programs that do similar work. One such program is Timeshift.
[ You might also like: How to Backup Linux Filesystem Using dump Command ]
Timeshift is a backup and restore utility that is based on Rsync and Hardlinks. Timeshift can be used in both GUI and CLI mode. It backups your entire file system in an incremental approach. Timeshift is not good for backing up your home directory. The home directory is where all our personal files are stored.
In any case, if you restore the backup from timeshift then all the data in your home directory will be reverted to the previous state. So it is always a good solution to use a separate solution to take a system-level backup and home directory backup.
How to Install Timeshift in Linux
Timeshift comes by default in Linux Mint. Check if your distribution has a timeshift by default or use the below method to install a timeshift.
For Ubuntu-based distributions, timeshift can be installed from Launchpad PPA.
$ sudo add-apt-repository -y ppa:teejee2008/ppa
$ sudo apt-get update
$ sudo apt-get install timeshift
To Launch timeshift open your start menu and search for timeshift.
How to Use Timeshift to Backup Linux
As foretold timeshift can be used in both GUI and CLI mode. Here our focus will be on GUI mode. Once you open timeshift it will take you through the setup wizard.
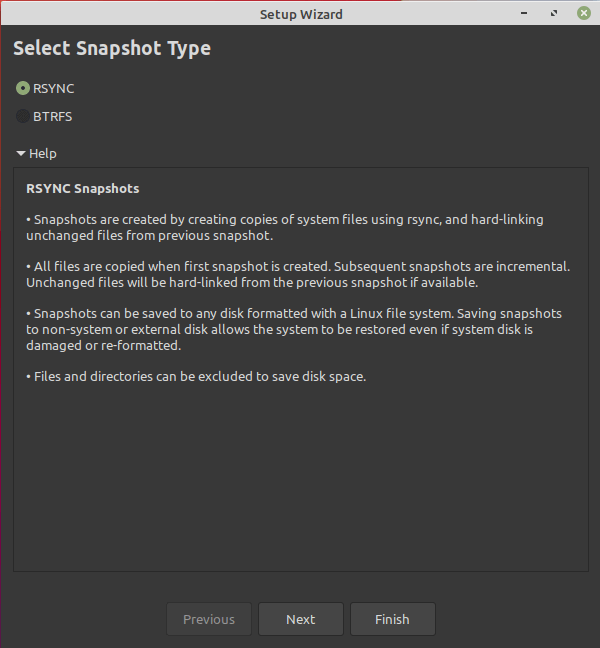
Choose Snapshot Type
Timeshift supports the BTRFS file system. Depending upon your file system you choose your preference. I am choosing “RSYNC” since I am not using BTRFS.
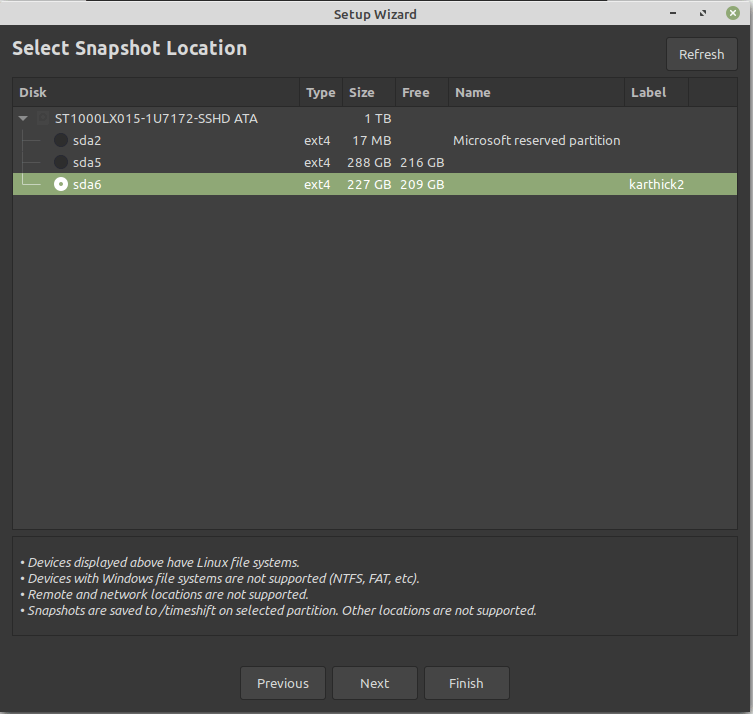
Choose the Snapshot Location
Choose a location where your snapshots will be stored. It is always advisable to choose a separate drive. If you just have a single drive create a separate partition and store it.
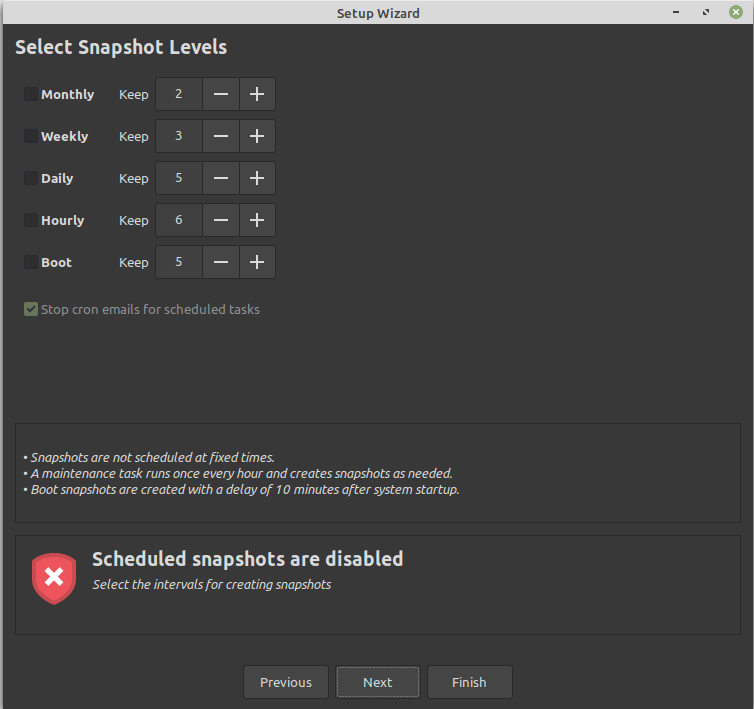
Create a Backup Schedule
Next step, you have the option to choose a backup schedule like Monthly, Weekly, Daily, Hourly, and Boot. Based upon the selection cron entries are created and backups are taken periodically.
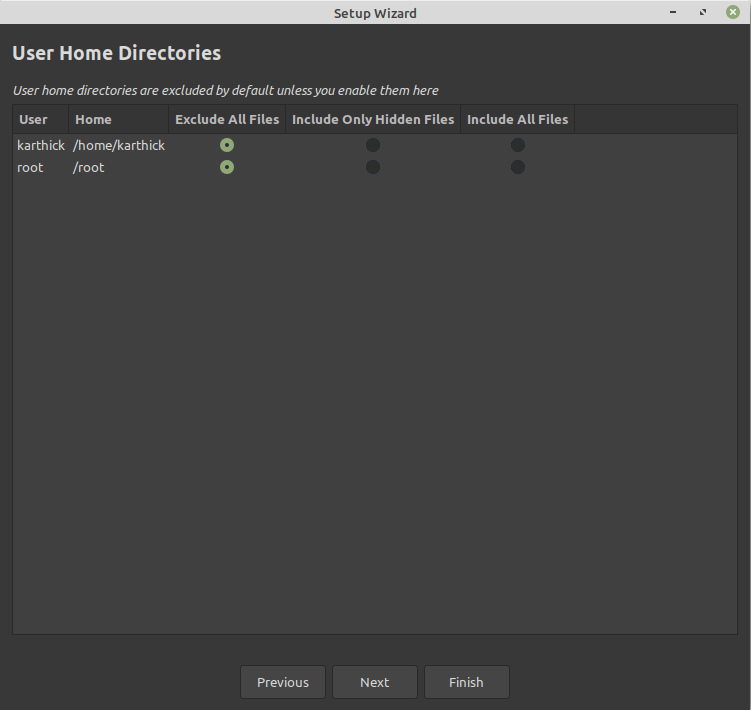
Include/Exclude Home Directory
In this step, you have to choose whether to include backing up your home directories too. I always exclude it since there are other solutions to backup and restore home directories alone. Depending upon your case you can choose the option.
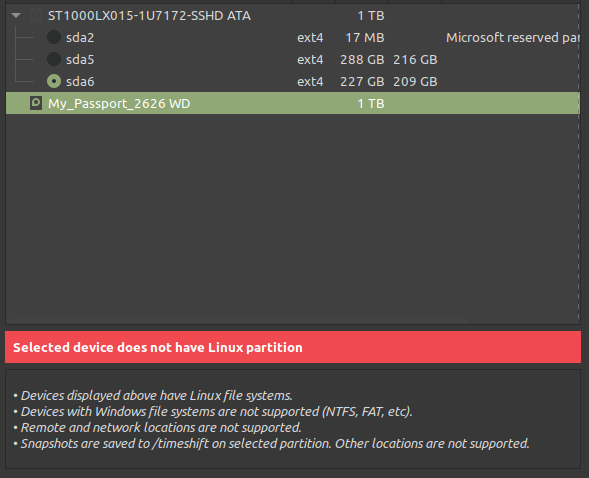
Click Finish and setup is completed. An important point to be noted is you cannot write the backup to non-Linux partitions. From the below image you can see I tried choosing my external hard disk which is not a Linux partition.
Take a Linux Backup
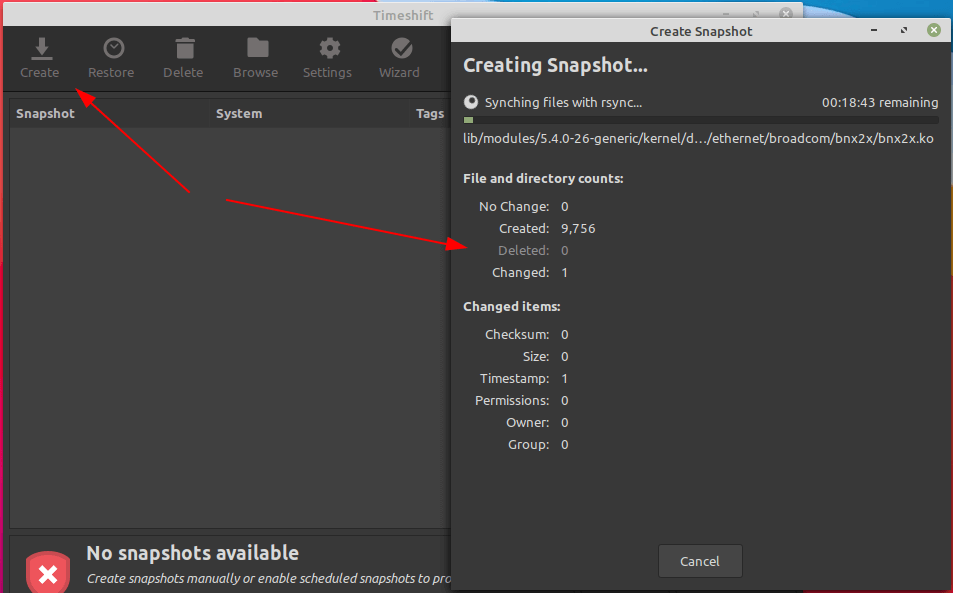
Once all the above steps are completed, you will get the main menu of timeshift from where you can create, restore, delete and browse snapshots. Click “Create” to take the snapshot. If you run it for the first time it will take some time. From the second time, it will complete fast as it will just take incremental backup.
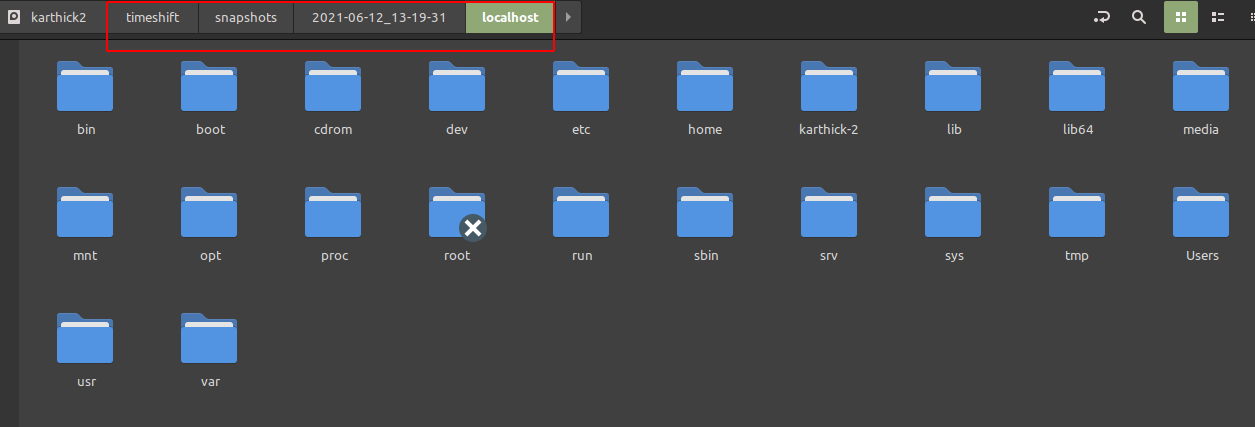
Go to the location where you choose to store the backup. You will find a snapshot directory created. If you are doing an Adhoc backup as I did now it will be stored under the snapshots directory. Other snapshot directories are for scheduled backups.

Go inside the Snapshots directory and you can see your entire file system is captured.
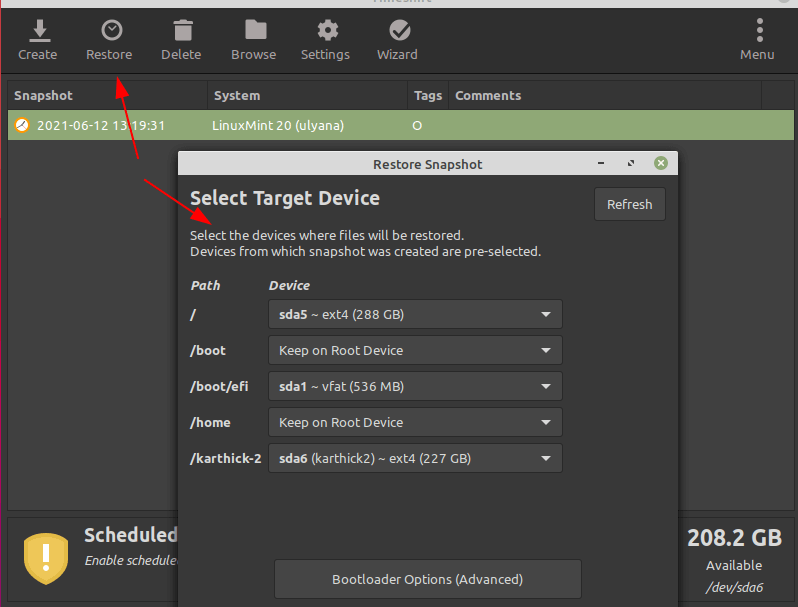
How to Use Timeshift to Restore in Linux
Restoring snapshots are simple when the machine is running fine. If you have an issue in booting up the machine then you need to use Ubuntu Live USB or DVD. Once you boot into the live image install timeshift and use the existing backup to restore the system.
That’s it for this article. Creating a backup strategy is very important for anyone who uses Linux. There are many other tools similar to timeshift. If you have any experience with other tools that work well as timeshift share it with us in the comment box.