As a Linux system administrator, various operating system responsibilities demand that you should always be a few steps ahead in terms of your administrative prowess.
One of them is ensuring your WordPress site’s user-related and system-related database backups are scheduled and made on time. There are several reasons why you need to schedule and make several database backup copies. One of them is data security and the other one is data integrity.
Data security protects system users from losing their cumulative site information because of circumstances related to bugs in the website’s source code, server hardware failures, and even programming errors.
On the other hand, data integrity is a coping mechanism from hackers that may have illegally accessed your WordPress site and changed some information or tried to extract sensitive user and system data.
Backing Up Your WordPress Database via MySQL
To successfully backup your WordPress database, you need to familiarize yourself with a special SQL command called mysqldump. This command, (mysql+dump), makes use of other associated MySQL database commands syntax to generate text dumps of the targeted user or system database records. The resulting SQL dumps can be used to re-generate an original copy of the already existing WordPress database.
mysqldump Command Syntax
From the below command syntax, you can give dump_file_name.sql any name you like as it will be regenerated each time you re-run another mysqldump command instance to create a new MySQL database backup file.
$ mysqldump -u [your_username] -p [your_database_name] > [dump_file_name.sql]
In this article, we are going to look at three approaches to MySQL database backup using the mysqldump command:
- Backing Up a Single MySQL Database Record.
- Backing Up Multiple MySQL Databases Records.
- Backing Up All MySQL Databases Records.
Identifying MySQL Database(s) to Backup
Log in to the MySQL command-line as root database user.
$ mysql -u root -p
Display all the available databases so that it would be easier to identify the ones whose records your backup.
MariaDB [(none)]> SHOW databases;
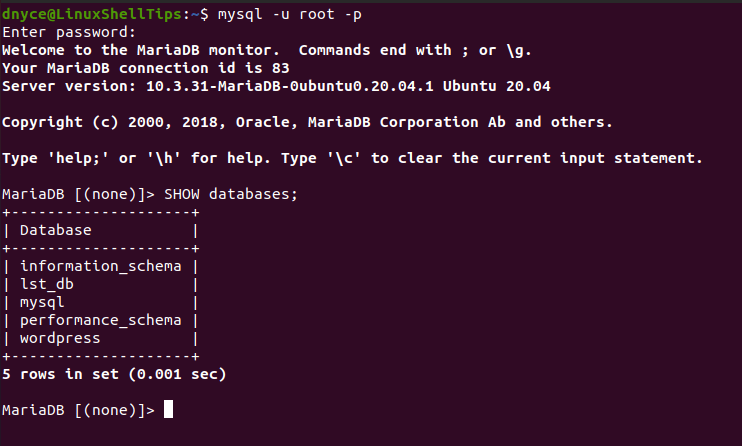
From the above screen capture, there are five existing MySQL databases. Let us now work on achieving the three mentioned MySQL database backup approaches. First, create a backup directory that will be hosting your generated WordPress database copies:
$ mkdir WordPress_DB_BackUps
$ cd WordPress_DB_BackUps
Backing Up WordPress Database
In reference to the mysqldump command syntax, we need to specify the database user, the database password, the targeted database name, and the name of the .sql extension file where the generated WordPress database copy will reside.
In this case, let us try to backup the wordpress database.
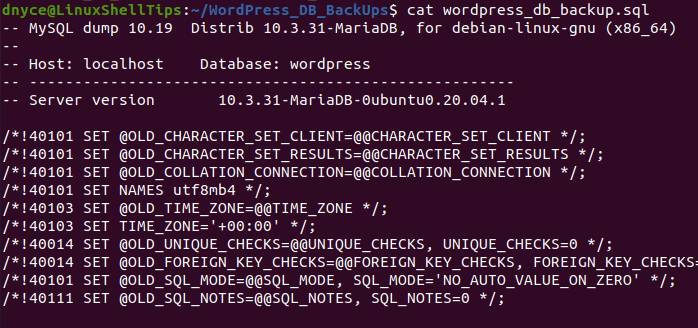
$ mysqldump -u root -p wordpress > wordpress_db_backup.sql
Confirm that the database backup file was generated.
$ cat wordpress_db_backup.sql
Backing Up Multiple MySQL Databases
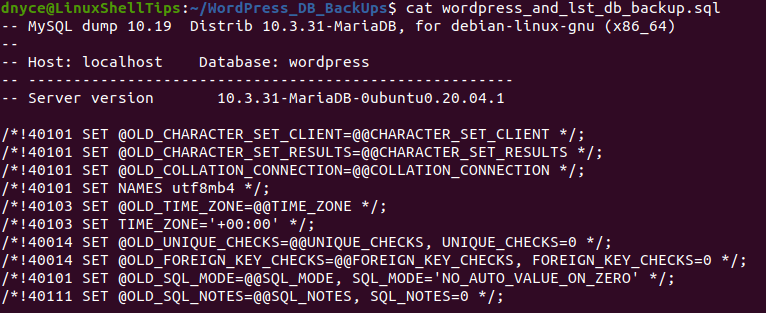
Let us try to backup both wordpress and lst_db databases.
$ mysqldump -u root -p --databases wordpress lst_db > wordpress_and_lst_db_backup.sql
Confirm that the two databases’ backup file was generated.
$ cat wordpress_and_lst_db_backup.sql
Backing Up All MySQL Databases
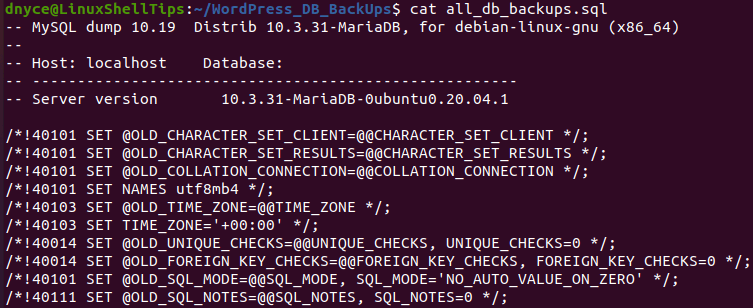
Let us try to backup all the databases.
$ mysqldump -u root -p --all-databases > all_db_backups.sql
Confirm all databases backup file was generated.
$ cat all_db_backups.sql
When it comes to backing up a MySQL database, you can choose to back up a single database, multiple databases, or all databases. The MySQL CLI power is in your hands now.