Under Linux file management, flexibility is key. When dealing with a single file copy required in multiple directory destinations, we do not want to waste too much time re-inventing the targeted directory paths before all of them have the intended file copy.
For standard file/directory copying operations, the Linux cp command is used.
This tutorial will walk us through various Linux-based approaches to copying a single file to multiple directory locations in Linux.
Problem Statement
To make this tutorial interesting, we will create a random file and some random directories to which a copy of the created file will be sent.
$ touch to_be_copied.txt
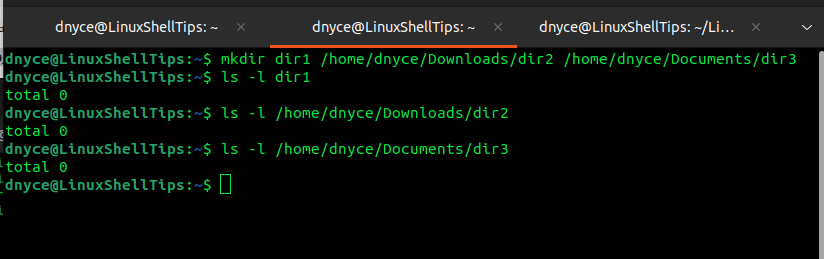
As for the random directories, we are going to create three random directories (dir1, dir2, and dir3) to exist in three different locations.
$ mkdir dir1 /home/dnyce/Downloads/dir2 /home/dnyce/Documents/dir3
We can now start looking at the approaches of copying a single file to these three directories instantaneously.
1. Using Shell loop and cp Command
Consider the following shell loop implementation for copying the single file we created into the three directories.
$ for i in /home/dnyce/dir1 /home/dnyce/Downloads/dir2 /home/dnyce/Documents/dir3; do cp to_be_copied.txt ${i}/; done
Make sure you indicate the absolute path to the targeted directories.
In the above shell loop, the three directories are assigned to the variable i before the do statement is executed to copy our file to those three directories.
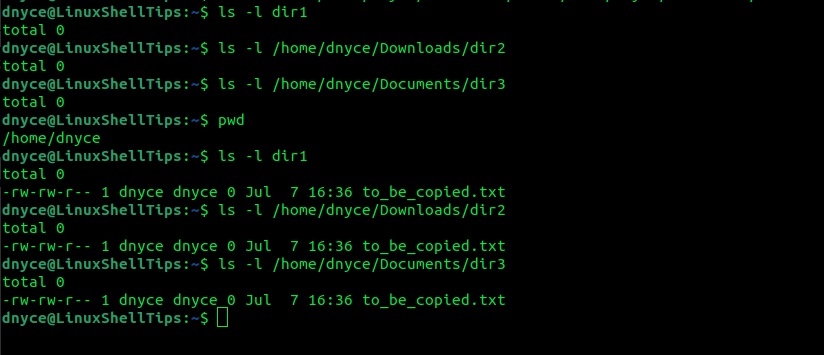
Confirm that the file was copied to the three directories.
$ ls -l dir1
$ ls -l /home/dnyce/Downloads/dir2
$ ls -l /home/dnyce/Documents/dir3
2. Using find and cp Commands
By default, the Linux find command is effective in querying the possibility of a file existing within a directory hierarchy.
We can implement the find and cp commands in the following manner:
$ find /home/dnyce/dir1 /home/dnyce/Downloads/dir2 /home/dnyce/Documents/dir3 -maxdepth 0 -type d -exec cp to_be_copied.txt {} \;
Any existing file with a similar name within the targeted directories will be overwritten.
- -maxdepth is set to 0 so that the find command does not extend its search into existing subdirectories if any.
- -type d specifies that we are dealing with a directory.
- -exec executes the cp command which copies our file to the searched and found directories.
3. Using echo, xargs, and cp Commands
The xargs command will reference a standard output before building and executing associated command lines. As for the echo command, we will use it to identify the directory locations where our single file copy will be sent.
The implementation of the above three commands is as follows:
$ echo /home/dnyce/dir1 /home/dnyce/Downloads/dir2 /home/dnyce/Documents/dir3 | xargs -n 1 cp to_be_copied.txt
The echo command is piped to the xargs command which takes the directory paths as arguments and appends them one by one (-n 1).
4. Using tee Command
Basically, the tee command takes a logically valid input from standard input and writes the result to file(s) and/or standard output. Its implementation in our case is as follows:
$ tee /home/dnyce/dir1/to_be_copied.txt /home/dnyce/Downloads/dir2/to_be_copied.txt /home/dnyce/Documents/dir3/to_be_copied.txt < to_be_copied.txt
As you have noticed, we have specified the name of the file to be copied inside targeted directories because the tee command does not take a directory name as an argument.
Know of other cool ways to copy a file to multiple directories on Linux? Don’t hesitate to leave a comment or feedback.