The Redhat Enterprise Linux (RHEL) ecosystem hosts several interesting Linux-based OS distributions. The OS pair AlmaLinux and Rocky Linux are exciting replacements for the discontinued CentOS distribution.
RHEL 8, AlmaLinux, and Rocky Linux systems are increasingly being sorted after by many Linux users due to the performance footprints they offer.
[ You might also like: How to Create a Sudo User in Ubuntu Linux ]
The main users of an operating system environment can be categorized into the root (Sudoer) users and non-root users. Root users have full control of the operating system environment and can create other users in addition to managing the OS’s applications, processes, and configurations. The non-root users have limited interactions with an operating system environment.
As the root user of your Linux system, you will at one point need to give other non-root users more OS privileges and execution power. For this step to happen, these normal OS users will need to be graduated to Sudo users.
Make sure you have Sudoer/root user access privileges on your system before proceeding with the article guide.
Creating a New Sudo/Sudoer User in Linux
The term Sudo is an abbreviation for the superuser do or substitute user do. The directory path /etc/sudoers hosts existing Sudoer users’ security policy associated with their warranted privileges.
To create a new user from scratch, execute the following command.
$ sudo adduser linuxshelltips_tutor
The above command will create a non-root user called linuxshelltips_tutor.

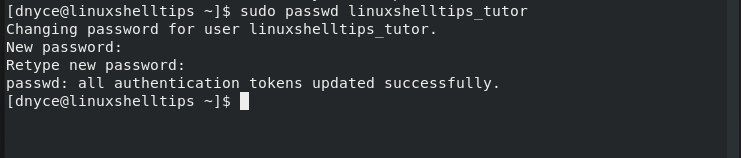
Next, we need to assign this new user a login password.
$ sudo passwd linuxshelltips_tutor
We now have two options of making your exiting/created Linux user a Sudoer-privileged user.
Option 1: Add User to Sudo Wheel Group
Only wheel group members are granted Sudo access and privileges. To make user linuxshelltips_tutor a member of this wheel group, we will implement the usermod command in the following manner.
$ sudo usermod -aG wheel linuxshelltips_tutor
With the above command execution, we have made linuxshelltips_tutor a Sudoer user.
Option 2: Editing /etc/sudoers File
This file lists all the users on your system and their customizable access and privileges. We can modify this file to make our newly created user a Sudoer user in the following manner.
First, open the file with your preferred command-line editor.
$ sudo nano /etc/sudoers file
At the bottom of this file, we will modify it in the following manner in order to make linuxshhelltips_tutor a Sudoer user.
linuxshelltips_tutor ALL=(ALL:ALL) NOPASSWD:ALL
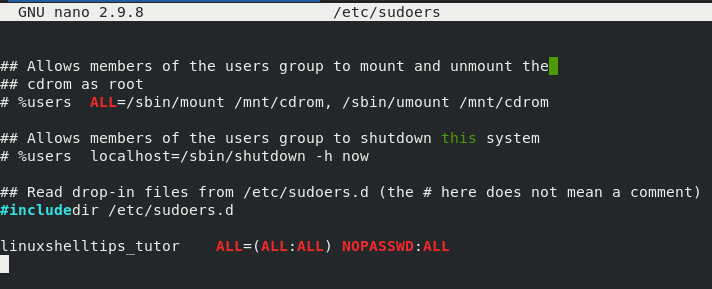
The NOPASSWD portion of the above entry will not require the linuxshelltips_tutor user to adhere to any password authentication protocol when executing sudo-associated terminal commands.
Testing Sudoer User Access in Linux
We need to confirm that we indeed created a Sudoer user. The first Sudoer user test can be performed with the following commands.
$ su linuxshelltips_tutor
$ sudo whoami

You can even switch to the new user’s home directory before executing the whoami command.
$ cd ~
$ sudo whoami
As the command output suggests, we are dealing with a root user.
Alternatively, listing the contents under /root should also confirm that we are dealing with a root/sudo user. The content of the /root path cannot be displayed under a non-root user profile.
$ sudo ls -la /root
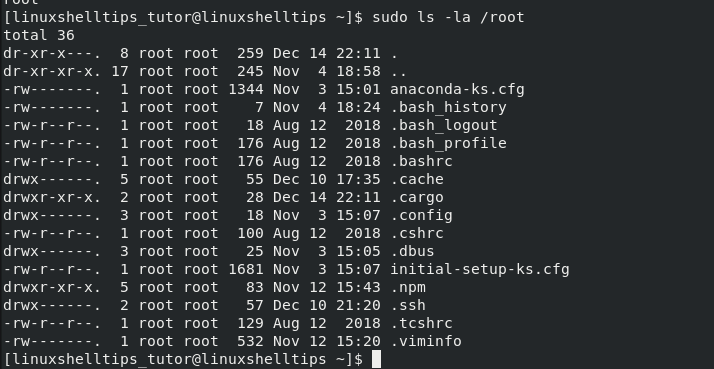
A Sudo/Sudoer user has exclusive Linux OS privileges which are not availed for a non-Sudo user. This user has more control in their assigned OS role.