In this tutorial, we will see how to create a new user in Ubuntu 20.04 and how to grant sudo access to the user. As you may be aware, any users who want to run commands that require root privileges need to either switch to the root account and submit the command or they should be part of the sudo group.
[ You might also like: How to Disable SSH Login to Specific User in Linux ]
Sudo allows you to run commands that require elevated privileges without switching into the root account. Also with sudo, we can control which user can have access to which set of commands.
Create a User in Ubuntu
we will create a new user named ubuntu20 and grant him sudo privilege. To create the user run the following command.
$ sudo adduser ubuntu20

Try switching as an ubuntu20 user and try running the apt command, it will fail since it requires root privilege.
$ su - ubuntu20
$ apt-get update
$ exit

Add User to Sudo Group
Now you need to add ubuntu20 to the sudo group. Any user that is part of the sudo group is granted sudo privilege.
$ usermod -aG sudo ubuntu20
To verify if a user is added to the sudo group run the id command.
$ id ubuntu20

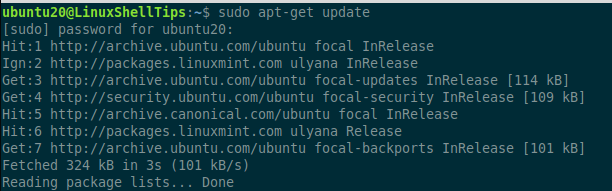
Now you can run any command that the root user can run. Let’s try running the same apt command with sudo.
$ su - ubuntu20
$ sudo apt-get update
Change Default Sudo Password Timeout
Every time when you run sudo you will be prompted for a password. But an important thing to note is sudo will cache the password for some time once you run any command.
[ You might also like: How to Change or Set User Password in Linux ]
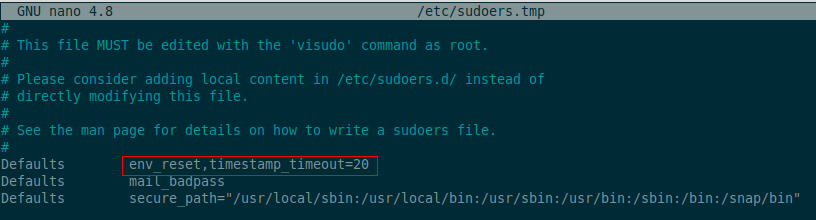
So if you try to run any other commands immediately you won’t be asked to enter the password. This feature is controlled by the below parameter. By default, it is set to 15 mins.
$ sudo visudo
The default is 15. You can set this parameter to 0 to always ask for a password.
e until the system is rebooted.
Defaults env_reset,timestamp_timeout=15
You can also disable the password for the sudo command. To do so, you have to use the visudo command which will open the sudo configuration file.
$ sudo visudo
and add the following line as shown in the image.
ubuntu20 ALL=(ALL) NOPASSWD: ALL

That’s it for this article. Sudo is very important in securing your Linux system. Knowing how to work with sudo is mandatory for everyone who is working with Linux OS.