You are never fully integrated into the Linux operating system fraternity until you have tested your text editing skills on the Vim editor. A newbie’s first interaction with the Vim text editor can be very discouraging.
The cursor behavior of the vim editor is not as predictable as the one in other text editing environments. This cross-platform editor is available for installation and usage in almost all Linux operating system distributions. It is certainly available in all the latest Linux OS distribution releases.
This article will familiarize us with cutting, copying, and pasting text under the Vim editor environment in Linux.
Install Vim Text Editor in Linux
Vim editor can be installed on your Linux operating system distribution by referencing one of the installation commands:
$ sudo apt install vim            [On Debian, Ubuntu and Mint]
$ sudo yum install vim            [On RHEL/CentOS/Fedora and Rocky Linux/AlmaLinux]
$ sudo emerge -a app-editors/vim  [On Gentoo Linux]
$ sudo pacman -S vim              [On Arch Linux]
$ sudo zypper install vim         [On OpenSUSE]
How to Use Cut, Copy, and Paste in Vim Editor
With the Vim editor successfully installed on our Linux OS distribution, we can address its cut, copy, and paste functionalities.
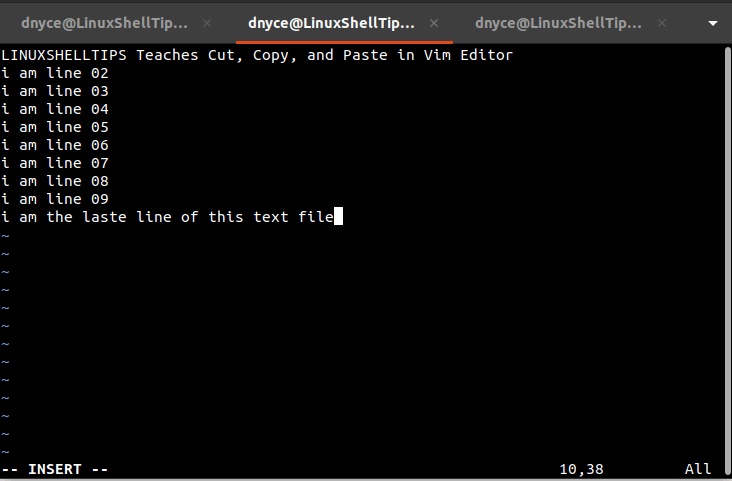
Open the vim editor with the following command and create a sample text stream.
$ vim vim_demo.txt
Press [i] key on your keyboard to start inserting text (Insert mode) on your file.
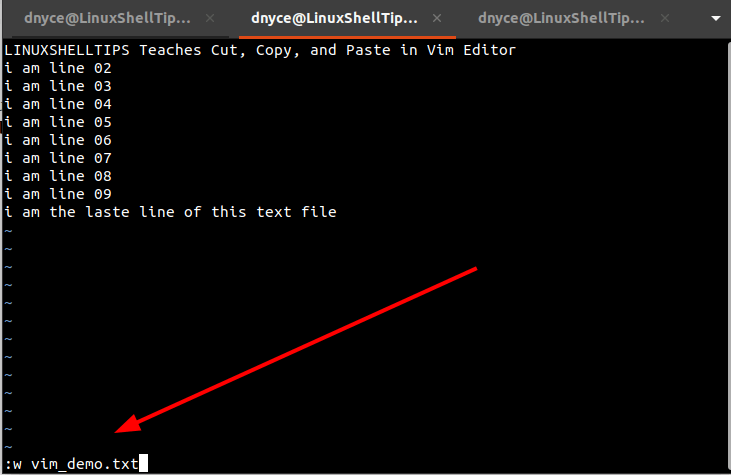
Let us save the file. Press the [Esc] key to switch to command mode followed by the [:w] key combination to save our file without closing it.
How to Cut Text(s) in Vim Editor
Remember to press the [Esc] key to switch to command mode and consider the following illustrations:
How to Cut Current Line in Vim
Let us assume the cursor is on line i am line 09. The current line with the cursor (including the newline character) can be cut with the keyboard entry dd.
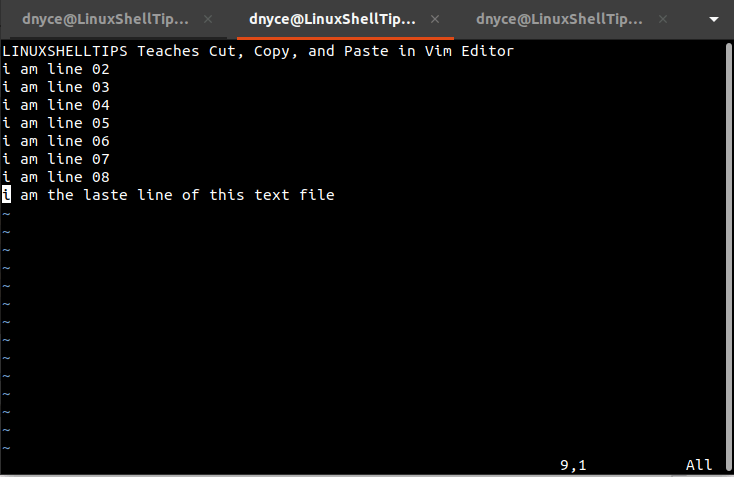
We have cut i am line 09.
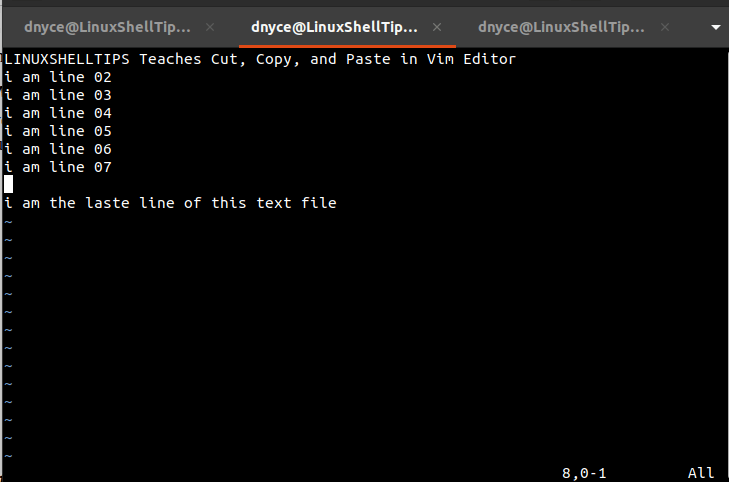
How to Cut Selected Line in Vim
Move to the preferred line using the Up and Down keyboard keys and insert the keyboard entry d$ to cut it. Let’s remove line i am line 08.
How to Cut Multiple Lines in Vim
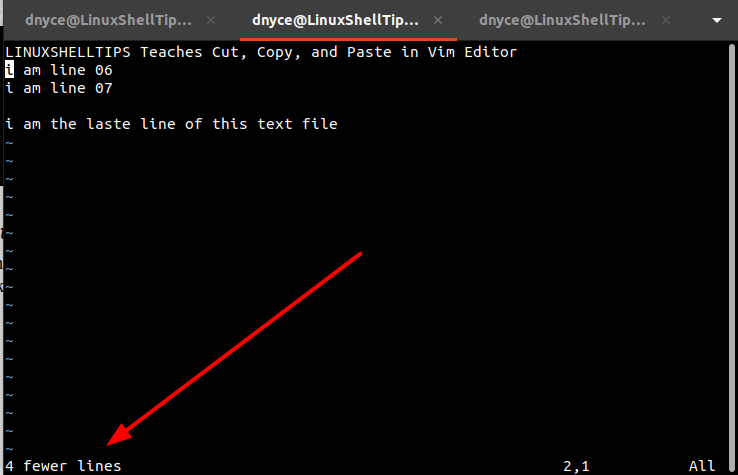
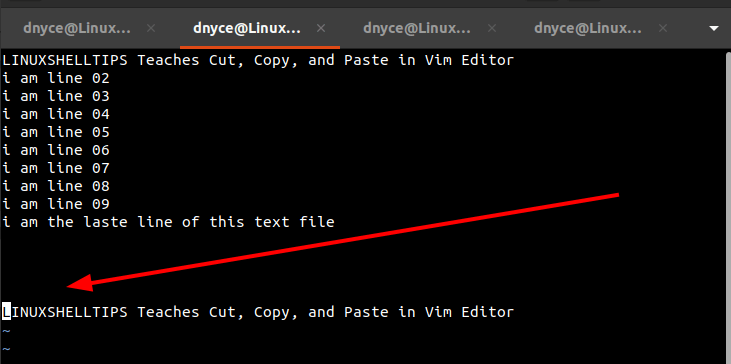
With the cursor positioned at line i am line 02, we can cut to line i am line 05 (4 lines in total) with the keyboard entry 4dd.
How to Copy Text(s) in Vim Editor
Firstly, the cursor should be moved to a preferred position while in command mode [Esc].
How to Copy Line in Vim
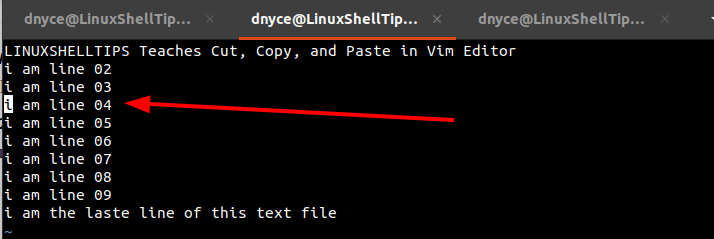
Assume the cursor is currently on i am line 04 and we can copy it with the keyboard entry yy.
How to Copy Multiple Lines in Vim
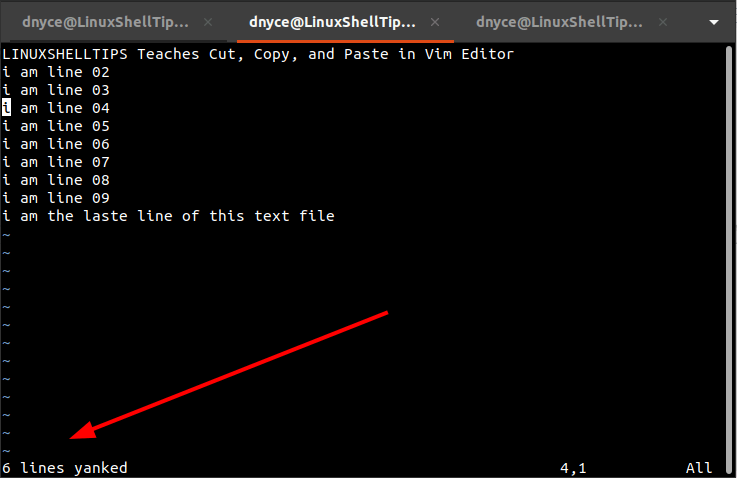
To copy from i am line 04 to i am line 09 (6 lines), invoke the keyboard entry 6yy.
Copy from Cursor to End-of-line in Vim
In this case, the cursor might be positioned in the middle of a line and invoke the keyboard entry y$.
To copy from cursor to start-of-line, assuming the cursor is somewhere in-between a targeted line, invoke the keyboard entry y^.
How to Paste Text(s) in Vim Editor
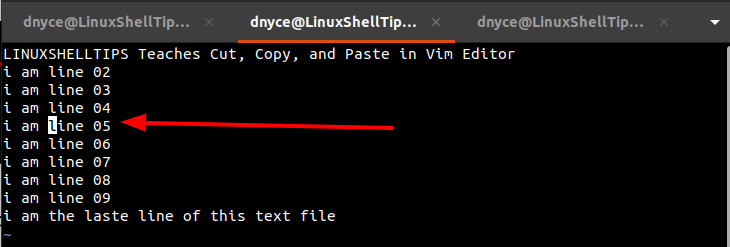
Move the cursor to the location new file you wish to paste the cut/copied text(s) and invoke the keyboard entry p (text will appear after cursor) or P (text will appear before cursor).
[ You might also like: How to Search and Replace Text in Vim Editor ]
We now understand how to use cut, copy, and paste commands in Vim editor.