The same way a file manager organizes your files and documents is the same way a media server manages media files like music videos, TV shows, photos, and movies.
Jellyfin is a media server that goes the extra mile in managing and organizing media files. It even makes it possible to stream these files on other PCs, TVs, or phones so long as these media devices are connected to the internet or the same network.
This article seeks to walk us through the installation and usage of the Jellyfin media server in Ubuntu, Debian, and Linux Mint.
Jellyfin Media Server Features
- Jellyfin Media Server is a free and open-source application. You do not have to worry about playback limit or ads while using it.
- Jellyfin supports automatic recording for Live TV users. This feature ensures you do not miss your favorite TV episode just because you were away.
- It automatically fetches TV shows or movie metadata and artwork like viewer ratings from popular platforms like Rotten Tomatoes, TheMovieDB, and TheTVDB.
- Jellyfin is expansible. You can therefore benefit from additional features by installing its optional plugins.
- Through FFMpeg, Jellyfin supports video encoding/encoding hardware acceleration.
- Jellyfin also supports DLNA.
Installing Jellyfin in Ubuntu, Debian, and Mint
The first step is to include Jellyfin’s repository in your operating system so that its installation command can reference it while retrieving the needed packages.
First, make sure to update your system.
$ sudo apt update
Next, install the Jellyfin repository with the following command:
$ echo "deb [arch=$( dpkg --print-architecture )] https://repo.jellyfin.org/$( awk -F'=' '/^ID=/{ print $NF }' /etc/os-release ) $( awk -F'=' '/^VERSION_CODENAME=/{ print $NF }' /etc/os-release ) main" | sudo tee /etc/apt/sources.list.d/jellyfin.list
Next, import the Jellyfin GPG key with the following command.
$ wget -O - https://repo.jellyfin.org/jellyfin_team.gpg.key | sudo apt-key add -
The key plays an important role when the APT package manager wants to verify the integrity of the Jellyfin Media Server installation we will be initiating soon.
As you might have noted, Jellyfin’s repository is associated with HTTPS connections. To avoid any complications while trying to install it, we should first install the ca-certificates and apt-transport-https packages.
$ sudo apt install ca-certificates apt-transport-https
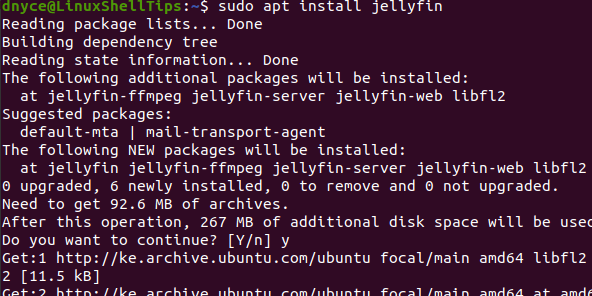
Next, update your system again and install Jellyfin Media Server with the following commands.
$ sudo apt update
$ sudo apt install jellyfin
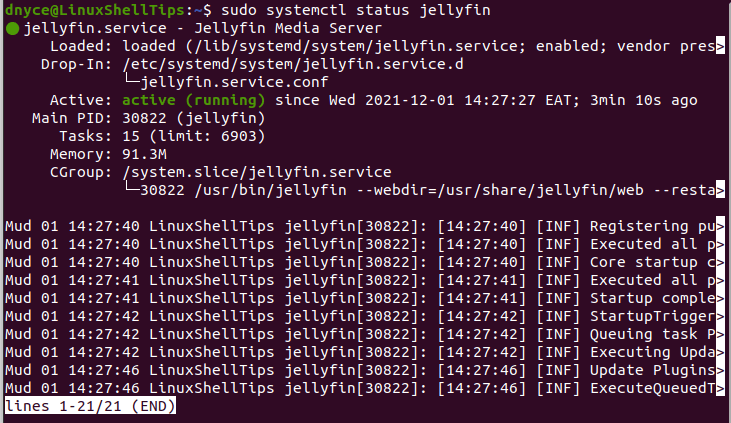
Once installed, you can start and enable Jellyfin so that it keeps running even after your system reboots. Also, make sure to check the status of Jellyfin.
$ sudo systemctl start jellyfin
$ sudo systemctl enable jellyfin
$ sudo systemctl status jellyfin
Jellyfin Media Server Setup and Configuration
We can easily access Jellyfin from the web browser through port 8096. If you are using Jellyfin on the same machine that has it installed, its web access address is:
http://127.0.0.1:8609
or
http://localhost:8096
If you are trying to access Jellyfin from a remote machine that is on the internet or on the same network as the machine hosting it, you will need to specify this machine’s IP address in the following manner:
http://machine-ip-address:8096
The localhost access will look like the following:
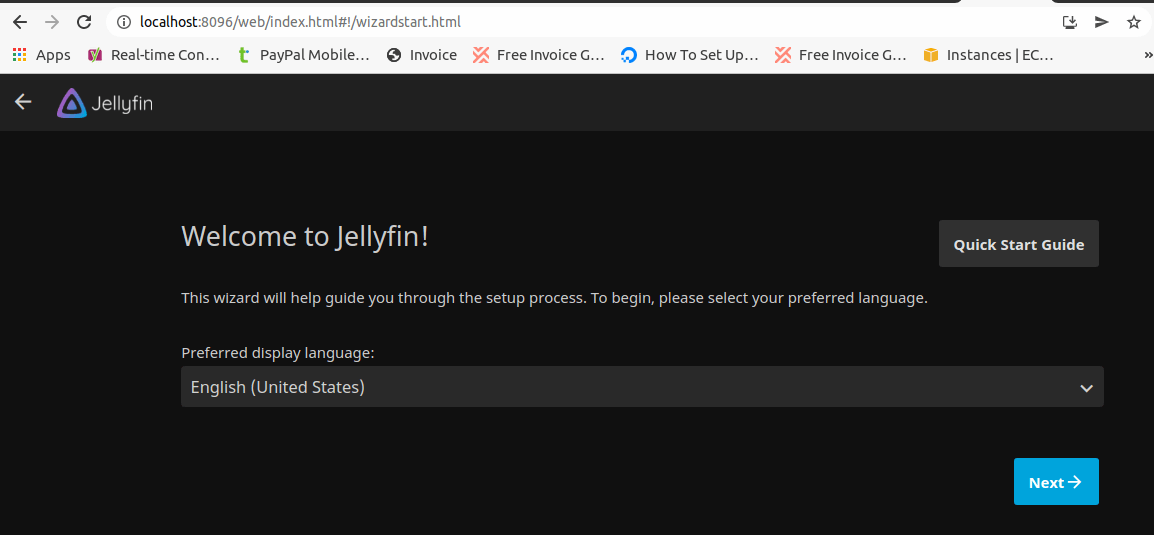
Click next to set up your preferred Jellyfin username and password.

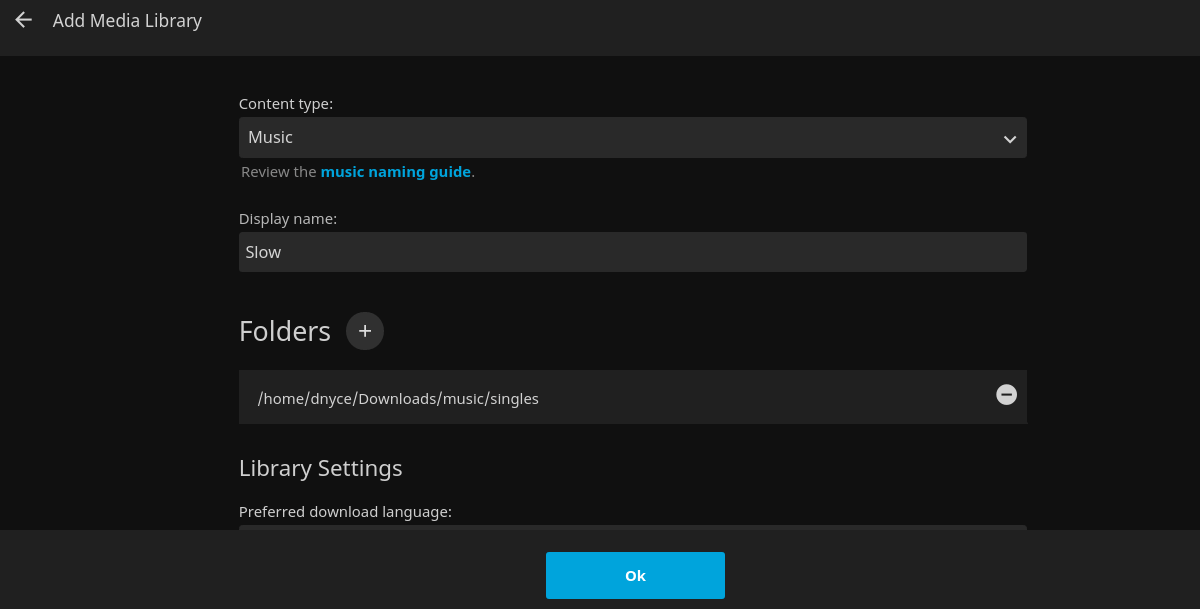
Click the + sign to set up your media library.
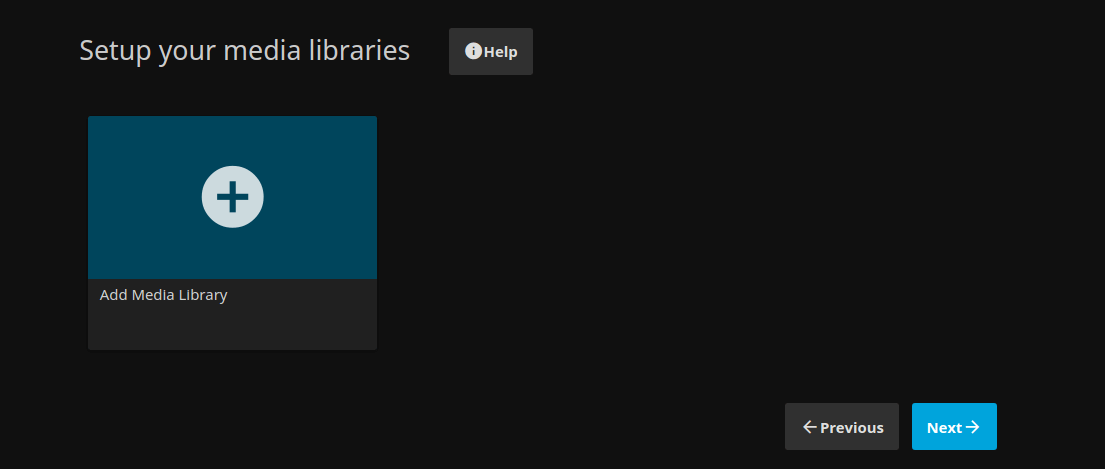
Add a folder preference if you wish and click Ok.
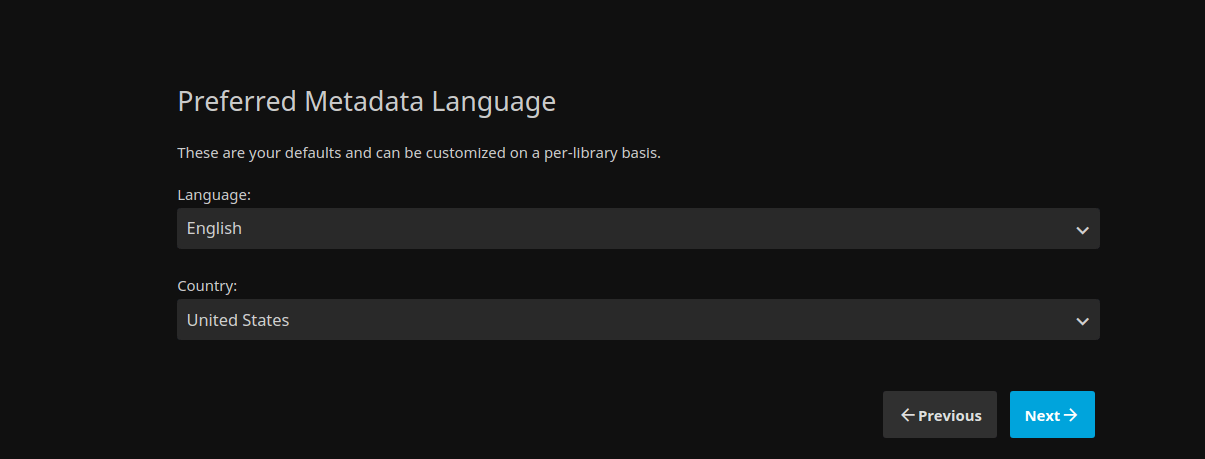
Click Next to set preferred metadata language.
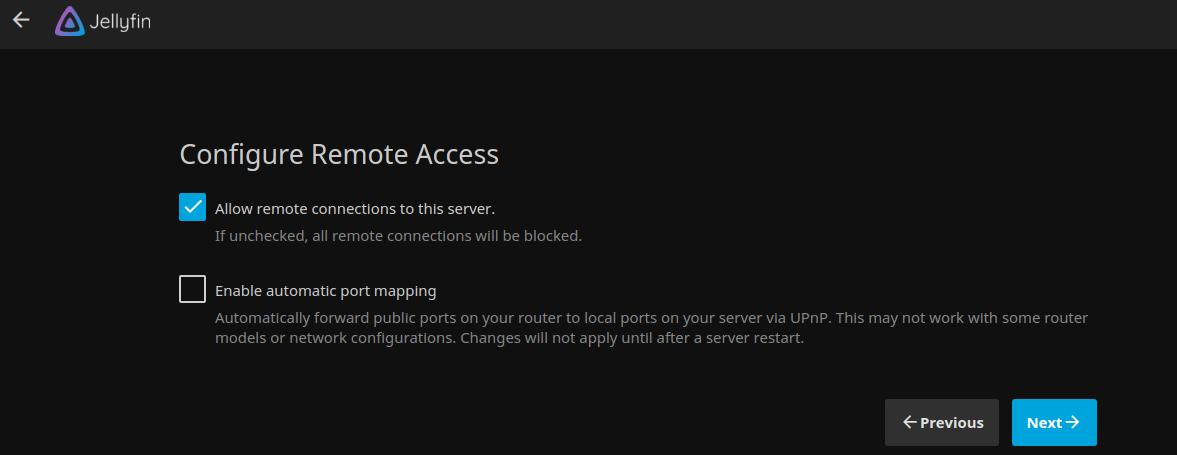
Allow remote connection to Jellyfin Media Server if you need other users to have access.
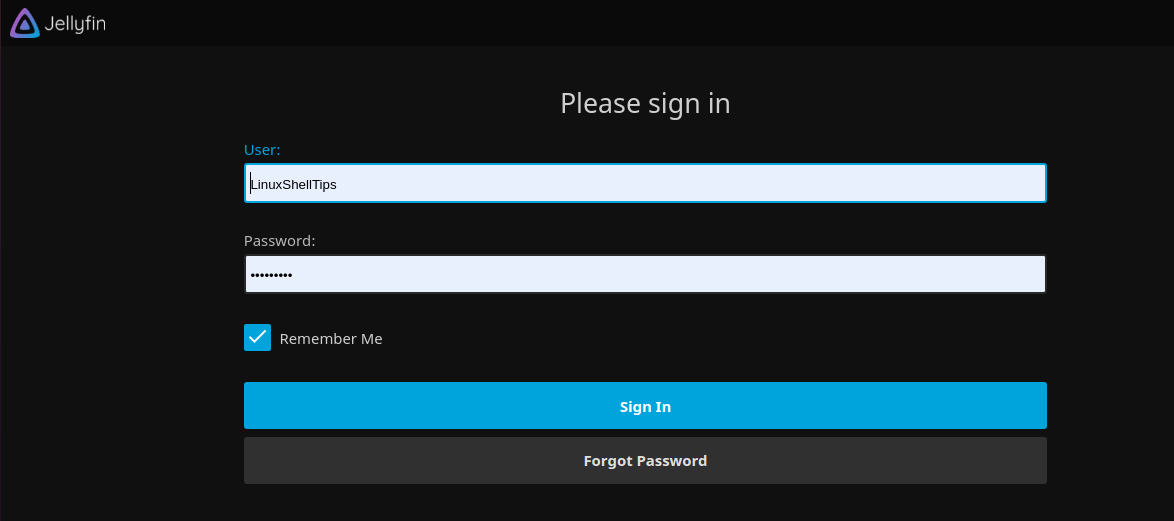
Finish setting up Jellyfin and sign in with your new credentials.
You should be able to access the media library you created.
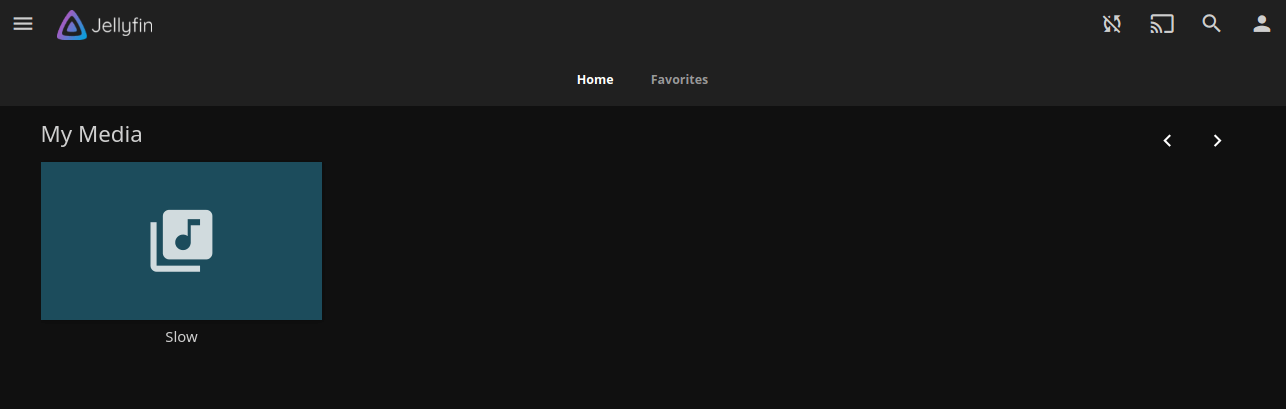
You can even get more control from the Dashboard.
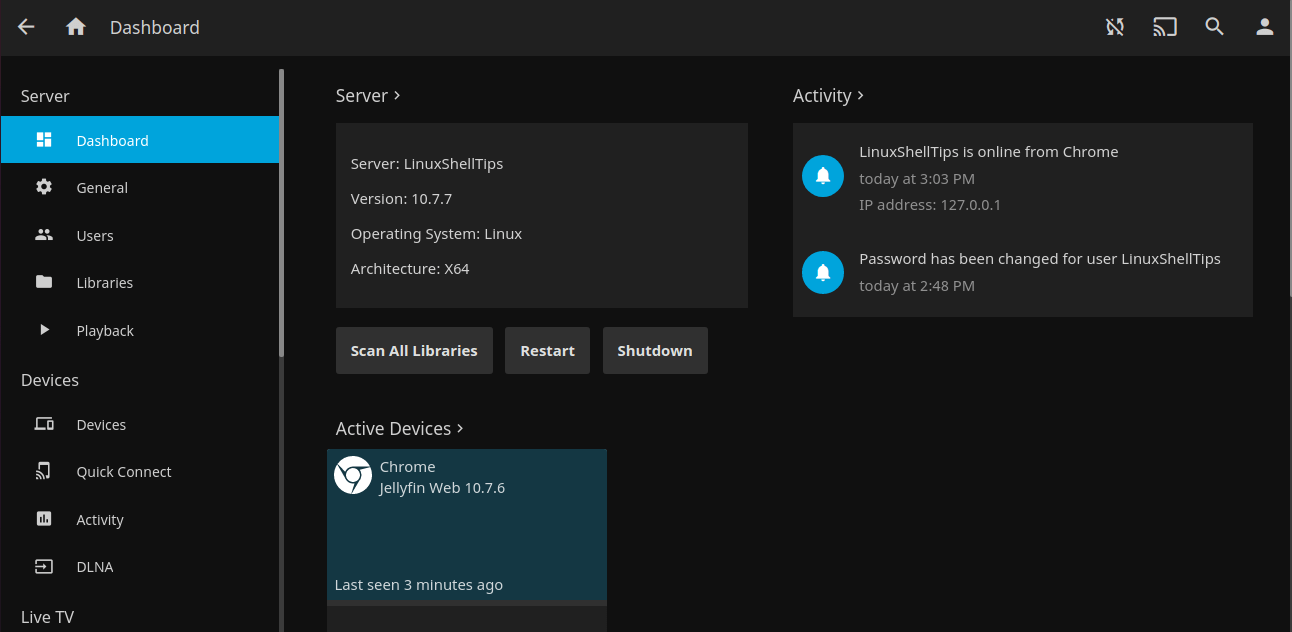
Jellyfin gives you more control when dealing with media files. It makes it easy to share and even watch TV shows, movies, or browse photos from your phone, laptop, or smart TV.
How do grant permissions after installation? Cannot add media folders at all, no matter the location.
I’m having the same problem. Did you find a solution?
Can’t get past this to install Jellyfin:
echo "deb [arch=$( dpkg --print-architecture )] https://repo.jellyfin.org/debian bullseye main" | tee /etc/apt/sources.list.d/jellyfin.listHow do I gain Permission to the Jellyfin Repository, please?
@Brian,
You need to add sudo to the command to work. Try the following command:
$ echo "deb [arch=$( dpkg --print-architecture )] https://repo.jellyfin.org/debian bullseye main" | sudo tee /etc/apt/sources.list.d/jellyfin.list
jellyfin package wasn’t found.
After going through all the preliminaries I get this when issuing an update:
E: The repository ‘https://repo.jellyfin.org/linuxmint uma Release’ does not have a Release file.
N: Updating from such a repository can’t be done securely and is therefore disabled by default.
N: See apt-secure(8) manpage for repository creation and user configuration details.
WTF?
Jellyfin does not officially support Linux Mint, so when you follow this guides installation steps it adds the wrong thing to the apt source lists. You have to change it like this:
In nano, delete the line that appears and paste
deb [arch=amd64] https://repo.jellyfin.org/ubuntu focal mainThis reply should be included in the guide.