The LAMP stack (LAMP for short) is a set of open-source software that consists of Linux, Apache, MySQL or MariaDB, and PHP. LAMP is used to develop and deploy dynamic websites and web applications.
[ You might also like: How to Install LEMP Stack on Ubuntu 20.04 ]
This tutorial describes how to install the LAMP stack on Ubuntu 20.04 and Ubuntu 18.04.
Prerequisites
- An Ubuntu 20.04 or Ubuntu 18.04 Linux server. This satisfies the first part of the LAMP stack, i.e., “L” for Linux.
- A user with sudo privileges.
Let’s get started…
Install Apache in Ubuntu
Apache HTTP server (Apache for short,) is a popular open-source web server software used for hosting and serving web resources. In preparation to install Apache, first, run the command below to update your Ubuntu package repository.
$ sudo apt update
Next, run the command below to install Apache on your Ubuntu server.
$ sudo apt install apache2 -y
Once the installation completes successfully, run the following command to check the version of Apache.
$ apache2 -v
Also, check the status of Apache with the following command.
$ sudo systemctl status apache2
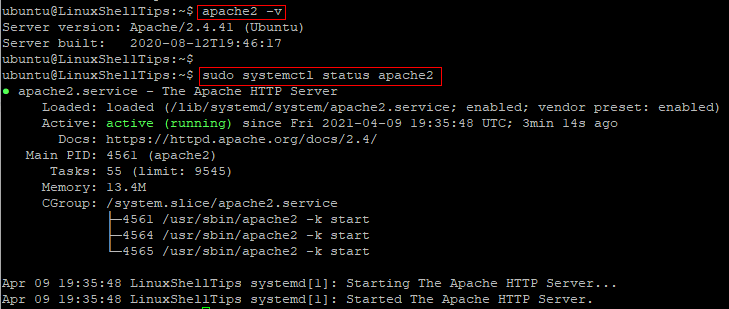
Press q on your keyboard to get back to the command prompt.
Note: If Apache is not active (running,) start it with the command below.
$ sudo systemctl start apache2
Now you need to adjust your UFW firewall settings to allow HTTP traffic on port 80.
$ sudo ufw allow in "Apache"
$ sudo ufw status
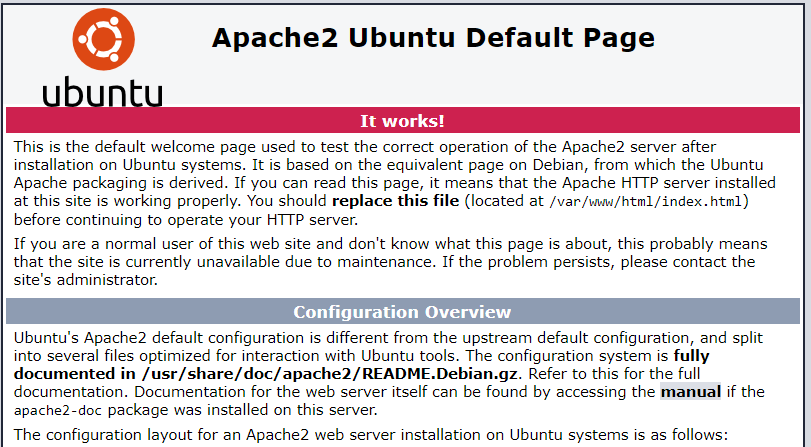
It is now time to test Apache. Simply open a web browser and enter your Ubuntu server’s IP address.
http://your_server_ip
If you see the Apache2 Ubuntu Default Page, then it means that Apache is working properly. This satisfies the second part of the LAMP stack, i.e., “A” for Apache.
Install MariaDB Server in Ubuntu
For the third part of the LAMP stack, i.e., “M” for MySQL or MariaDB, let us go for MariaDB. MariaDB is a free and open-source database management system for storing and managing application data. MariaDB was derived from MySQL, but it is comparatively faster.
To install MariaDB on Ubuntu, run the command below.
$ sudo apt install mariadb-server -y
Once the installation completes successfully, run the following command to check the status of MariaDB.
$ sudo systemctl status mariadb
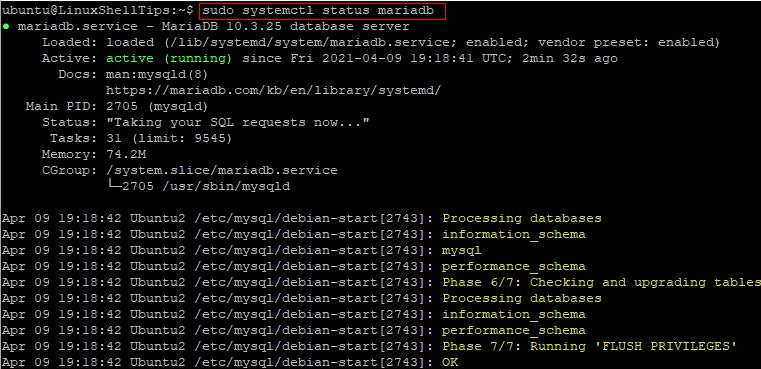
Press q on your keyboard to get back to the command prompt.
Note: If MariaDB is not active (running,) start it with the command below.
$ sudo systemctl start mariadb
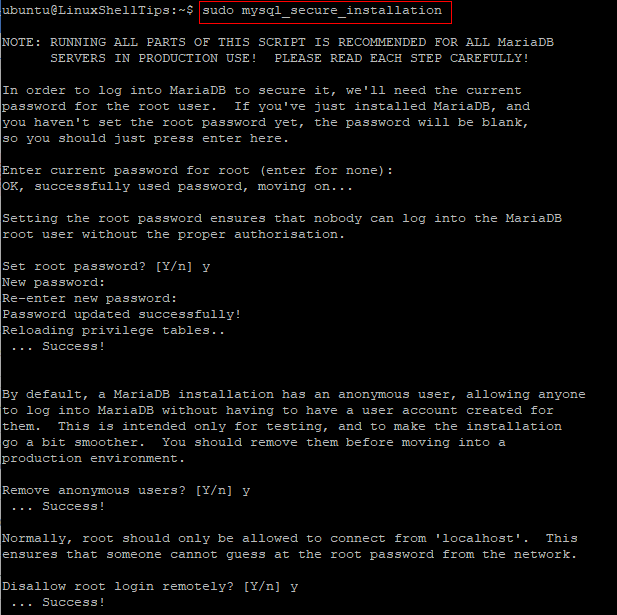
Now, run the following command to execute the mysql_secure_installation script and then follow the instructions to secure your MariaDB server.
$ sudo mysql_secure_installation
Below is sample output from running the mysql_secure_installation script.
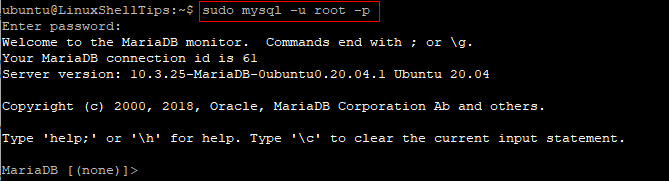
After securing MariaDB, you may log in to MariaDB with your chosen password as follows.
$ sudo mysql -u root -p
Once you successfully log in, you should see the MariaDB prompt.
Type quit and press enter to exit MariaDB.
MariaDB [(none)]> quit;
Install PHP in Ubuntu
Hypertext Preprocessor (PHP for short) is a server-side scripting language. PHP interacts with databases to dynamically process requests for web content.
To install PHP and related components, run:
$ sudo apt install php php-mysql -y
Once the installation completes successfully, run the following command to check the version of PHP.
$ php -v

Now, let us confirm that PHP is working properly by creating an index.php file in the default website root directory.
$ sudo nano /var/www/html/index.php
Copy the sample PHP code below and paste it into the text editor.
<?php
phpinfo();
?>
Save your changes and close the index.php file.
Restart Apache with the following command.
$ sudo systemctl restart apache2
Finally, open a web browser and navigate to the Ubuntu server IP address as shown.
http://your_server_ip/index.php
Once you see a page displaying information about your PHP installation, then PHP is working properly.
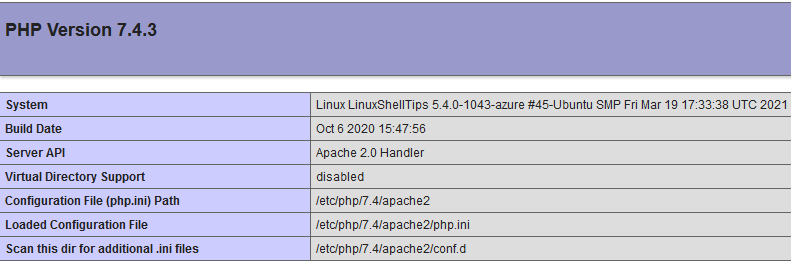
This takes care of the final component of the LAMP stack, i.e., “P” for PHP.
Conclusion
In this tutorial, you have learned how to install the LAMP stack on an Ubuntu 20.04 and Ubuntu 18.04 Linux server. You are ready to start deploying dynamic websites and web applications such as WordPress.