The main reason for considering other mail servers like Modoboa over the likes of Gmail and Yahoo is the unlimited customization associated with your mailbox.
The Modoboa open-source mail server makes it possible to create a mailbox from a unique username and a registered domain name ([email protected]). Since Modoboa is written in Python, you will need the latest Python version installed on the Linux system intended to run/host this mail server.
Modoboa Features
Some feature attributes that make Modoboa standout from other open-source mail servers include:
- Graphic statistics support for email traffic.
- Per-user sieve filters.
- Calendar support.
- Almavis frontend.
- Administration panel.
- Autoreply messages for Postfix.
- Address book.
- Webmail.
- Reputation protection via DMARC reports and DNSBL check.
- Multiple domains per single setup.
There is also plenty of administration tools within Modoboa that can equip you with the needed mail server administration confidence.
Modoboa Installation Prerequisites
- You are using a Debian-based Linux distribution like Ubuntu as the primary host of this mail server. It is recommended to use a freshly installed server.
- You have sudoer/root user privileges on the Debian-based Linux distribution you are using.
- You have Python 3 or a later version installed on the Linux system.
- You have a DNS server installed and configured with the needed mail records.
- A registered domain name.
Installing Modoboa Mail Server in Debian and Ubuntu
First, update your Linux system.
$ sudo apt update && sudo apt upgrade -y
Next, install Modoboa dependencies.
$ sudo apt install python3-virtualenv python3-pip git curl gnupg2 -y
Finally, install the Modoboa Mail server, we first need to clone it from Github using the following command on your system terminal:
$ git clone https://github.com/modoboa/modoboa-installer
$ cd modoboa-installer
Inside modoboa-installer directory, you should identify the Python file run.py. We will run this file and associate it with your domain name as per the following syntax to commence the installation of the Modoboa Mail Server.
$ sudo ./run.py <your domain>
The implementation of the above Modoboa installation command is as follows:
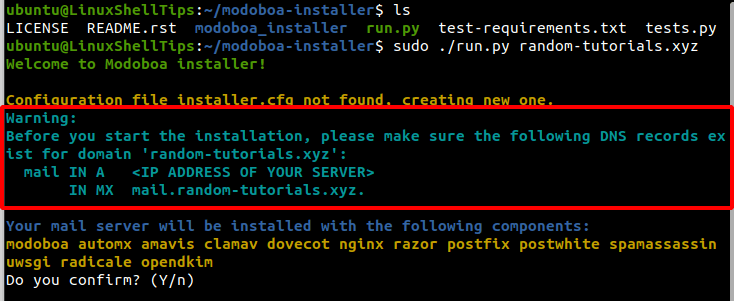
Before you confirm the installation by keying in Y from your keyboard, you might wish to use the letsencrypt TLS certificate. You will need to open the generated installer.cfg file.
$ sudo nano installer.cfg
The value of type inside this file should be changed to letsencrypt from self-signed as demonstrated below:
[certificate]
generate = true
type = letsencrypt
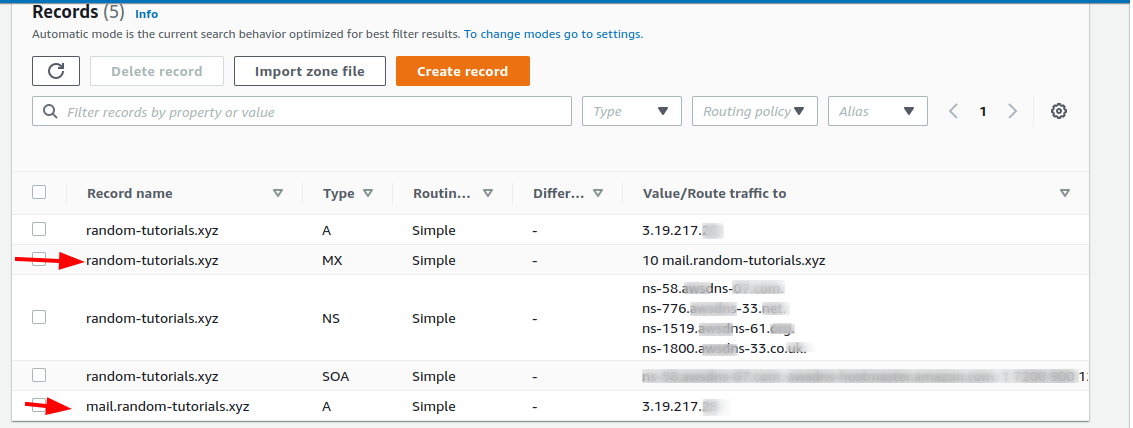
You will also be asked to confirm the existence of the above-highlighted DNS records. Your DNS records for your mail server should resemble the following screen capture.
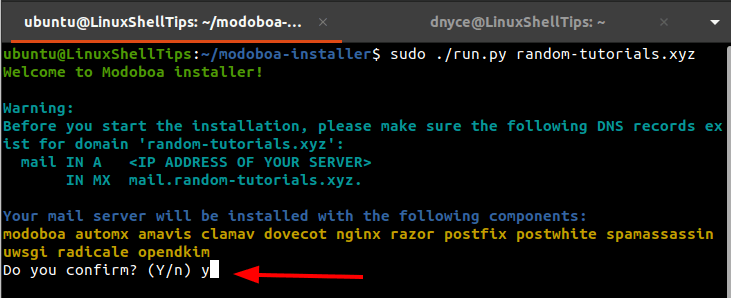
Confirm the existence of the prompted DNS records by keying in Y on your keyboard for the Modoboa Mail Server installation process to continue.
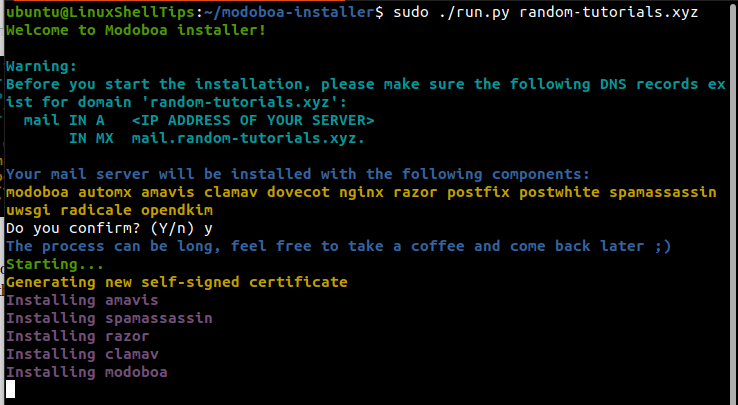
As advised on the above screen capture, the installation process will take some time to complete, therefore, give it all the time it needs.
Running the following command in case of an installation error will help you sort the mess.
$ python3 ./run.py --interactive --debug your-domain-name
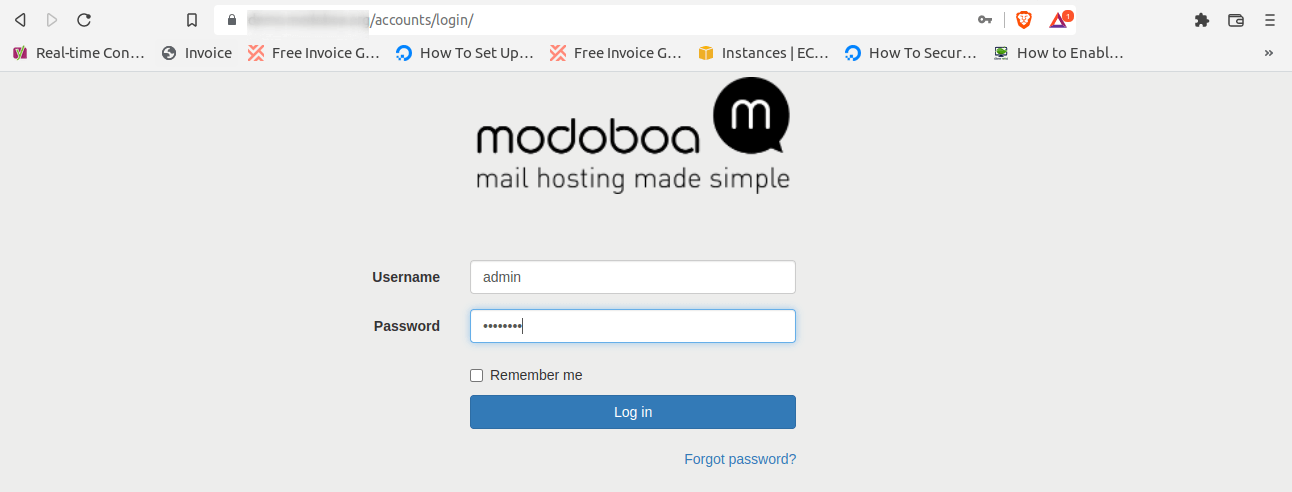
After the installation finishes, visit mail.your-domain-name and log in to the mail server Administrator panel with the default username (admin) and password (password).
You will be met with a dashboard interface like the following:
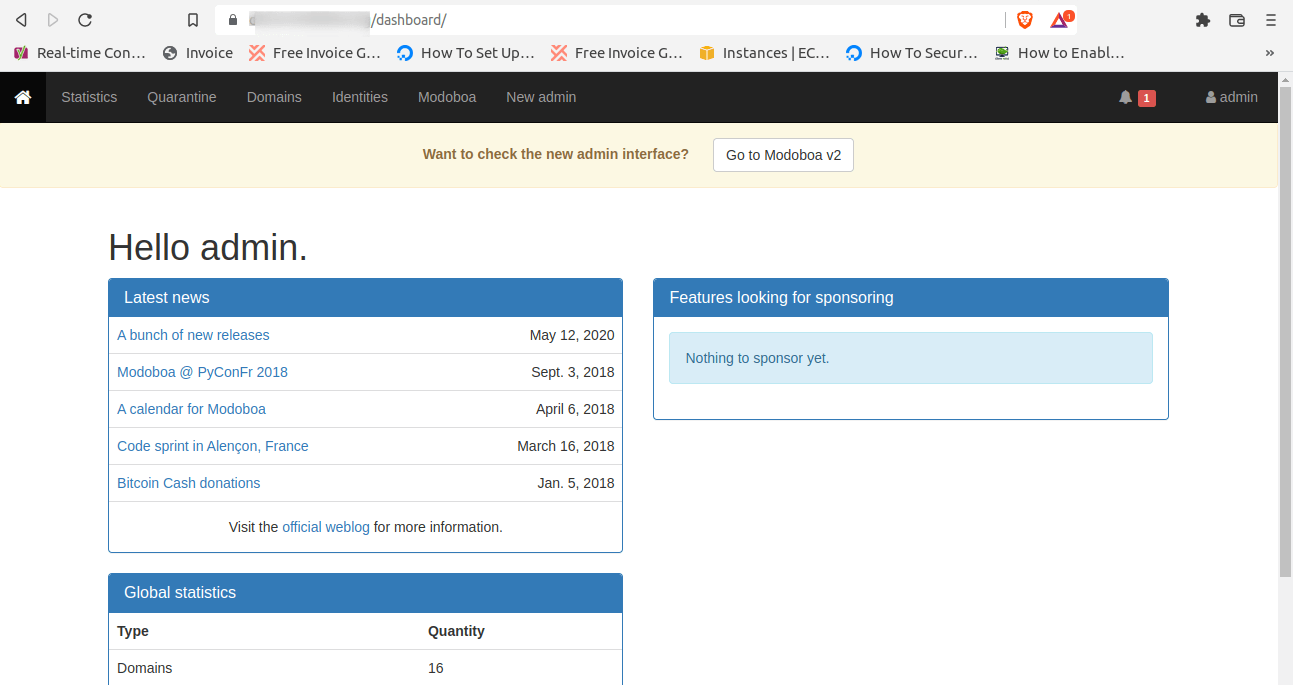
Interacting with the menu items on this mail server admin dashboard should get you started by securing your admin password, creating users with different access levels, and adding new domains.
With this tutorial, you should comfortably install and manage a personalized or customized web server through Modoboa in Linux.
I still can’t install modoboa! What are the DNS settings, please? thanks again.