This article piece assumes that you already have the famed MySQL software installed on your RHEL-based Linux system and are ready to exploit database administration to the fullest.
You log in to the MySQL shell and create the needed databases and their associated tables. You create the needed relationships between these database tables and start managing your data.
However, this approach does not give you the needed dynamic control in managing your data. Also, it takes too much time switching between databases, creating users and data, viewing linked data, and executing other database-related queries.
[ You might also like: MySQL Database Commands Cheat Sheet for Linux ]
The ultimate solution to MySQL database management hurdle is MySQL Workbench, which is a tool that provides a graphical user interface for database administrators and developers to seamlessly accomplish their database-related goals.
Features of MySQL Workbench
By considering MySQL Workbench Community Edition to manage your MySQL database, you are guaranteed the following priceless features:
- Schema Synchronization
- Reverse Engineering
- Data Management
- User and Session Management
- Visual Database Administration
- Forward Engineering
- Visual Data Modeling
- Object Management
- Performance Tuning
- Visual SQL Development
MySQL Workbench is available in three editions; Community, Standard, and Enterprise. The Community Edition is released under the open-source GPL license hence the focus of this article is to install MySQL Workbench in RHEL, CentOS, Rocky & AlmaLinux.
Installing MySQL Workbench in RHEL Systems
Before we address the installation of the MySQL Workbench database management tool, make sure you meet the following prerequisites.
- You are a root user or you have Sudo user privileges on the system you are using.
- You already have the MySQL software installed on your system.
Once everything is in place, the first is to update your system.
$ sudo dnf update
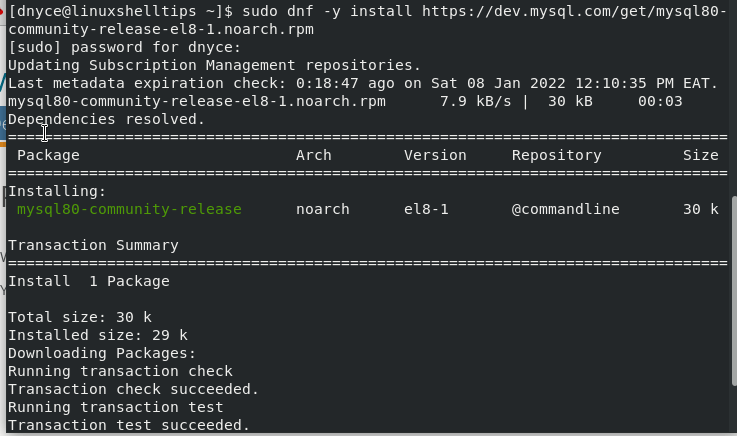
Next, add the MySQL repository file from its official download page or install it locally. Since, we are going to use the direct URL installation approach, execute the following command on your system terminal:
$ sudo dnf -y install https://dev.mysql.com/get/mysql80-community-release-el8-1.noarch.rpm
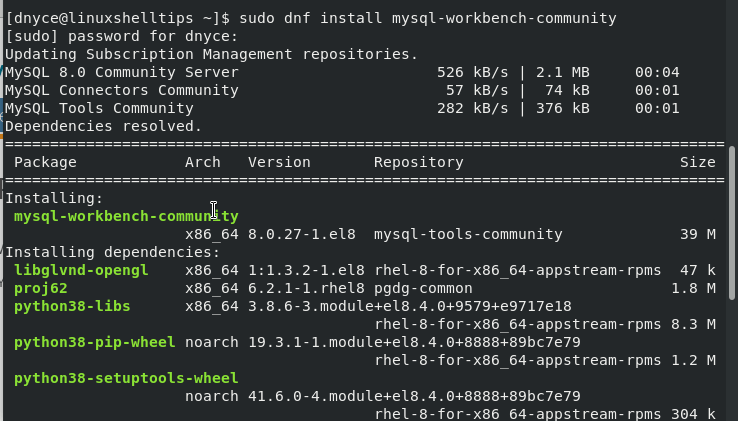
The next step is to install the much anticipated open-source MySQL Workbench on your system.
$ sudo dnf install mysql-workbench-community
This installation command also caters to any missing or needed system dependencies.
Launch and Test MySQL Workbench
With the installation of MySQL Workbench database management and administration tool complete, it is time to preview what it has to offer. Launch it from the system terminal with the following command:
$ mysql-workbench
You will then be greeted with the following graphical interface:
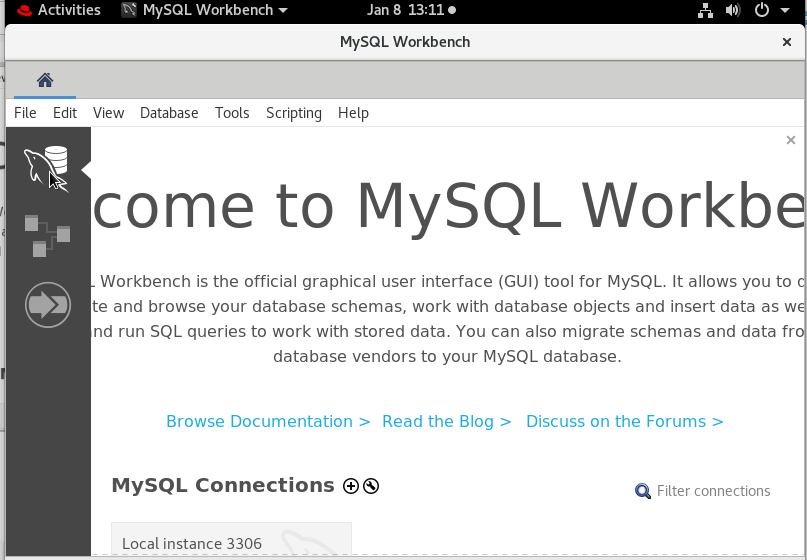
Your dynamic database administration experience can begin as depicted by the various interfaces’ screenshots.
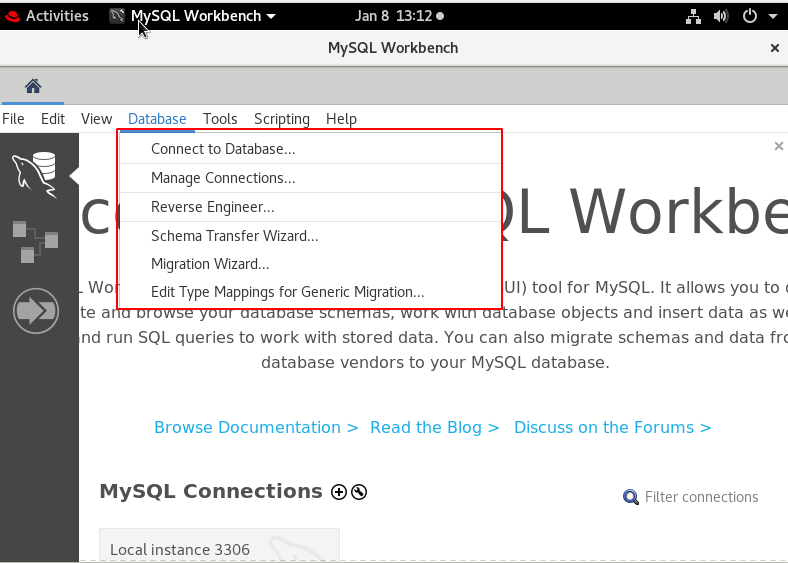

A GUI approach to MySQL database management and administration saves users a lot of time in creating and managing their database-related data. Also, easy and secure access to remote databases is catered for by MySQL Workbench’s SSL functionality.