In previous articles, we have seen how to work with VirtualBox core features that come with the VirtualBox package. We have seen how to create Guest Virtual Machines, Different Networking options, how to protect your VM with snapshots, and how to clone VM, import, and export your virtual machines. This is going to be the last article of this VirtualBox series.
phpVirtualBox is a web implementation of VirtualBox implemented in AJAX and the user interface is created with PHP. This is an open-source project and is not supported by oracle. phpVirtualBox allows you to use and control VirtualBox in a headless environment.
In this article, we are going to see how to install phpVirtualBox in different Linux flavors to manage and access remote VirtualBox machines from the web browser.
Install Apache and PHP in Linux
The first step is to make sure the system is up to date before installing the packages.
$ sudo apt update       [On Debian-based distros]
$ sudo yum update       [On RHEL-based distros]
Then you need to install PHP and Apache webserver package.
------- On Debian-based distros -------
$ sudo apt install apache2 php php-common php-soap php-gd

------- On RHEL-based distros -------
$ sudo yum install httpd php php-devel php-common php-soap php-gd  [On RHEL-based distros]
Now start the apache service.
$ sudo systemctl restart apache2.service  [On Debian-based distros]
$ sudo systemctl restart httpd.service    [On RHEL-based distros]
Now to test if the apache installation is working fine go to your browser and type the following address which will show the default apache web page.
http://localhost
OR
http://your_server_ip
If you are not able to access the webpage then you need to adjust your firewall settings to allow HTTP traffic on port 80.
------- On Debian-based distros -------
$ sudo ufw allow http

------- On RHEL-based distros -------
$ firewall-cmd --zone=public --permanent --add-service=http
Install phpVirtualBox in Linux
Now download PHPvitualbox from sourceforge.net and install it. Either download the zip folder directly from the site or run the wget command as given below. The preferred method is downloading directly from the website as the version and download link may vary from time to time.
$ wget https://sourceforge.net/projects/phpvirtualbox/files/latest/download -O phpvirtualbox.zip
$ unzip phpvirtualbox.zip
Now move the extracted phpvirtualbox folder to the Apache webserver root folder.
sudo mv phpvirtualbox-* /var/www/html/phpvirbox
Rename config.php-example file to config.php.
$ sudo mv /var/www/html/phpvirbox/config.php-example /var/www/html/phpvirbox/config.php
Create a new user or add an existing user in the vboxusers group and change the ownership.
$ sudo usermod -aG vboxusers karthick
$ sudo chown -R karthick:karthick /var/www/html/phpvirbox
Now we have to add a username and password in the config.php file.
$ sudo nano /var/www/html/phpvirbox/config.php
Add the below lines to the config.php file.
var $username = 'karthick';
var $password = 'password';
Next, you need to open or create a new virtualbox file under /etc/default/ directory:
$ sudo nano /etc/default/virtualbox
Add the following line and make sure to replace the username.
VBOXWEB_USER=karthick
Finally, restart the following services to apply the configuration changes.
$ sudo systemctl restart vboxweb.service
$ sudo systemctl restart apache2
Access phpVirtualBox from Web
Now start the virtualbox webserver.
$ vboxwebsrv -H 127.0.0.1
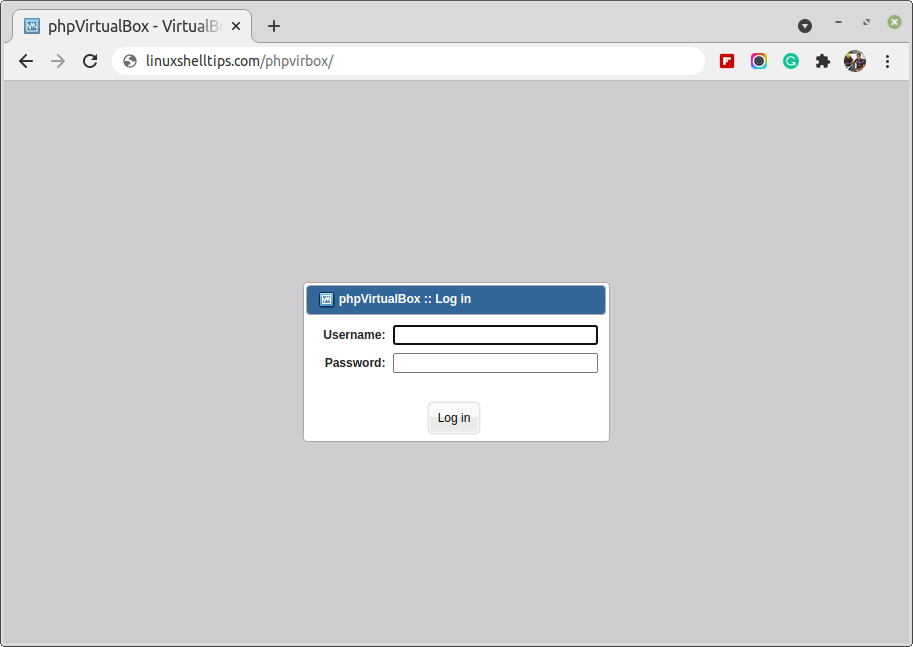
Now go to the browser and type the following URL to access the webpage. The default username and password will be admin, admin.
http://localhost/phpvirbox
OR
http://your_server_ip/phpvirbox
Now you can start creating your Virtual Machines from phpVirtualBox web browser as you would do from VirtualBox manager.
That’s it for this article. We hope you loved the VirtualBox series. We would love to hear your valuable feedback in whatever ways we can help the community to deliver better content.
Your instructions do not work. I have copied and pasted everything with the exception of the user I created.
I am on Ubuntu Server 22.04.2 LTS, and loaded the virtual box (Which you fail to instruct me to install) and Apache and php from the packages available.
Output from starting the vboxwebsrv:
If I start it as root (sudo vboxwebsrv -v) it starts with no errors, but the web page says there is a problem with the config.php file.
So what is missing? Any ideas?
Thanks,
RonC