Most of us are familiar with Docker as a popular Container runtime for major Linux distributions. However, when it comes to the RHEL-based distributions such as CentOS, Rocky Linux, and AlmaLinux, Docker is not officially supported.
This Linux system has instead found favor in a Podman-based Container management library called libpod. This library adapts to the same functional implementation as Kubernetes’ Container Pod concept. Therefore, it is the libpod project that provides the Podman tool making it viably easy to manage Containers, Container Images, and Pods.
We can officially and uniquely define Podman as a library tool that does not need a Container daemon to manage Containers and Pods. The podman tool hosts created Containers and Pods as part of their child processes.
Podman installation on RHEL-based distributions is straightforward, we just have to acknowledge the viability of the container-tools module.
Installing Podman in RHEL-based Systems
First, make sure to update your system software packages.
$ sudo dnf update
We might need it to fetch some packages from the EPEL repository related to the correct execution of Podman after its installation.
$ sudo dnf install https://dl.fedoraproject.org/pub/epel/epel-release-latest-8.noarch.rpm
OR
$ sudo dnf install epel-release
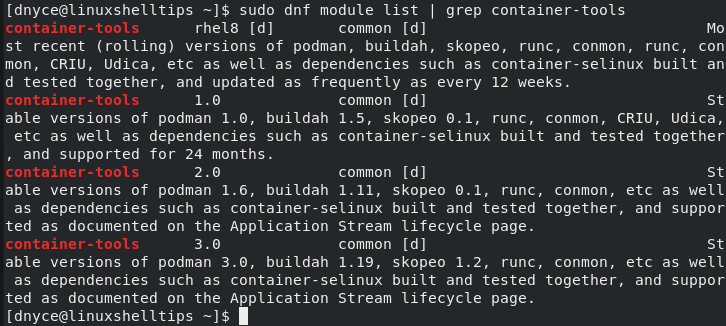
Next, confirm the availability of the Podman container-tools module.
$ sudo dnf module list | grep container-tools
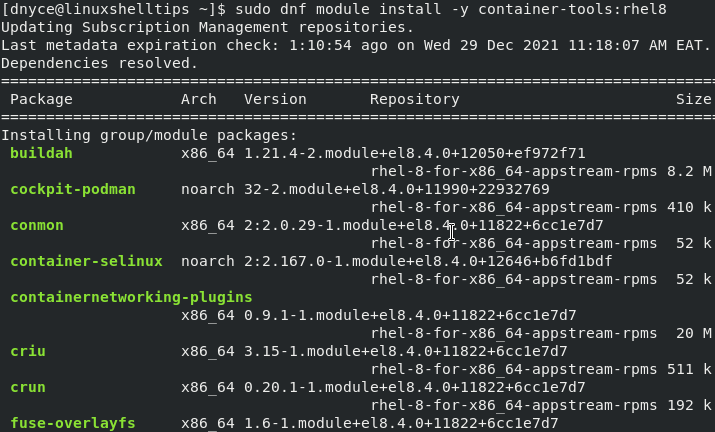
Now, enable and install Podman’s container-tools module.
$ sudo dnf module enable -y container-tools:rhel8
$ sudo dnf module install -y container-tools:rhel8
Check on the installed Podman version to validate its successful installation on our system.
$ podman --version

podman version 3.2.3
How to Use Podman in RHEL-based Systems
Before we can interact with Podman and see what it has to offer in terms of managing Containers, we first need to start and check on its status.
To start and enable Podman, execute the commands:
$ sudo systemctl start Podman
$ sudo systemctl enable Podman
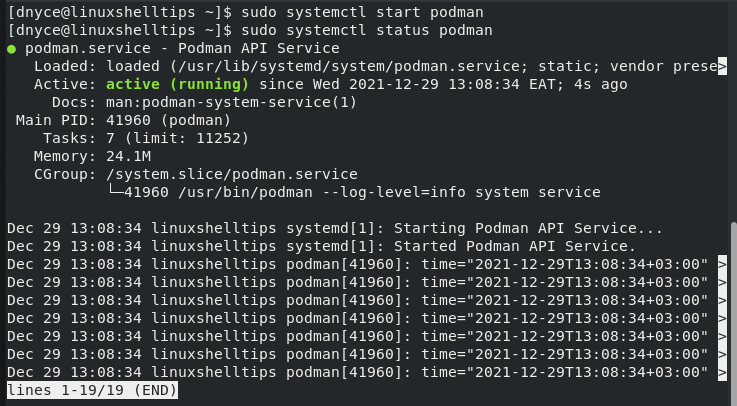
Now check on Podman’s status to make sure it is launched and actively running.
$ sudo systemctl status podman
Searching and Downloading Container Images
Reference the following Podman syntax to search for a container image you wish to use.
$ sudo podman search name_of_image
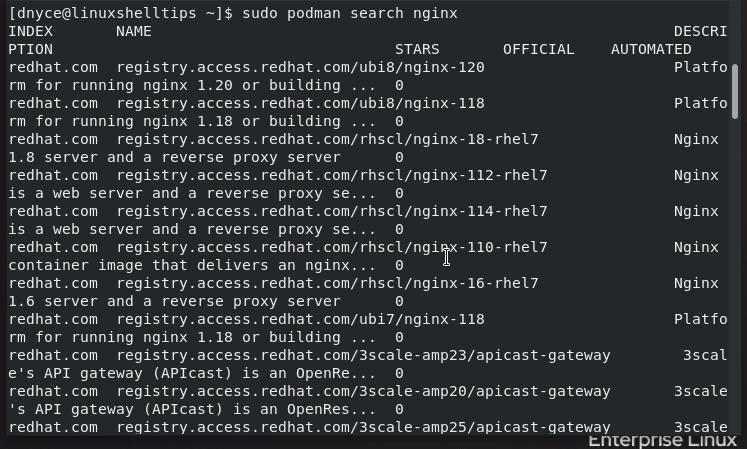
For instance, to search for an image like the Nginx web server, we will run the following command.
$ sudo podman search nginx
We will get an output similar to the screen capture below.
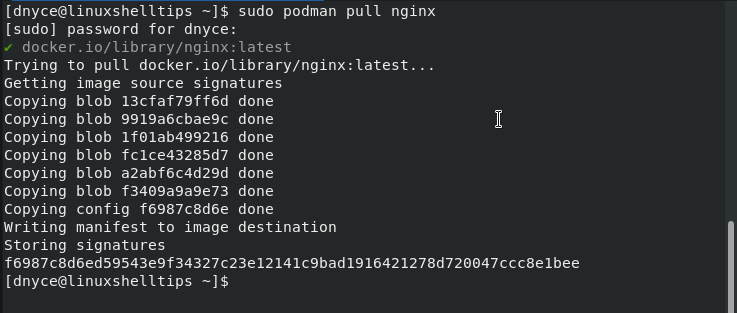
To download the above Nginx image, we will execute the following command.
$ sudo podman pull nginx
It is ideal for the downloaded images to be stored on the local image repository directory path docker.io/library.
Creating Podman Containers
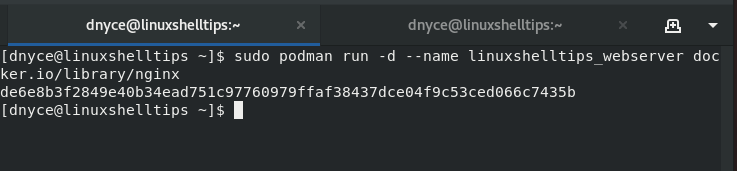
In reference to the downloaded Nginx image, we can create and launch its associated Container. We will give this container the name linuxshelltips_webserver.
$ sudo podman run -d --name linuxshelltips_webserver docker.io/library/nginx
Also, note that you can use a single downloaded image to launch N Containers just by assigning each container a different name as demonstrated.
Listing and Stopping Created Containers
You can view all your created containers by using the ps option with your podman command.
$ sudo podman ps
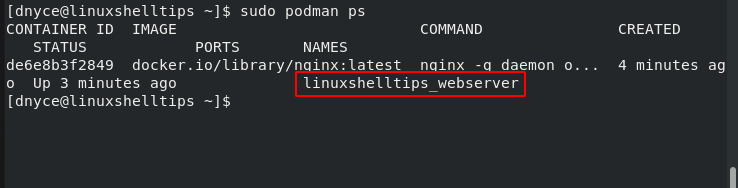
The above command only shows active Containers. To list both active and inactive Containers use the command.
$ sudo podman ps -a
To stop this container, we will use the command.
$ sudo podman stop linuxshelltips_webserver
To start the container again, we will execute:
$ sudo podman start linuxshelltips_webserver
Deleting Created Container(s)
We first need to stop the Container if it is running before deleting it.
$ sudo podman stop linuxshelltips_webserver
$ sudo podman rm linuxshelltips_webserver
Alternatively, you can force-delete a running container with the following command.
$ sudo podman rm linuxshelltips_webserver --force
Killing Container(s)
To kill a running container, use signal 9 (SIGKILL).
$ sudo podman kill -s 9 linuxshelltips_webserver
Deleting Container Images
To remove the downloaded image, point to its repository directory.
$ sudo podman rmi docker.io/library/nginx
Container(s) Statistics
To view running Containers statistics, run:
$ sudo podman stats
Inspecting Containers
For instance, to print a Container’s IP address, we will run:
$ sudo podman inspect linuxshelltips_webserver --format '{{.NetworkSettings.IPAddress}}'
We can also curl the above-produced IP address to be certain that our container does indeed serve web pages.
$ curl http://10.88.0.3
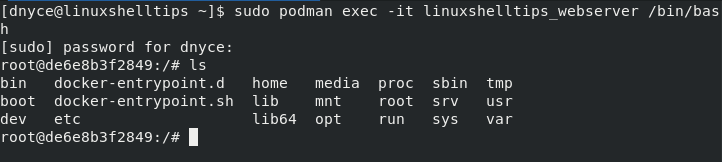
Accessing a Container’s Shell
To access the container shell, use the command.
$ sudo podman exec -it linuxshelltips_webserver /bin/bash
Podman is an ideal Docker alternative for RHEL-based Linux distribution users in terms of managing Containers. Its future continues to be promising despite Docker’s strong grip.
The following command provides more usage options for Podman.
$ podman --help