Postfix is both a popular and preferred Mail Transfer Agent (MTA) for more than 25% of active and public internet mail servers. This attribute has something to do with its open-source status. Many Linux systems benefit from its extensive mail routing and delivery services.
If you are a user of the Ubuntu 20.04 or Ubuntu 18.04 system and wish to install and explore the depths of Postfix MTA, then this article will answer all your queries.
We are going to take you through Ubuntu 20.04 Postfix installation and configuration. The final bit of this tutorial will test Postfix’s mail routing capabilities after we install “s-nail” – it is a popular email client or in more technical terms, a Mail User Agent (MUA).
Requirements
The installation and configuration of Postfix Mail Server on Ubuntu 20.04 requires that you first meet the following requirements.
- A hosted server with Ubuntu 20.04 as its primary operating system. It is where we will install and configure Postfix Mail Server. On this server, be a sudo-privileged non-root user. The system’s firewall should adhere to UFW configurations.
- A Fully Qualified Domain Name. It should point to your hosted Ubuntu 20.04 server. If you will be accessing mail externally, your DNS configurations under the MX records should also point to this mail server.
This article assumes that your hosted Ubuntu 20.04 server has something like “mail.example.com” Fully Qualified Domain Name (FQDN) entry under its DNS configurations MX records. You can edit this entry to the preferred domain name you are using. E.g mail.random-tutorials.xyz.
Installing Postfix on Ubuntu
Since Ubuntu’s default repositories already have Postfix, this first installation step should be a walk in the park through the apt package manager. But first, we need to update the Ubuntu 20.04 system’s local package cache.
$ sudo apt update
The command for installing the Postfix package requires a very important parameter called “DEBIAN_PRIORITY”. We will assign it the value “low”. The use of this environment variable will prompt the manual configuration of other additional options by the system user during the Postfix installation process.
$ sudo DEBIAN_PRIORITY=low apt install postfix
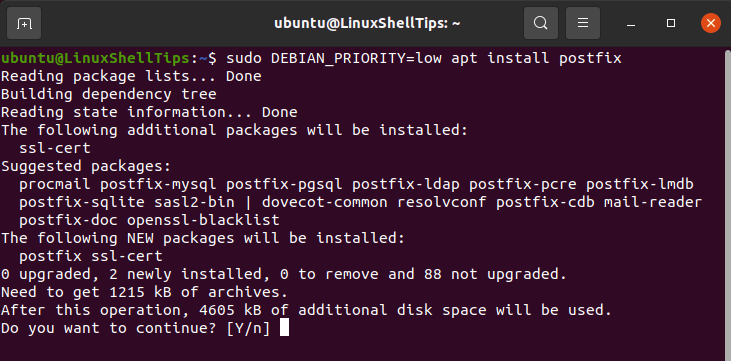
Once the above command executes, you will be met with a Postfix package configuration prompt that explains the applicability of several useful configurations. Use your keyboard arrow keys to navigate to the “<ok>” portion of the prompt. Once it is highlighted in red, press enter.
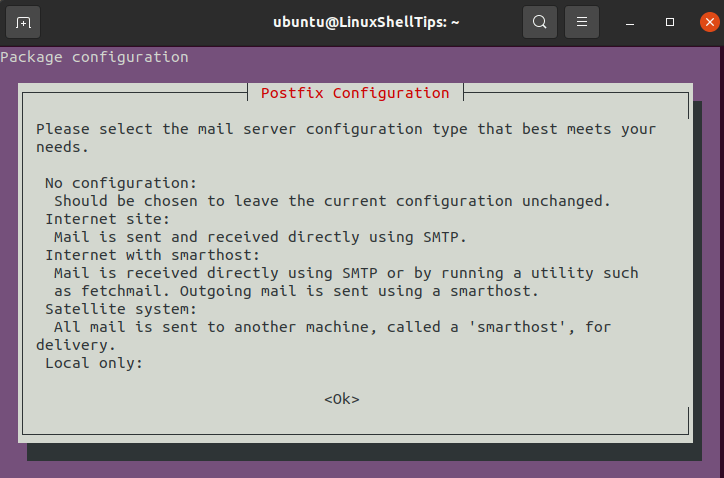
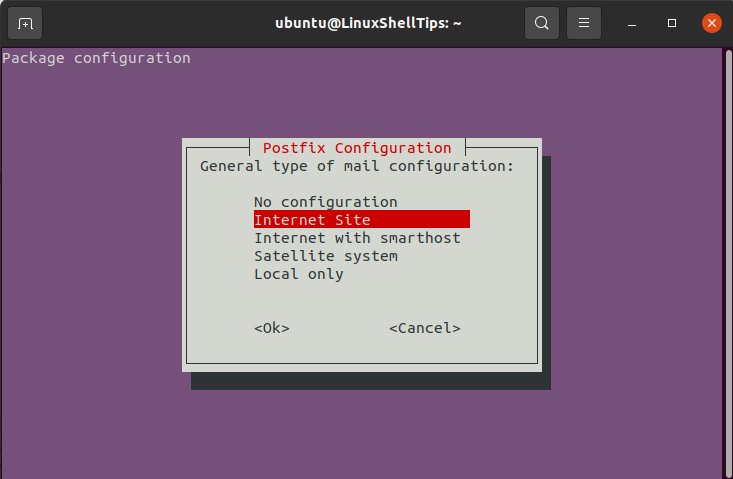
Several menu options will then follow. For each of these menu options, we need to pick one configuration for our Postfix installation. We are going to go with the “Internet Site” Postfix mail configuration. This configuration choice is an ideal match for the Ubuntu 20.04 server infrastructural needs.
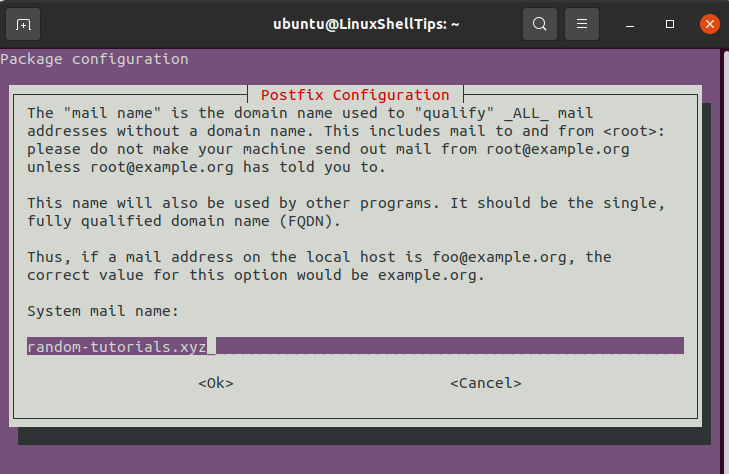
System Mail Name: Do not go with a format entry like mail.example.com. The prompt is asking for a base domain e.g example.com that Postfix will link to Ubuntu 20.04 system users, for example, [email protected] and many others.
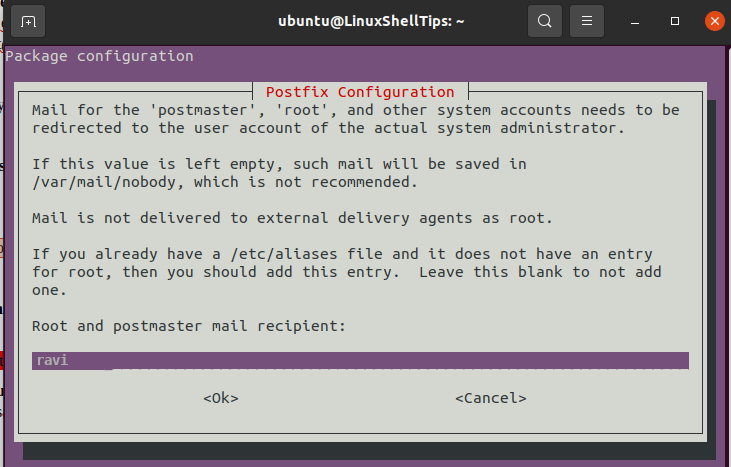
Root and postmaster mail recipient: It should be your Ubuntu 20.04 system or account username e.g ravi.
Other destinations to accept mail for?: All domains intended to communicate with Postfix should be listed here. e.g:
$myhostname, random-tutorials.xyz, mail.random-tutorials.xyz, localhost, localhost.random-tutorials.xyz

Force synchronous updates on the mail queue?: There is a high chance you are under a journaled filesystem. To be safe, stick to No.

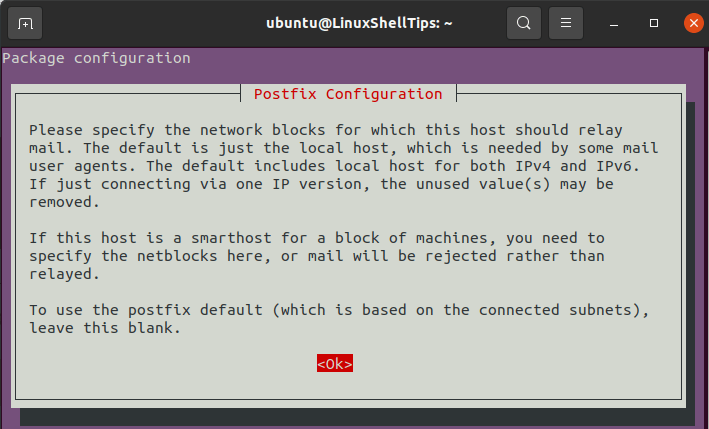
The next prompt regards network blocks configuration. Hit enter on your keyboard.
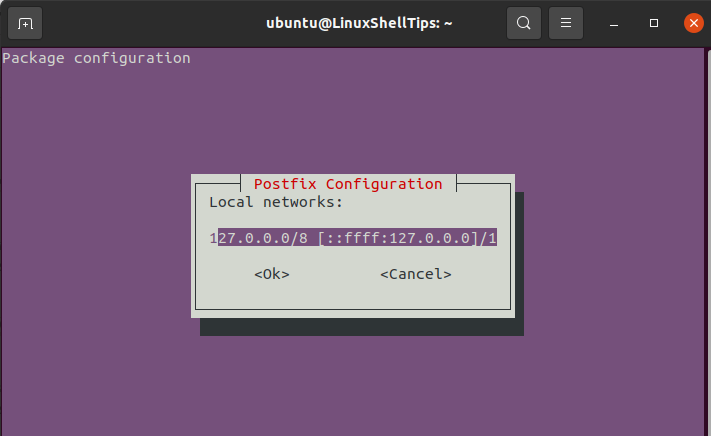
Local networks: Stick to the provided defaults and only modify if you understand network range restrictions.
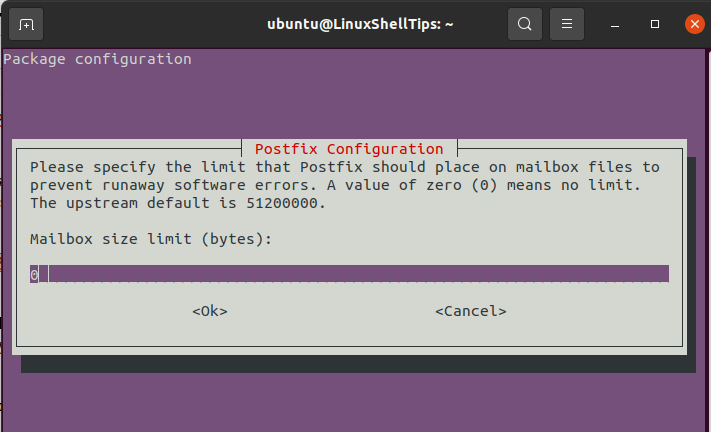
Mailbox size limit: Let’s you manage the size of your message. Inputting 0 removes message size restrictions.
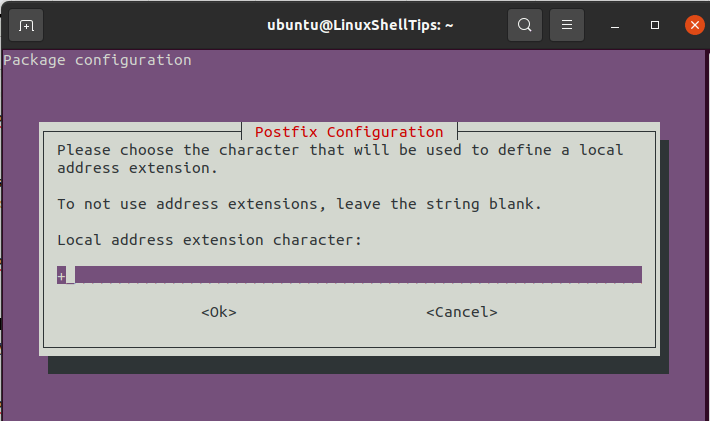
Local address extension character: Use the provided default character. The character is useful in creating dynamic aliases.
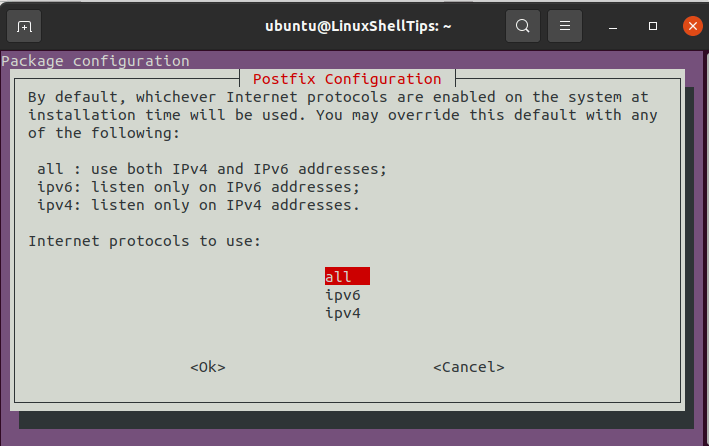
Internet protocols to use: Considers the restriction management of Postfix-supported IP versions. Choose the ‘all’ option.
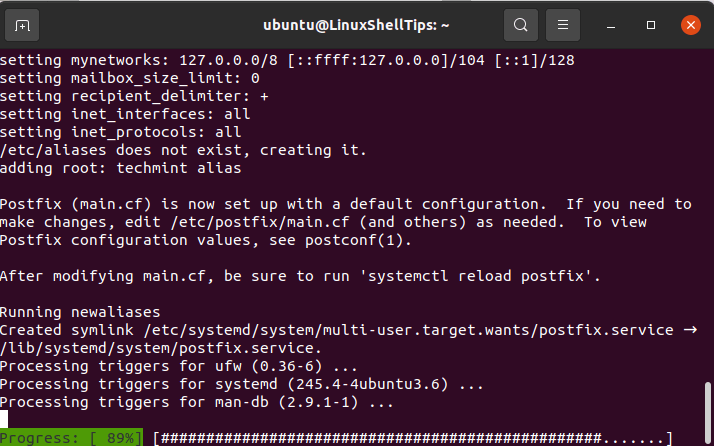
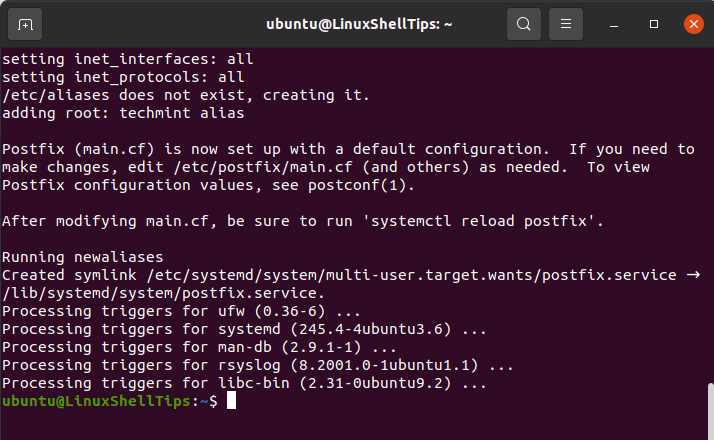
Your installation should then comfortably progress to completion.
Making these changes alongside the installation of Postfix does not make them permanent. You can always edit them by running the following command:
$ sudo dpkg-reconfigure postfix
It will re-launch all the above steps for you to edit where necessary. You will receive a pre-populated prompt from which you will have the chance to change your previous configuration options. It is a nice way of proofreading your Postfix configurations.
Useful Postfix Post-Configuration Changes
The file “/etc/postfix/main.cf” defines most configuration settings associated with Postfix. The command “postconf” will prove useful in editing it. The first edit is changing the variable “home_mailbox” to “maildir/” through the following command.
$ sudo postconf -e 'home_mailbox= Maildir/'
The table “virtual_alias_maps” associates Linux system accounts with arbitrary email accounts. A hash database file (/etc/postfix/virtual) should be its set location.
$ sudo postconf -e 'virtual_alias_maps= hash:/etc/postfix/virtual'
To practically map Linux system user accounts with email accounts, we need to create this virtual maps file. Use a text editor of your choice. In our case, we chose the nano editor.
$ sudo nano /etc/postfix/virtual
This file lists domain addresses that will be accepting email and the system user associated with each delivered mail. Populate the “/etc/postfix/virtual” file with the following format example:
[email protected] ravi
[email protected] ravi
There should be a white space between the domain address and the system user. With nano editor, save the file with Ctrl + O keyboard keys combo then hit the Enter key and exit the editor with Ctrl + X.
Execute the following command to apply the mappings.
$ sudo postmap /etc/postfix/virtual
For all these changes to be effective, restart Postfix with this command:
$ sudo systemctl restart postfix
The UFW firewall configuration should then follow to unblock the needed external connections to server services. To make Postfix an exception on this firewall, the following command will add a firewall rule to UFW.
$ sudo ufw allow Postfix
At this point, you have successfully configured Postfix to work with external connections. To test it, we need a mail client.
Postfix Mail Client Installation and Maildir Structure Initialization
We need to install the “s-nail” package due to its compatibility with the Maildir format. Before this installation, the system’s “MAIL” environment variable should be correctly set. This objective is achieved through several steps.
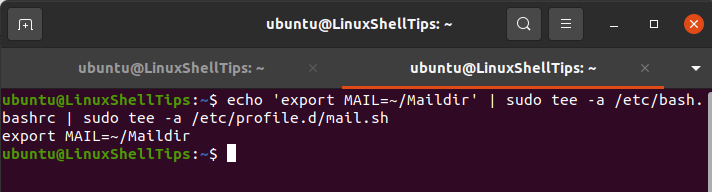
First, we export this variable to some files:
$ echo 'export MAIL=~/Maildir' | sudo tee -a /etc/bash.bashrc | sudo tee -a /etc/profile.d/mail.sh
Now, the current user session needs to read this variable. Source it with the following command.
$ source /etc/profile.d/mail.sh
Finally, use the apt package manager to install our targeted email client (s-nail):
$ sudo apt install s-nail
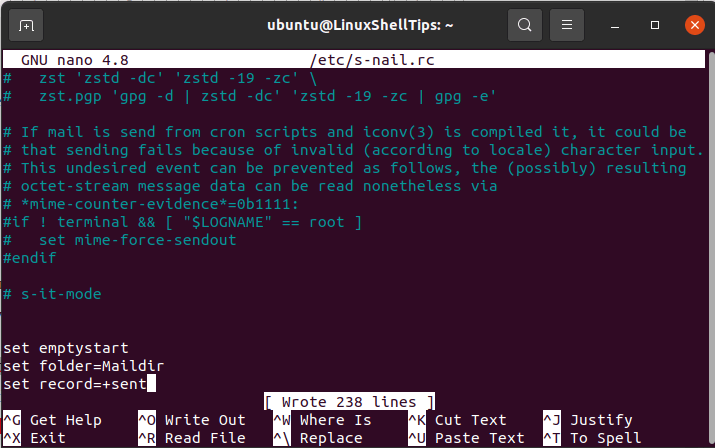
Adjust some settings on the “/etc/s-nail.rc” file before running this email client. We will open this file with the nano editor.
$ sudo nano /etc/s-nail.rc
Populate the bottom of this file with the following information and then save the changes to the file.
set emptystart
set folder=Maildir
set record=+sent
The Ubuntu 20.04 system’s Maildir structure is now ready for initialization.
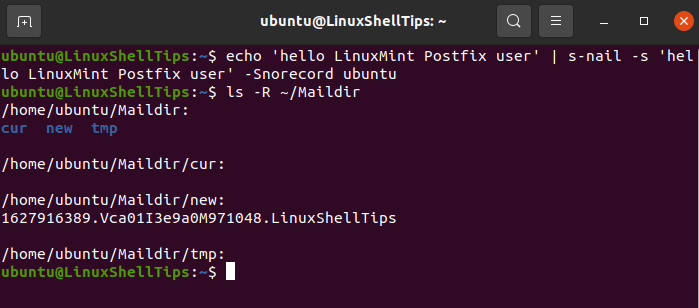
The s-nail command can quickly achieve the Maildir structure creation objective by emailing yourself.
$ echo 'hello LinuxMint Postfix user' | s-nail -s 'hello LinuxMint Postfix user' -Snorecord ubuntu
So far, nothing should happen. On the other hand, an output similar to the following message is normal during the first emailing attempt.
Can't canonicalize "/home/ubuntu/Maildir"
Check for the Maildir directory existence.
$ ls -R ~/Maildir
The command output should showcase the created directory structure and that a new message exists.
With this directory structure existing, the s-nail client can be put to the test. It will help us see the “hello LinuxMint Postfix user” message we sent earlier.
Clear your Ubuntu 20.04 server terminal with the command:
$ clear
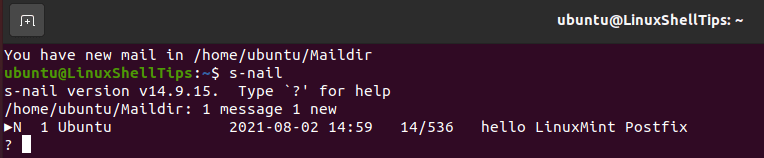
It should lead to the following instance informing you that you have a new mail.
You have new mail in /home/ubuntu/Maildir
Testing s-nail Client in Ubuntu
Open s-nail client with this command:
$ s-nail
An output similar to the following will follow:
Press Enter on your keyboard for a final output like the following.
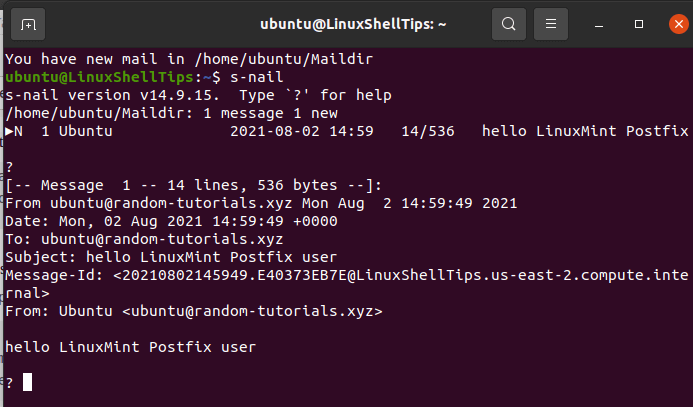
The “hello LinuxMint Postfix user” message we sent is evident from the above output. Type “exit” to leave this s-nail mailbox interface.
Conclusion
Mail server setup and configuration is not only time-consuming but also complex. However, the rewards for being patient through this process have some practical benefits not available in paid mail services. You will be your own mail server administrator with an unmatched understanding of each component that keeps a mail server ticking.
This article tutorial only provides basic email functionality knowledge through Postfix. The foundational components acquired here should help you rise to a full-featured email server user under the Ubuntu 20.04 operating system environment.