Do you want to operate multiple operating systems on your computer without dual boot? If yes, then VMware Workstation, a popular virtualization tool is what you need that lets you add multiple guest OS on your single PC.
VMware Workstation is available in two different versions: VMware Workstation Player and VMware Workstation Pro. Workstation Player is a non-commercial that offers basic VMware functionality while VMware Workstation Pro offers advanced and professional features for which you need to buy a license key.
In this article, I’ll walk you through installing VMware Workstation Pro on Debian 11/10 operating system.
Prerequisites
Before we start installing it, here are the prerequisites that you should have:
- Pre-installed Debian 11.
- Minimum 2 GB RAM and 20 GB free disk space.
- Internet Connectivity.
- User with Sudo privileges.
- Hardware virtualization (AMD-v/VT-d/VT-x) enabled better performance.
Now, Let’s get started…
1. Installing VMware Workstation Pro on Debian
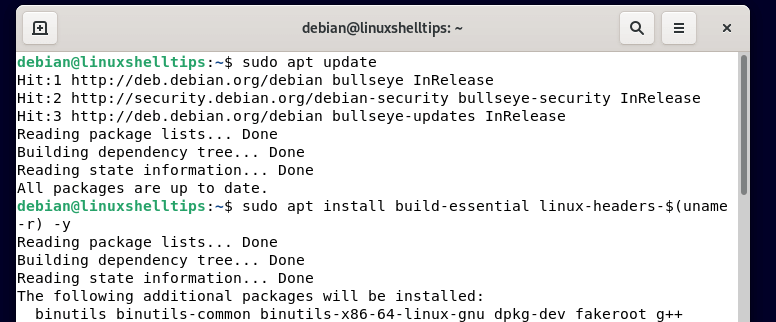
You first need to retrieve and update all package information on Debian to get the latest version. Also, install the required dependencies for VMware Workstation Pro to run it properly.
$ sudo apt update
$ sudo apt install build-essential linux-headers-$(uname -r) -y
It’s time to download the VMware Workstation Pro Bundle File for Linux.
Alternatively, you can also use the wget program to directly download the VMware workstation without visiting the site.
$ wget https://download3.vmware.com/software/WKST-1700-LX/VMware-Workstation-Full-17.0.0-20800274.x86_64.bundle
Once you download the bundle file, you also need to make the file executable by modifying the executable permission. For changing the permission of a file, simply you can run a command in a terminal:
$ chmod +x VMware-Workstation-Full-17.0.0-20800274.x86_64.bundle
Now, you can start the installation of Workstation Pro by executing the bundle file with the sudo command:
$ sudo ./VMware-Workstation-Full-17.0.0-20800274.x86_64.bundle

The above command will take a few minutes to extract the VMware Installer that will install the VMware Player application and other tools components require to run Workstation Pro.
2. Configure VMWare Workstation Pro in Debian
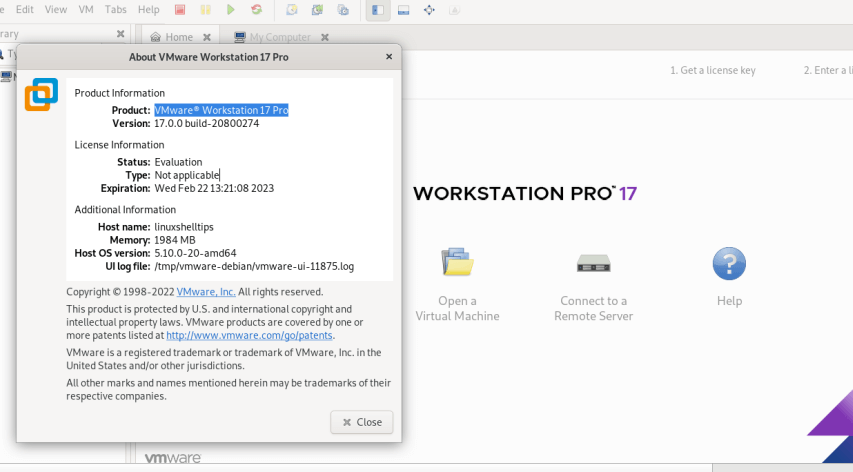
After following the above three steps successfully, it is most likely that you will be able to find results for “vmware” in your Activity. If so, just click on the VMware Workstation icon.
Before you start using the Workstation app and creating Linux virtual machines, you first need to configure the mandatory basic settings starting with accepting the End User License Agreement.

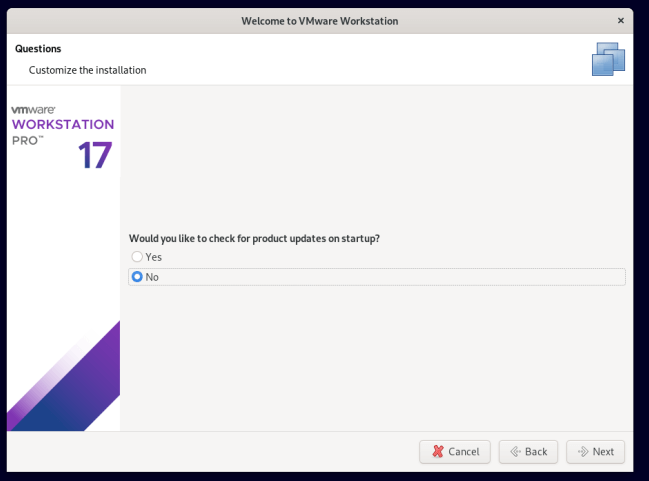
In the next screen, select No if you don’t want to check for any product updates just after you start the application.
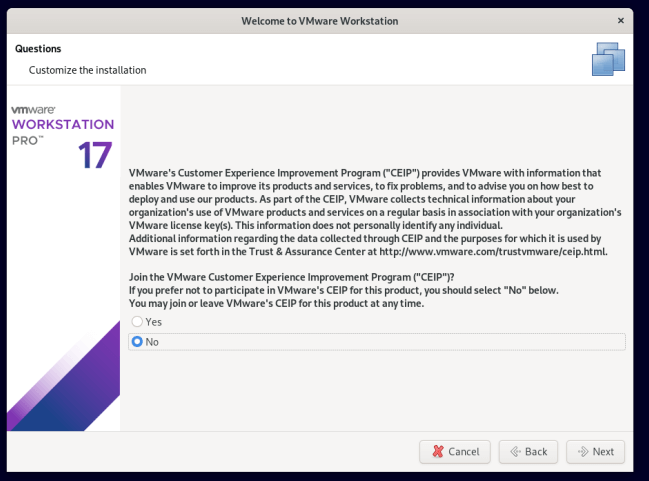
Next, you’ll be prompted to enroll in VMware’s CEIP (Customer Experience Improvement Program). If you want to help VMware improve its products, select Yes, which basically will then send your app usage statistics to VMware. Otherwise, select No.
Since we’ve installed the paid version of VMware Workstation 17, we also need to give the license key. Although, you still can use it without a license key for the next 30 days by selecting “I want to try VMware Workstation 17 for 30 days”.
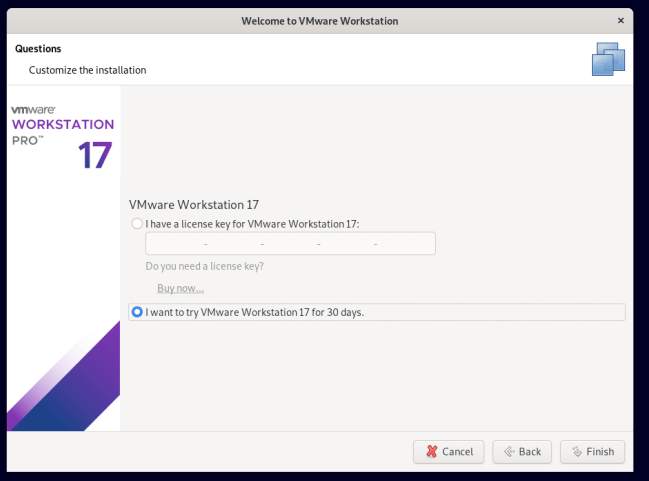
Click on Finish and you’ll be redirected to the application dashboard.
3. Activate VMware Workstation Pro in Debian
If you didn’t fill up the serial number while installing Workstation Pro, you still can enter the serial number to activate it before it expires after 30 days of a free trial.
The only thing you need to do is click on the “Enter a license key” button on the application home page.

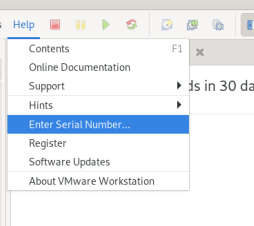
Or else, you can also go to Menu –> Help –> Enter Serial Number.
You’re now ready to create your favorite Linux virtual machines in VMware Workstation Pro by using the ISO file.
4. Install Open VM Tools in VMware Workstation
To run any Linux virtual machine on VMware Workstation, it’s also recommended to install and set up Open VM Tools. The tools help to optimize the working of virtual machines with the host machine in parallel by adapting to screen resolution and bidirectional copy-paste functions.
Run the below command to install Open VM Tools on Debian:
$ sudo apt install open-vm-tools-desktop

5. Create VM in VMWare Workstation
It’s time to create a new virtual machine in Workstation. As you can see an icon of “Create a New Virtual Machine” on the dashboard, click on it. Alternatively, you can also go to the File menu -> New Virtual Machine or use the shortcut Ctrl+N to initiate the process of creating a new virtual machine.

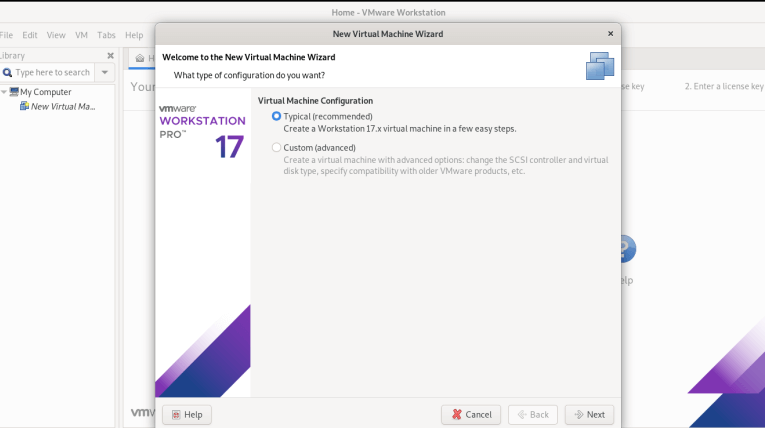
Clicking will pop up a new window. On the first screen, select the type of configuration you want. If you want to manually set up disk type and space, choose Custom or else choose Typical which is recommended as it automatically configures the Virtual Machine for you.
Next, if you’ve already downloaded the ISO image, select the “Use ISO image’ option and click on browse to locate the file location. Or, select the last option to add an ISO image after creating a virtual machine.

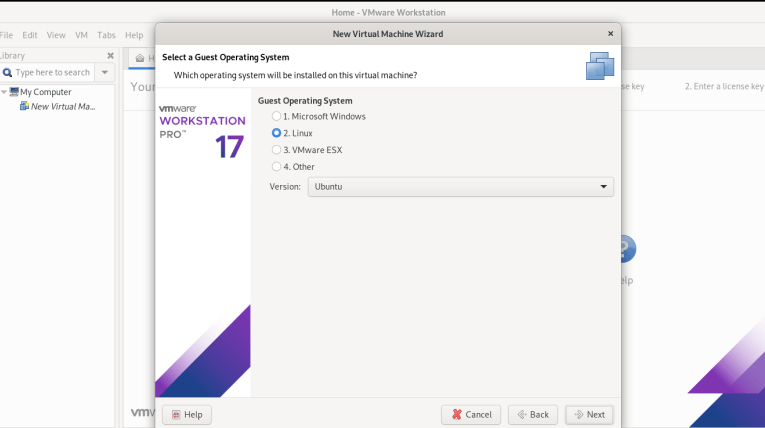
Select the type of guest operating system for which you want to create a virtual machine along with its variant version (if available in the dropdown).
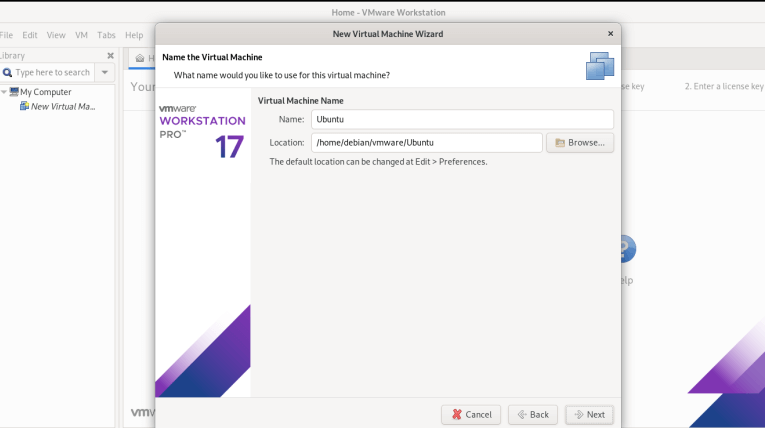
Let’s give a name to a virtual machine and select the location where you want to save your new virtual machine.
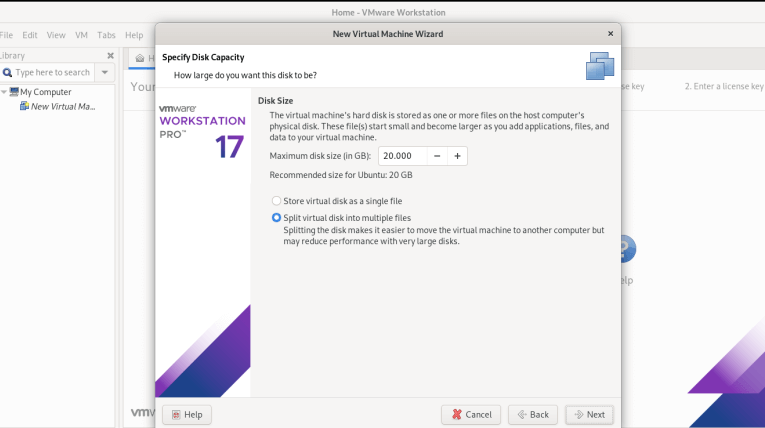
Do you need a large disk space? If yes, then increase the size by clicking on the Plus (+) icon or else just leave the default recommended size as 20GB.
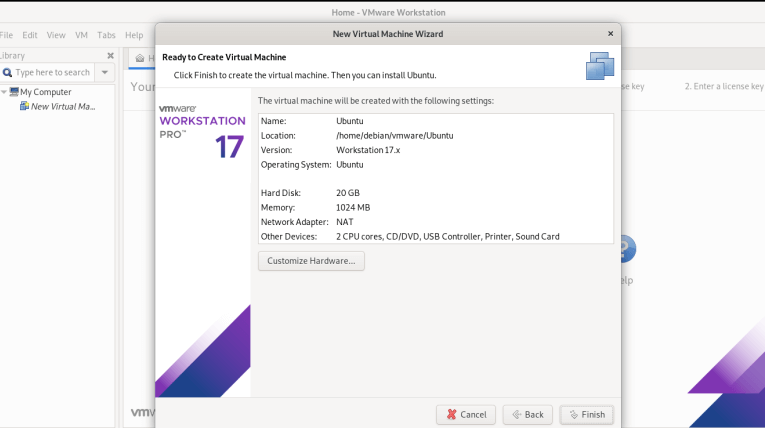
Finally, you’ve successfully created a virtual machine and it’s ready to get started. You can see the specification overview of your virtual machine.
As you can see in the below screenshot, you can click on Edit virtual machine settings, in case you still want to increase or decrease any of the machine specifications.
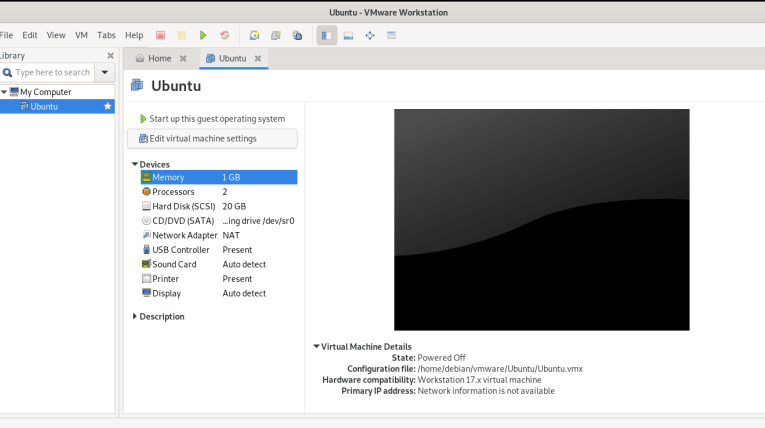
Lastly, click on the start up guest OS button and go ahead with the process of installing your operating system.
6. Uninstall VMware Workstation Pro in Debian
In case, you want to remove the VMware Workstation Pro on Debian, you can run the simple command:
$ sudo vmware-installer -u vmware-workstation
Conclusion
Finally, we learned how we can download and install professional VMware Workstation Pro on the Debian 11/10 Linux operating system to create and use multiple Linux virtual machines on a single host system. To optimize the virtual machine performance, we can also make use of Open VM Tools.