WordPress is a globally renowned, utilized, open-source, and web-based content management and publishing platform powered by the PHP programming language.
Its installation via LEMP simply implies that we have to consider Linux as its main server environment, Nginx as the main web server, MySQL as the main database server, and PHP as the main programming language footprint.
[ You might also like: How to Install WordPress with LAMP Stack on Ubuntu 20.04 ]
For the main database server, you can either go with MariaDB or MySQL Community Edition since they are both open-source and adhere to the SQL syntax rules.
Install LEMP Stack in Ubuntu
Whether you want to install WordPress on a desktop or server environment, your operating system needs to be up-to-date to meet all the needed performance requirements.
$ sudo apt update && sudo apt upgrade -y
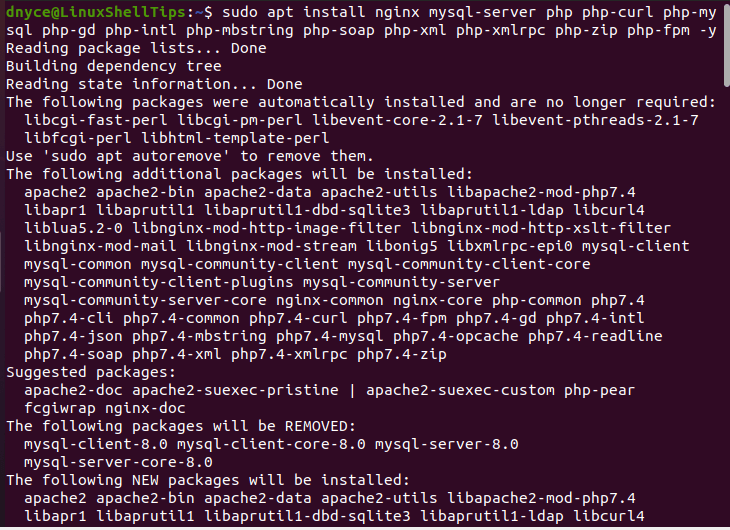
In this step, we need to figure out how to install the Nginx web server, MySQL/MariaDB database server, and PHP together with their associated dependencies if any.
$ sudo apt install nginx mysql-server php php-curl php-mysql php-gd php-intl php-mbstring php-soap php-xml php-xmlrpc php-zip php-fpm -y
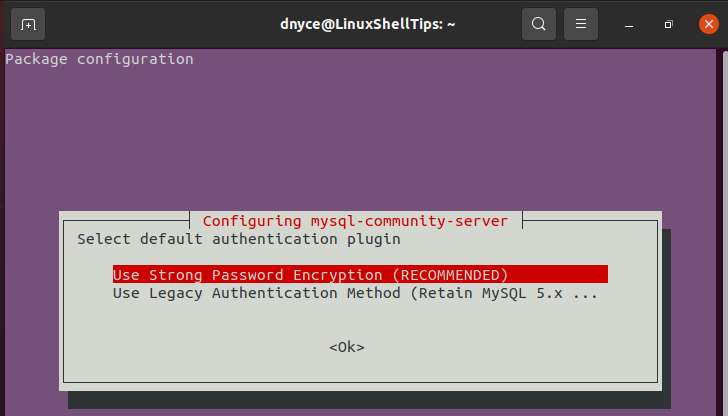
Part of the installation process might ask you to acknowledge some configuration steps for the MySQL server.
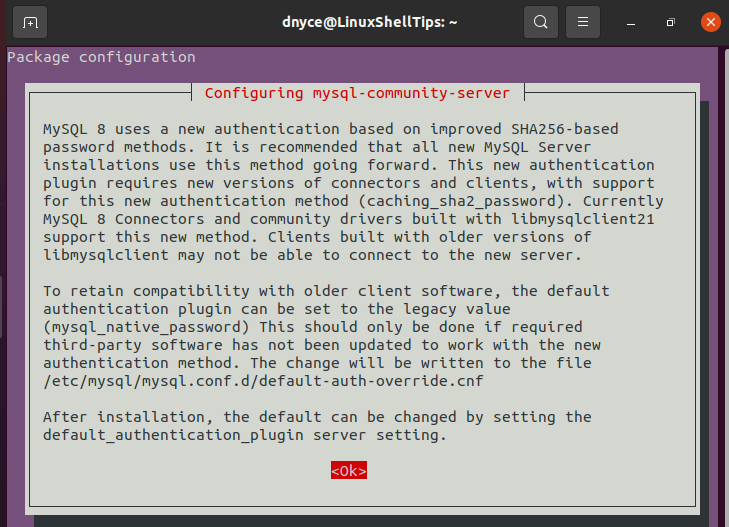
For instance, you will be asked to choose the default authentication plugin you are comfortable using.
Afterward, the LEMP stack installation process completes, ensuring that PHP-FPM, Nginx, and MySQL service daemons are running.
$ sudo systemctl start nginx php7.4-fpm mysql
$ sudo systemctl status nginx php7.4-fpm mysql
$ sudo systemctl enable nginx php7.4-fpm mysql
Install WordPress in Ubuntu
Your WordPress site needs a primary database that will store all its database tables upon its download and configuration. Before login into your MySQL console, you might need to secure your MySQL installation.
$ mysql_secure_installation
The above command also helps create the root user password for your MySQL database alongside other important database configuration settings.
Login to your MySQL shell using the created root user credentials:
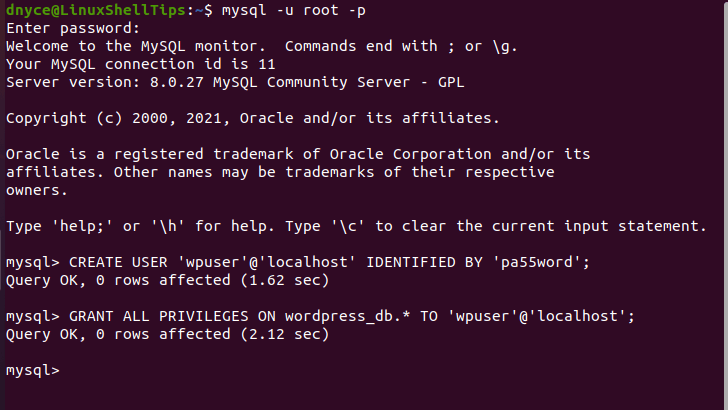
$ mysql -u root -p
Create a WordPress database and its associated user.
mysql> CREATE DATABASE wordpress_db;
mysql> CREATE USER 'wpuser'@'localhost' IDENTIFIED BY 'pa55word';
mysql> GRANT ALL PRIVILEGES ON wordpress_db;
mysql> FLUSH PRIVILEGES;
mysql> exit;
Next, you need to navigate to the following directory identified by Nginx as its default webroot.
$ cd /var/www/html
Download latest WordPress version release:
$ sudo wget http://wordpress.org/latest.tar.gz
$ sudo tar -xzvf latest.tar.gz
Set the correct website directory permissions.
$ sudo chown -R www-data:www-data /var/www/html/wordpress
$ sudo chmod -R 775 /var/www/html/wordpress
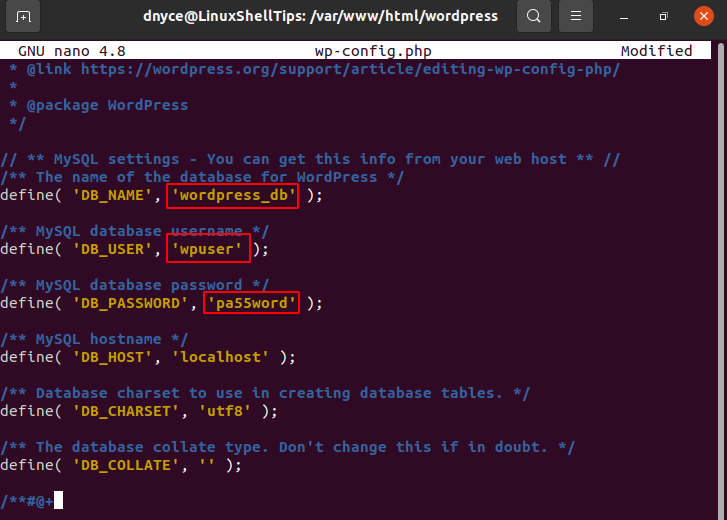
Now create a WordPress database configuration file to connect to the MySQL database.
$ cd wordpress
$ sudo mv wp-config-sample.php wp-config.php
$ sudo nano wp-config.php
Populate this file with the database credentials you created earlier.
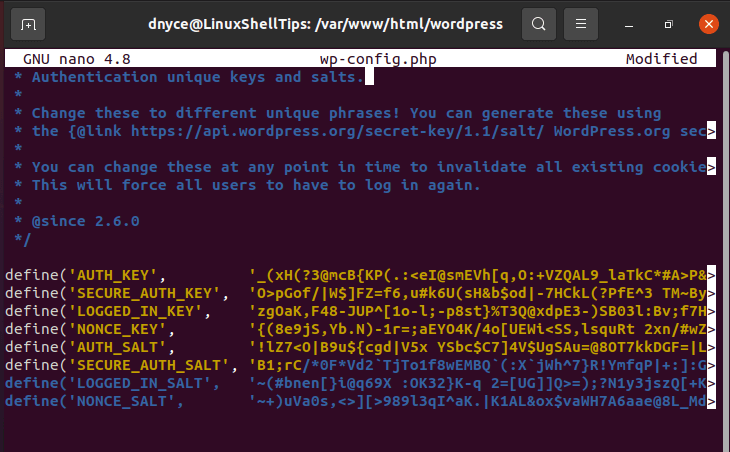
Use the WordPress secret key generator to create your unique values for this portion of the wp-config.php file.
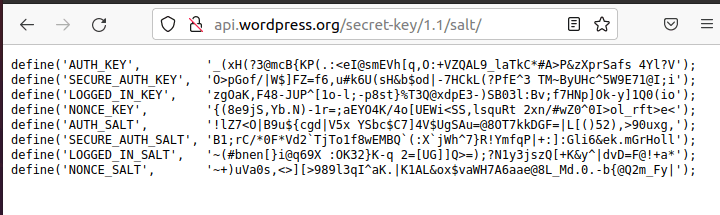
Will be represented as:
Configure Nginx for WordPress
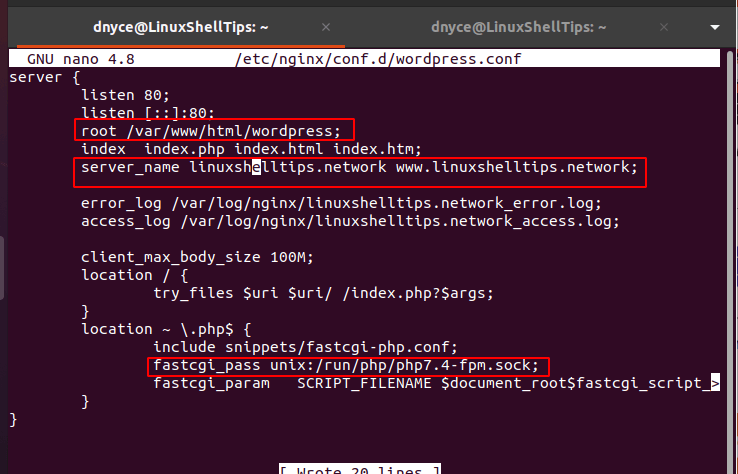
The first step here is to create a virtual nginx server block for our WordPress website.
$ sudo nano /etc/nginx/conf.d/wordpress.conf
The implementation of your file should resemble this one:
server {
        listen 80;
        listen [::]:80;
        root /var/www/html/wordpress;
        index  index.php index.html index.htm;
        server_name linuxshelltips.network www.linuxshelltips.network;

        error_log /var/log/nginx/linuxshelltips.network_error.log;
        access_log /var/log/nginx/linuxshelltips.network_access.log;

        client_max_body_size 100M;
        location / {
                try_files $uri $uri/ /index.php?$args;
        }
        location ~ \.php$ {
                include snippets/fastcgi-php.conf;
                fastcgi_pass unix:/run/php/php7.4-fpm.sock;
                fastcgi_param   SCRIPT_FILENAME $document_root$fastcgi_script_name;
        }
}
Remove default Nginx server blocks to prevent Nginx automatic requests routing.
$ sudo rm /etc/nginx/sites-enabled/default
$ sudo rm /etc/nginx/sites-available/default
Check Nginx configuration for syntax errors and restart.
$ sudo nginx -t
$ sudo systemctl restart nginx

Setup WordPress Installation Wizard
We can now access our WordPress site from the configured URL.
http://linuxshelltips.network
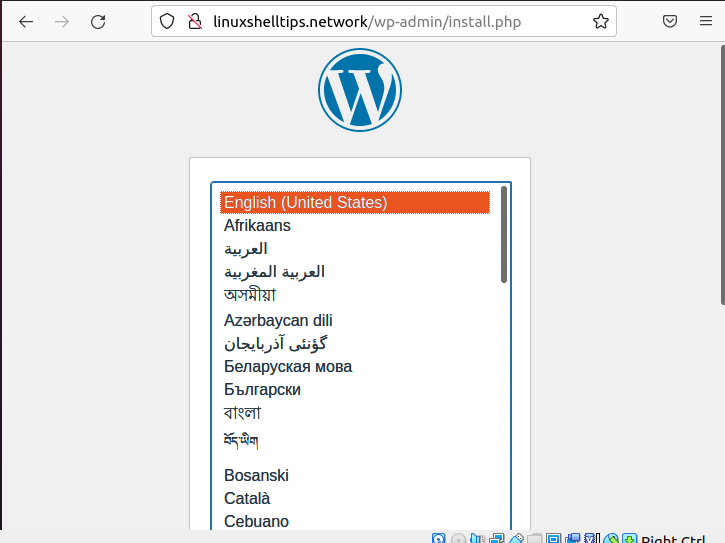
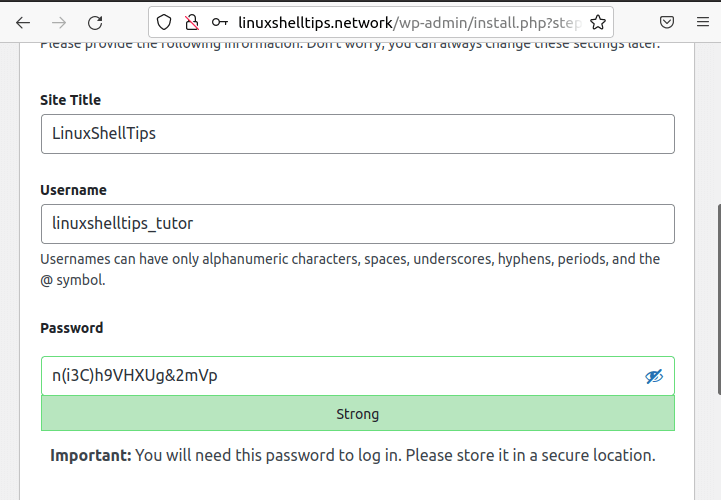
Follow the configuration steps to successfully install WordPress.
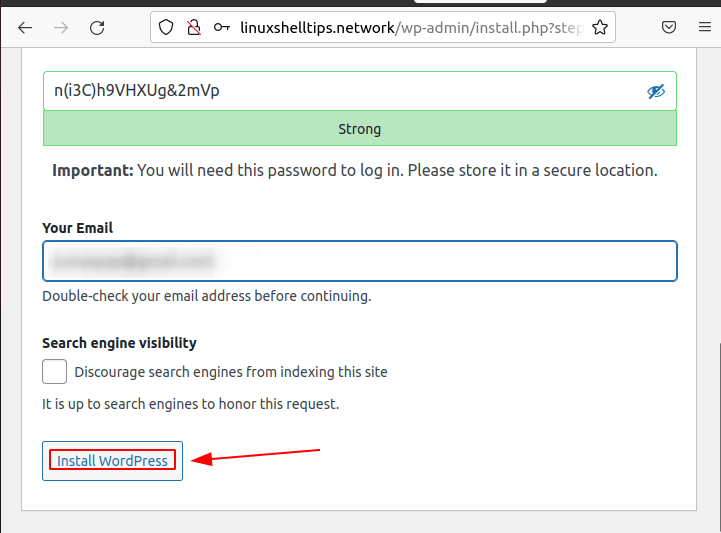
You can now embrace what WordPress has to offer under the LEMP stack in Ubuntu.