The Linux fsck system utility is directly associated with the lost+found directory construct. Executing the fsck system utility will initiate a filesystem check and repair routine.
The result of using the fsck system utility might lead to the retrieval of data fragments, not ‘registered/referenced’ by the Linux filesystem.
For instance, fsck tends to highlight data that resembles a complete file but missing a name record on the Linux system. Therefore, such nameless data tend to use up system memory and remain mysterious since there are no conventional means of accessing it.
This article is here to unravel the mysteries behind the lost+found directory and its association with the Linux fsck utility.
The lost+found Directory and the fsck Command
According to its manual page, the fsck system utility is primarily used to check and repair a questionable filesystem on a Linux operating system environment. One of its roles is to find almost-deleted files and transform them into recognizable files.
We could say that it deals with files whose name and location entries are no longer valid. So once the fsck utility retrieves such files, its go-to location for their immediate storage is the lost+found directory.
We could therefore characterize files existing in the lost+found directory as unlinked (since they have no name and location) yet being used by a system process (probably due to power failure or kernel panic) after a sudden system halt. The Linux system attributes data stored in the lost+found directory as obsolete.
The fsck utility is responsible for the creation of this lost+found directory at the root level of the Extended File System volume (Whether it’s a single volume or a volume partition).
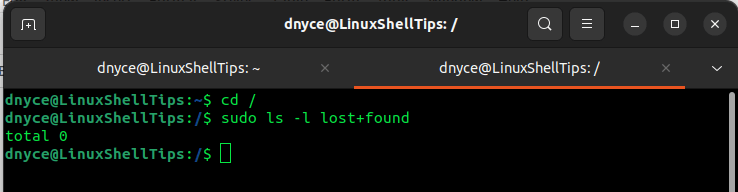
$ cd /
$ sudo ls -l lost+found
Therefore, on the root level of each of your Linux volume partitions, a lost+found directory exists.
Understanding lost+found Directory in Linux
Consider the instance where a process has access to a file and another process ends up deleting the file before it is released by the other process. The existence of this file is classified as a data fragment since its name and location entries no longer exist.
The fsck utility then repossesses this fragmented data and transforms it into a new file before moving it to the lost+found directory.
Now, whenever a software bug or hardware issue occurs and damages the Linux filesystem, running the fsck utility retrieves the assumed-deleted files that are now under a new identity in the lost+found directory.
The data on these lost+found directory files are then retrieved and used as a prognosis for the damaged Linux filesystem problem.
Creating lost+found Directory in Linux
For some reason (before coming across this article) you might have found the existence of the lost+found directory questionable and decided to delete it. It is not recommended to use the mkdir command to recreate this directory.
$ mkdir lost+found
Instead, execute the mklost+found command:
$ mklost+found
Run the mklost+found command on the root level of your Linux partition since it automatically preallocates the fsck utility some space instead of this utility (fsck) allocating itself the needed data blocks during data recovery and leading to data corruption.
Recovering lost+found Directory Data
The first step is to identify the partition that has issues e.g /dev/sdb4. You could use the lsblk command to identify the partition label.
$ lsblk
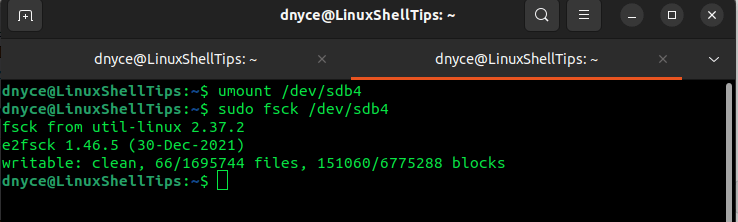
The next step is to unmount the partition or make sure it is unmounted.
$ umount /dev/sdb4
Execute the fsck command as root or sudoer user:
$ sudo fsck /dev/sdb4
Create a mounting point and mount the partition:
$ sudo mkdir -p /mnt/new
$ sudo mount /dev/sdb4 /mnt/new
Switch to the mounted directory:
$ cd /mnt/new
You should be able to see the lost+found directory.
$ ls -l lost+found
If your filesystem had issues, then recoverable data should be found here.
If you need to get rid of the lost+found directory data that you no longer need on all active partitions on your system, execute the following find command:
$ find "-iname" lost+found -type d -exec rm -r "{}" \;
We now know everything there is to know about the Linux lost+found directory. Your comments and feedback will be appreciated.