Being able to record your Linux terminal sessions is one of the cool flexes found in a Linux operating system environment. So why opt to record Linux terminal sessions? Well, suppose you want to guide someone through the installation and configuration of a specific Linux package software.
A recorded Linux terminal session is time efficient and error-free in comparison to a phone or video chat that might require too many screenshots. Also, recorded Linux terminal sessions are a perfect reference manual for command-line tasks that are not easy to memorize.
This article will walk us through successfully recording Linux terminal sessions on any Linux operating system distribution.
Introducing the Linux Script Command
The script command exists as a util-linux package and is provided by the Linux Kernel Archive. Therefore, you don’t need to install its associated package as it comes pre-configured in all major Linux operating system distributions.
The script command primarily transforms your terminal session into a typescript and its usage syntax is as follows:
$ script [options] [file]
From the above command syntax, we need to be conscious of two primary command options; -a and -t. The command option -a (append mode) enables the script command to append the recorded Linux terminal session to an output text file (e.g typescript.txt).
On the other hand, the command option -t sets a timing file (e.g timingfile.txt). You can give these files a name of your choosing.
Therefore, if we were to right away start a recording session for our Linux terminal using the script command, the final command representation will be similar to the following:
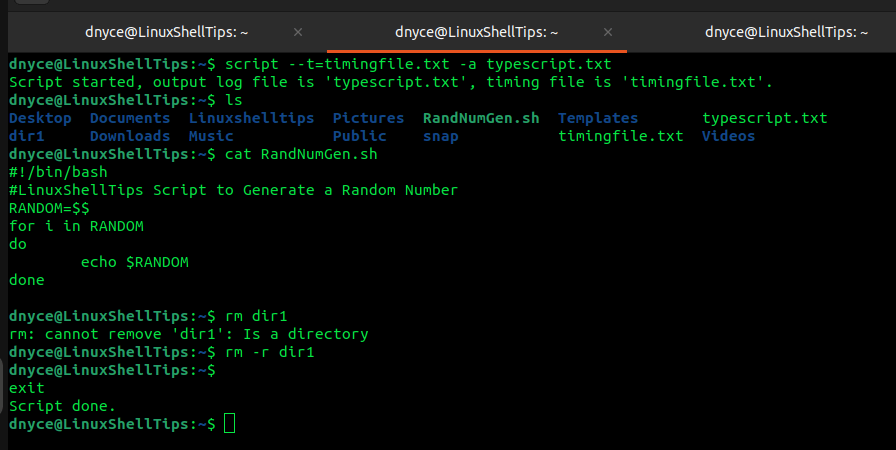
$ script --t=timingfile.txt -a typescript.txt
The timing file set by the script command option -t is invaluable since we will need it afterward when sharing or replaying the recorded terminal session.
Recording a Linux Terminal Session
Let us initiate the above-mentioned script command for initiating a Linux terminal recording session.
$ script --t=timingfile.txt -a typescript.txt

As soon as the script starts, any Linux activities associated with the command-line environment will be recorded. Therefore, continue with your command-line activities.
For instance, we can perform Linux command-line activities like navigating to different directories, viewing files, etc.
Once you are done with the Linux terminal session you wished to record, end the terminal recording session with the keyboard keys combination [Ctrl]+[d]. You should see the output “exit” followed by “Script done” to be certain that the terminal session was successfully recorded.
Replaying a Recorded Linux Terminal Session
Once the terminal session is successfully recorded, a log file (typescript.txt) and a timing file (timingfile.txt) are created and saved.
With these files present, we can use the scriptreplay command to replay the recorded terminal sessions, as this command is also part of the util-linux package and is pre-installed on major Linux distributions.
$ scriptreplay --timing=timingfile.txt typescript.txt
You could additionally use the divisor option -d to speed up the replay e.g 5 or 10 times faster.
$ scriptreplay --timing=timingfile.txt typescript.txt -d 10
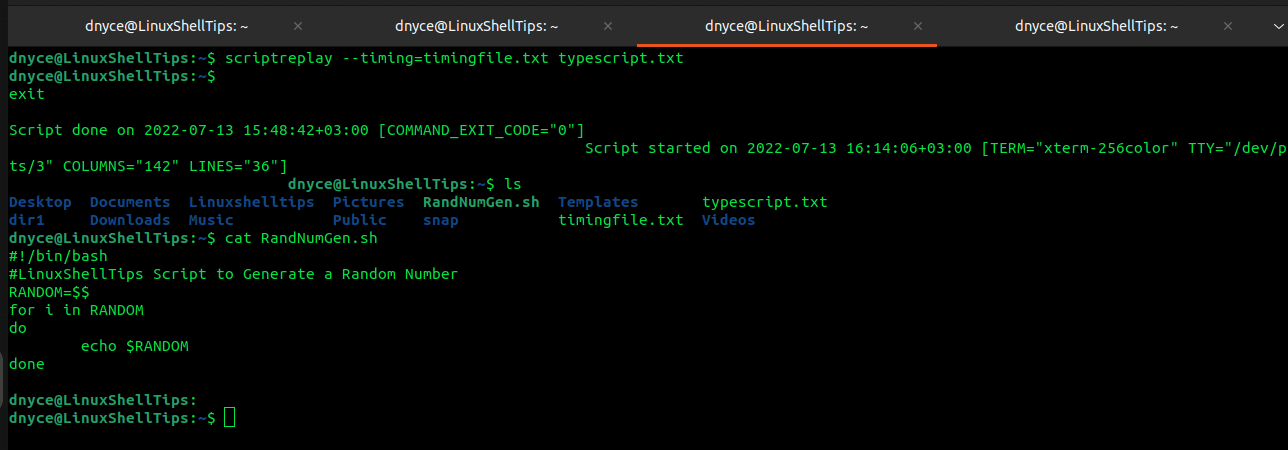
You should get a preview of the Linux-related activities you just executed.
Learn more about the command options to associate with the script and scriptreplay commands from their manual pages.
$ man script
$ man scriptreplay
Hope you enjoyed the article, your comments and feedback are always appreciated.