Ubuntu is getting popular in programming for developers because of being a free and open-source operating system and most of the programming software and compiler comes preinstalled.
There are many popular compilers available for the C programming language in the market, for example, GCC Compiler, Clang, MinGW, Turbo C, etc.
This article will explain the many ways to run C and C++ software on Ubuntu. We will cover utilizing popular IDEs like Visual Studio Code (VSCode), using fundamental tools like GCC and g++, and automating processes with Makefiles.
Use GCC to Compile and Run C Programs in Ubuntu
Programming languages like C are frequently compiled using GCC (GNU Compiler Collection), a popular compiler. Thanks to its straightforward installation procedure, Gcc is widely available for the compilation and execution of C software on Ubuntu.
To run and compile the C program properly in your Ubuntu system, you need to install the build-essential package, which includes GCC/g++ compilers and libraries which are required to compile and run C programs in Linux.
$ sudo apt install build-essential
A basic collection of tools and libraries necessary for creating software on the system are provided by the build-essential package in Ubuntu. It includes crucial parts required for linking and compiling C, C++, and other programming languages. The package contains development header files, linkers, libraries, and compilers.
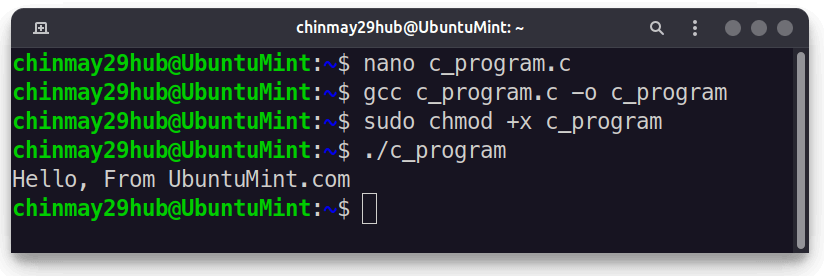
Open a new terminal session and create a new file for example “c_program.c” using nano editor as shown.
$ nano c_program.c
Now we write a simple basic C program to print Hello, From UbuntuMint.com on the screen.
#include <stdio.h>
int main() {
   // printf() displays the string inside quotation
   printf("Hello, From UbuntuMint.com\n");
   return 0;
}
In order to build an executable file for your program, enter the below command in your terminal. Make sure you are on the correct path where you have saved your program in your system.
$ sudo gcc c_program.c -o c_program
A new executable file is created in the current working directory if the code is free of errors. First, let us give executable permission to the file.
$ sudo chmod +x c_program
Time to run your first program by running the below command in your terminal to execute your first program.
$ ./c_program
Use G++ to Compile and Run C++ Programs in Ubuntu
The build-essentials package’s C++ compiler is referred to as g++. In order to compile and convert C++ source code into executable files or libraries, GNU provides this essential tool.
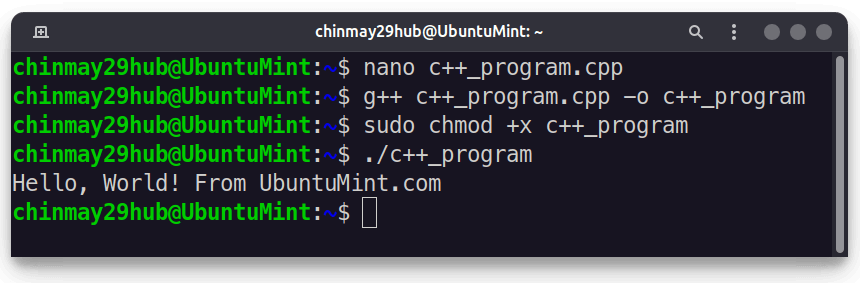
Your C++ code should be placed in a new file with the .cpp file extension.
$ nano c++_programm.cpp
Add the following example code:
#include <iostream>

int main() {
	std::cout << "Hello, World! From UbuntuMint.com" << std::endl;
	return 0;
}
Compile the code using G++ with the -o flag to name the executable file.
$ g++ c++_program.cpp -o c++_program
An executable file should be created in the working directory if the does not have any errors. Give the generated file executable permissions.
$ sudo chmod +x c++_program
Execute the file using.
$ ./c++_program
Use Makefiles for Automating C Program Compilation
Automating the compilation process might help you save time and effort while working on complicated projects with several source files, libraries, and dependencies. Build automation software like Makefiles may take care of the compilation process for you.
Open up a terminal and create a new file called “Makefile” without any extensions in the same working directory where all your C or C++ programs are present.
$ nano Makefile
Paste the following code in the file.
CC = gcc
CFLAGS = -Wall -Wextra

SRC_DIR = .
SRCS := $(wildcard $(SRC_DIR)/*.c)
BINS := $(patsubst $(SRC_DIR)/%.c,%,$(SRCS))

.PHONY: all clean

all: $(BINS)

$(BINS): %: $(SRC_DIR)/%.c
    $(CC) $(CFLAGS) -o $@ $<

clean:
    rm -f $(BINS)
The above script will compile all the files present in the current directory for you by hitting only one command as shown in the following example.
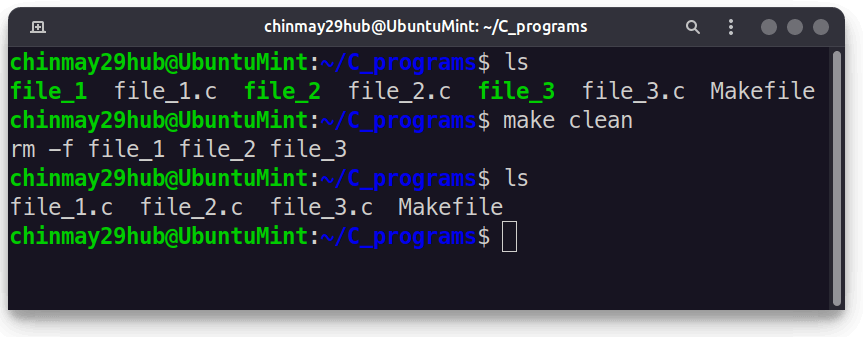
I have three C program files and I have placed the Makefile in the same directory.

Run the following command and see the magic.
$ make
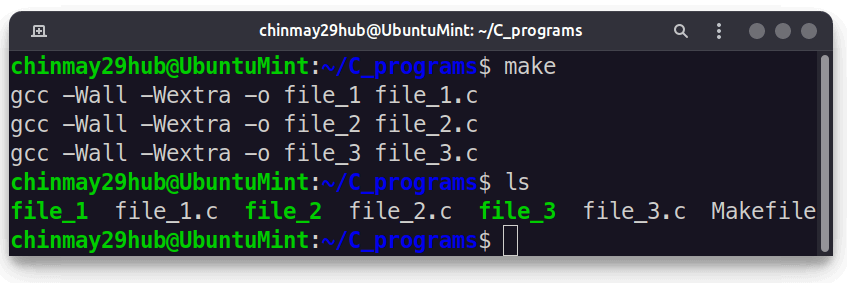
The make command compiled all files and generated three executable files.
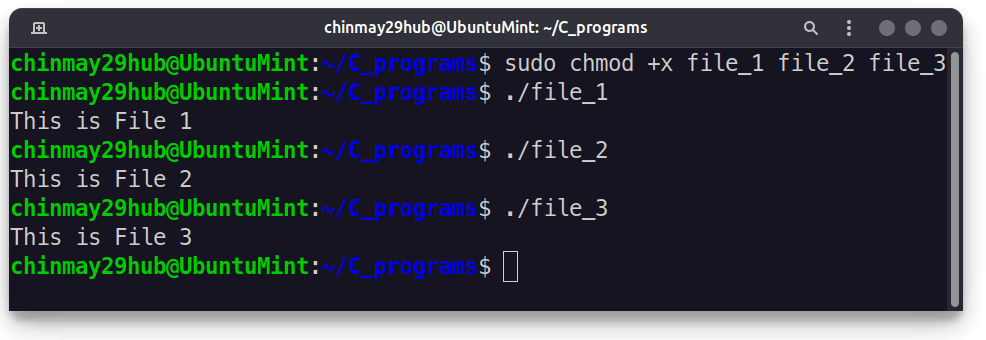
After compilation, you can run whichever file you want
$ sudo chmod +x file_1
$ ./file_1
You can even clean all the executable files at once with.
$ make clean
Likewise, for C++ program files you can use the following Makefile script.
CXX = g++
CXXFLAGS = -Wall -Wextra

SRC_DIR = .
SRCS := $(wildcard $(SRC_DIR)/*.cpp)
BINS := $(patsubst $(SRC_DIR)/%.cpp,%,$(SRCS))

.PHONY: all clean

all: $(BINS)

$(BINS): %: $(SRC_DIR)/%.cpp
    $(CXX) $(CXXFLAGS) -o $@ $<

clean:
    rm -f $(BINS)
Using Visual Studio Code (VSCode) for C and C++
VSCode being the popular code editor provides good support for C and C++. It has features like syntax highlighting, easily spot and fix errors, extension support for fast development, etc.
Follow any of the below methods to install VsCode on your Ubuntu system.
Using snap:
$ sudo snap install --classic code
Using VsCode repository:
$ sudo apt install software-properties-common apt-transport-https wget
$ wget -q https://packages.microsoft.com/keys/microsoft.asc -O- | sudo apt-key add -
$ sudo add-apt-repository "deb [arch=amd64] https://packages.microsoft.com/repos/vscode stable main"
$ sudo apt install code -y
Using the Software Centre – search for “code” in the store and hit install.
After installing, launch Visual Studio Code.
$ code
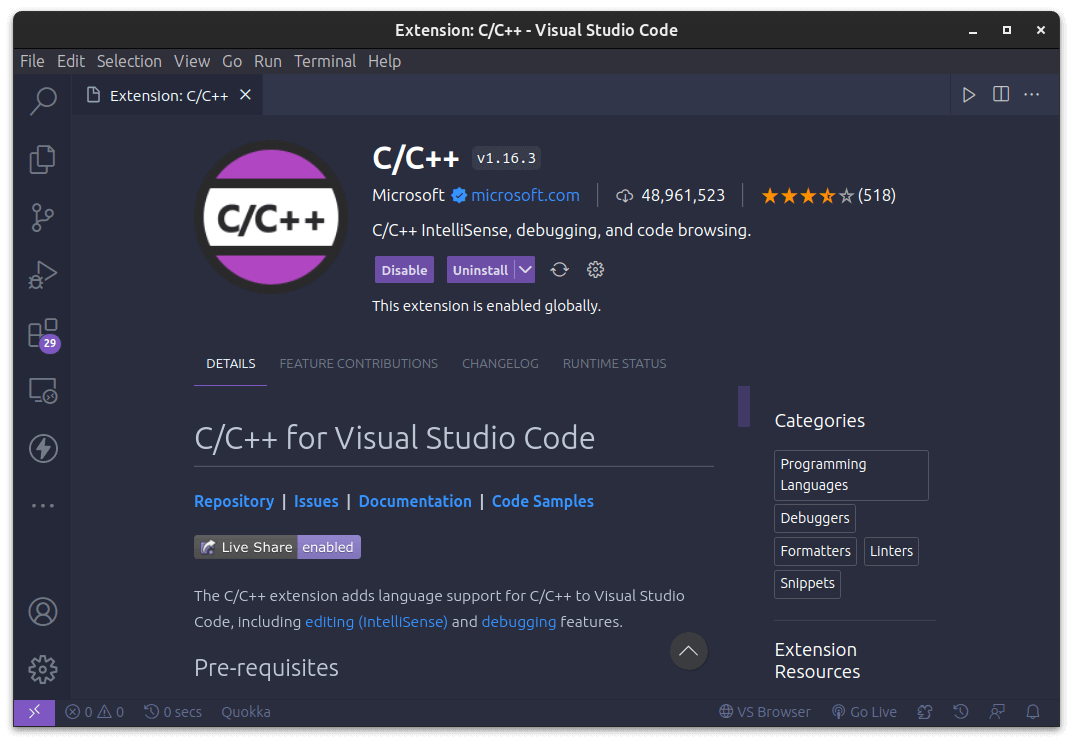
Install the C/C++ Microsoft extension by searching it in the extensions tab or pressing “CTRL + P” to open the command palette and passing.
ext install ms-vscode.cpptools
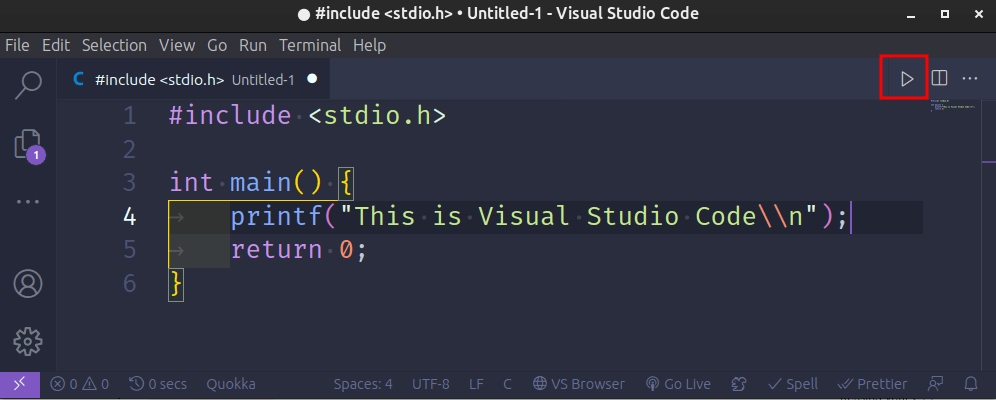
Now, create a new C/C++ file or open the folder where all your codes are present.
#include <stdio.h>

int main() {
    printf("This is Visual Studio Code\\n");
    return 0;
}
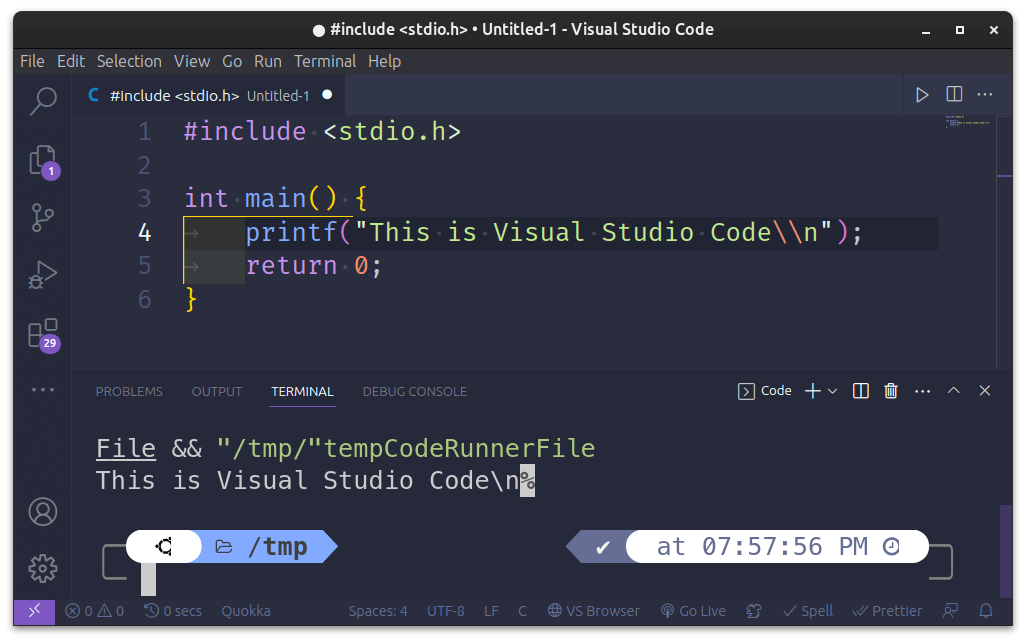
Keep the file active and press the play/run button at the top right corner of the editor.
This will compile and run the executable file for you and the output will be displayed in the integrated terminal.
Conclusion
Running C and C++ programs on Ubuntu is a straightforward process with various methods at your disposal.
Whether you prefer the command line with GCC and G++, automation using Makefiles, or the convenience of an IDE like VSCode, Ubuntu offers a flexible environment for your programming needs.
Choose the method that suits your preferences and enjoy developing C and C++ applications on Ubuntu.
Probably due to HTML gobbling, but you left off the <stdio.h> on the include line for the firstProgram.c example.
@Ashlie,
Thanks, corrected the article…