The binary compatibility that associates Rocky Linux with RHEL (Red Hat Enterprise Linux) has made this free operating system software a perfect alternative for users that still want to reap the server benefits found in the RHEL ecosystem. It has made Rocky Linux an ideal candidate for server management and networking.
This article seeks to explore how to associate network configurations with IP addresses on the Rocky Linux environment to successfully set up a static IP address.
Configure Static IP Address Using Nmtui in Rocky Linux
If you are still familiarizing yourself with the Rocky Linux OS environment, you will appreciate this basic approach to configuring a static IP address. It saves us from having to rely on third-party tools for the needed configuration steps.
Since Rocky Linux shares the same DNA as RHEL, it is packaged with a useful TUI (Text User Interface) networking tool called nmtui.
Before we get to using the nmtui tool, we need to be procedural for this article guide to be as flawless and less complicated as possible:
1. Update your Rocky Linux system.
$ sudo yum update
2. Acknowledge that you have active network interfaces on your Rocky Linux system. In this case, our objective is to configure a static IP address on our Rocky Linux system and associate it with an existing Ethernet wired network.
On your Rocky Linux server system terminal, execute the following command:
$ ip addr show
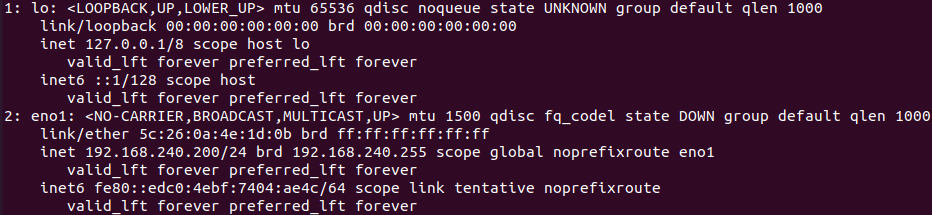
The output of the above command should produce several interfaces. The interface name eno1 is the one associated with the static IP address we would like to configure to a different value. From it, we can note the following:
Static IP address: 192.168.240.200
Broadcast address: 192.168.240.255
3. From your Rocky Linux terminal, launch the nmtui GUI program.
$ nmtui
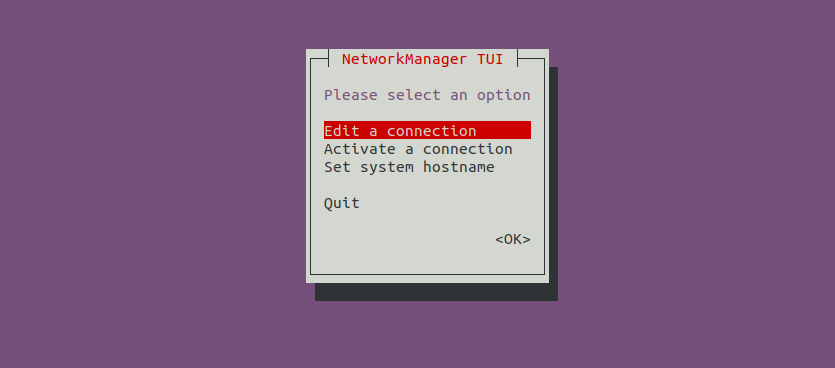
Hit Enter on your keyboard on the selected menu option “Edit a connection”. Select a connection you prefer to edit under Ethernet and hit Enter on your keyboard again. In my case, the connection is “Wired connection 1”.

Select “<Edit...>” and hit Enter again. It will lead to the following interface.
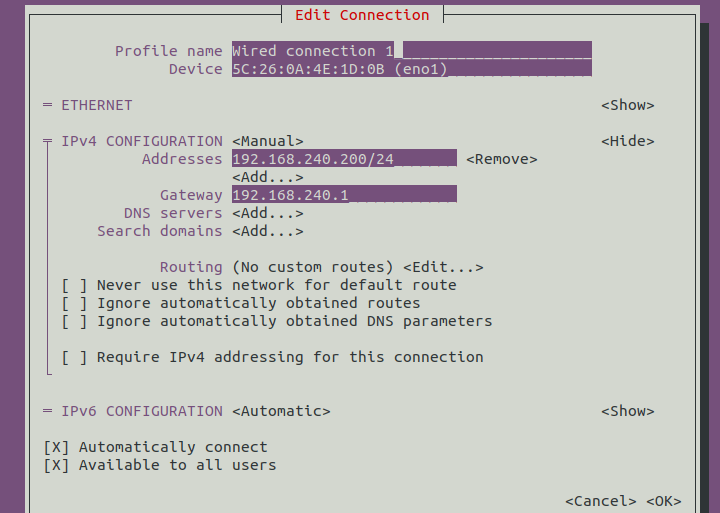
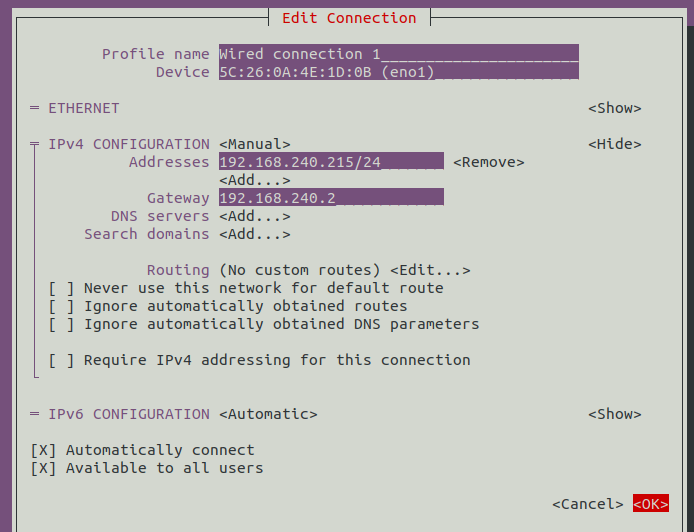
Your IPV4 configuration value should be changed to “<manual>” for you to make the needed edits. Sometimes it might be “<Automatic>”. I will now edit my values to the following:
Static IP address: 192.168.240.215
Gateway: 192.168.240.2
Navigate to “<OK>” and press Enter on your keyboard.
Now Hit Enter on “<Back>”.
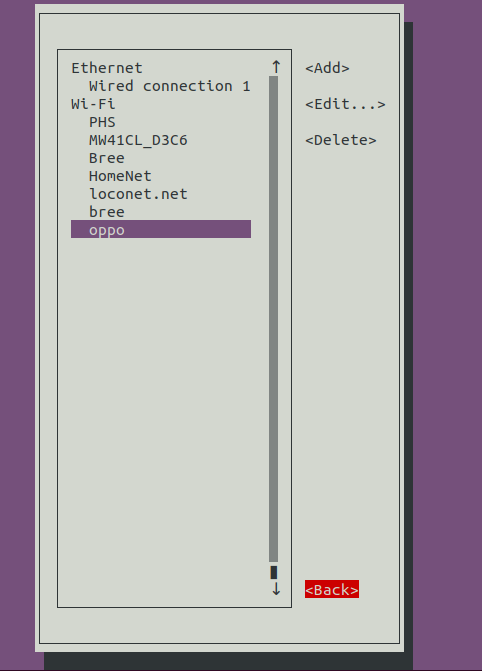
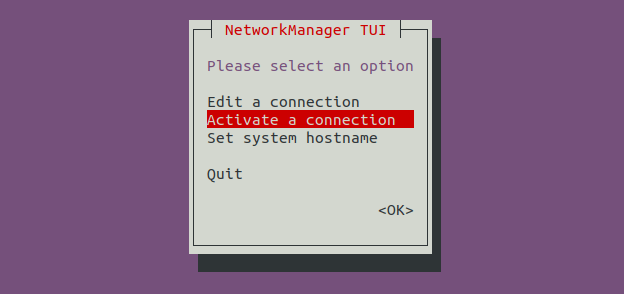
Hit Enter to “Activate a connection”.
Hit Enter on “Deactivate”.
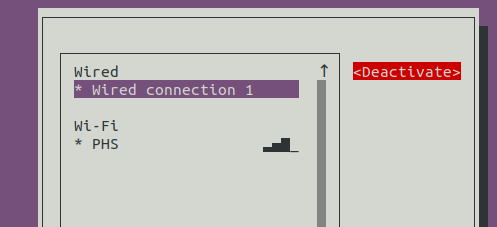
Hit Enter on “Activate” again.

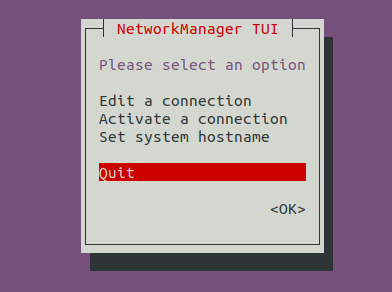
Go “Back” and Exit nmtui by selecting “Quit”.
4. We now need to confirm the static IP address changes we made through Rocky Linux. Enter the following command on your terminal:
$ ip addr show
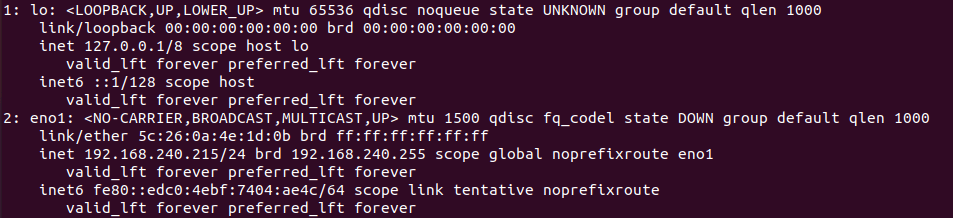
As you can see, we have our new static IP address value (192.168.240.215) reflecting on our Rocky Linux system as per the above screenshot on the eno1 network interface.
Being able to configure your own static IP address value has several benefits. You will have convenient and flexible remote access to other machines and networks because you are working with customizable and manageable IP rules.