Vim is an exceptional and widely used terminal-based text editor in the Linux community. A growing number of Linux users are slowly embracing the use of vim text editor to meet their file editing objectives.
Not all Linux users are quick to embrace and stick to the default settings and configurations associated with apps like text editors. Some users prefer a colorful approach to the Linux lifestyle.
This article is here to inform us that we can accomplish more than just text editing tasks with Vim. We should be able to set the Vim background colors to our desired preferences while perfecting our text editing skills.
Installing Vim in Linux Systems
The vim installation guide on various Linux operation system distributions is as follows:
$ sudo apt install vim            [On Debian, Ubuntu and Mint]
$ sudo yum install vim            [On RHEL/CentOS/Fedora and Rocky Linux/AlmaLinux]
$ sudo emerge -a app-editors/vim  [On Gentoo Linux]
$ sudo pacman -S vim              [On Arch Linux]
$ sudo zypper install vim         [On OpenSUSE]
Setting the Vim Background Colors
The vim editor software package comes with modifiable color schemes that a typical vim user can easily configure. Additionally, if vim users need access to a more dynamic color spectrum, customized color schemes are optionally available for download.
Also, the vim startup file gives users choice and control over the color scheme they wish to default.
Viewing Vim Color Schemes
Our Linux system is associated with multiple color schemes. Vim’s post-installation will adopt the default color scheme your Linux terminal environment was already using.
Default command-line color scheme:
Vim’s adopted color scheme:

To interact with the various available Vim color schemes, first launch the text editor:
$ vim
Secondly, enter the command:
:colorscheme
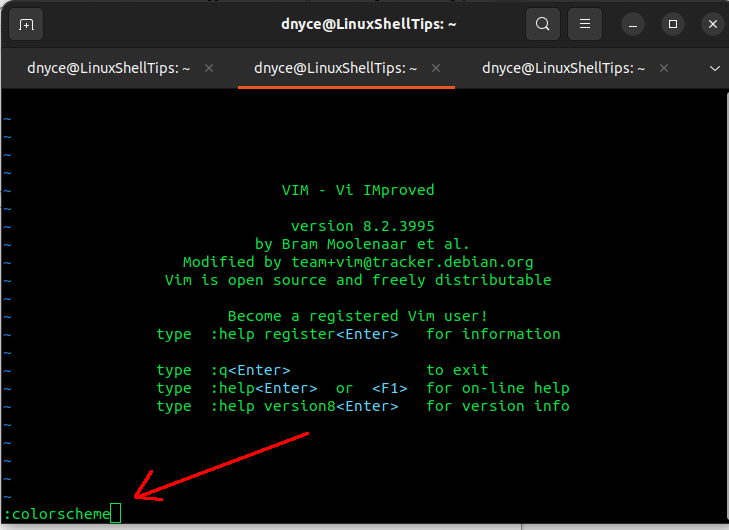
The above command is used to define all the color schemes associated with the vim text editor.
To get a preview of all available color schemes, execute the command:
:colorscheme + [Space] + [Tab]
You should get a preview of available color schemes:
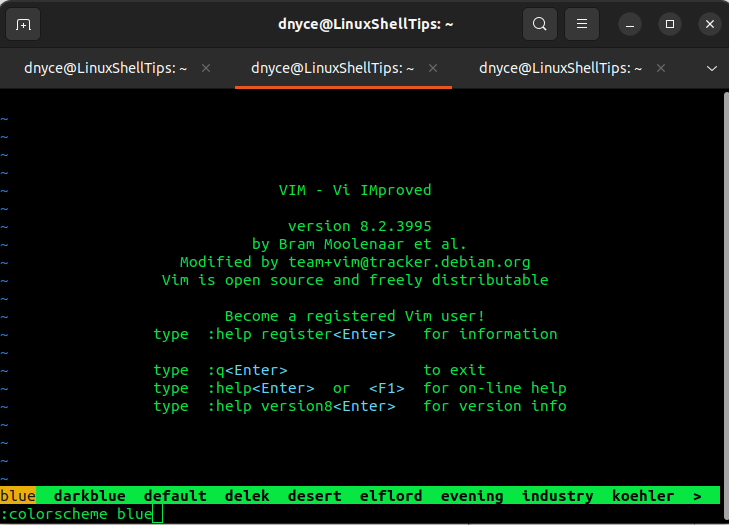
Use the [Tab] keyboard key to navigate through the availed Vim editor color schemes (e.g blue, delek, desert, evening, etc). Once the color scheme you wish to test or try is highlighted, run the following command to preview its outlook.
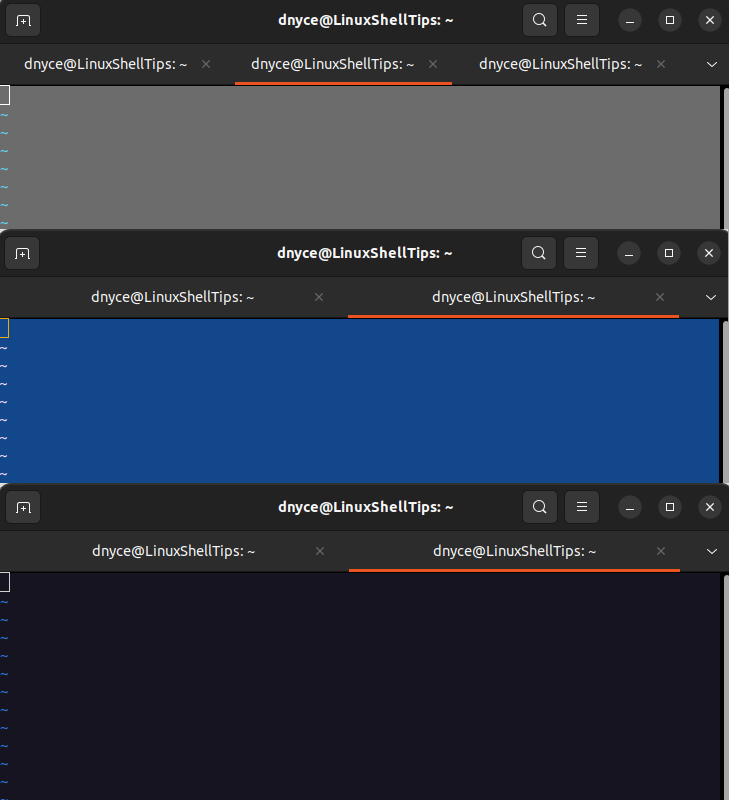
For instance, to preview the evening colorscheme, we would run:
:colorscheme evening
and then press [Enter] on the keyboard.
To try out other colorscheme, run:
:colorscheme blue
:colorscheme industry
Making Vim Background Colors Permanent
As you can see the initially implemented Vim background colors were only effective during the active vim session. To make the background color permanent, create a vimrc file if it does not already exist.
$ cp -v /usr/share/vim/vim*/vimrc_example.vim ~/.vimrc
Open the file with vim and switch to INSERT mode by pressing the keyboard key [i].
$ vim ~/.vimrc
Set the preferred colors scheme value in the file:
colorscheme industry
Press [Esc] + [:w] to save the file.
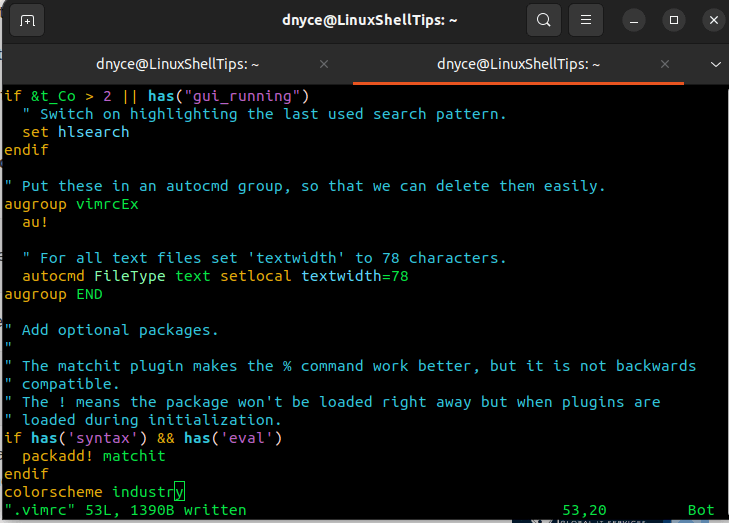
We have permanently set the vim editor’s background color.
You might also like to read the following vim-related articles:
- What’s the Difference Between Vi and Vim Editors
- How to Cut, Copy, and Paste in Vim Editor
- How to Split Vim Workspace Vertically or Horizontally
This article has shown us how to temporarily set the vim editor’s background colors during its active session and permanently via the ~/.vimrc file. Hope this article guide was helpful. Feel free to leave a comment or feedback.