Do you want a containerized application? Get Docker, which is the most preferred platform that helps you design, deploy, and execute programs as lightweight containerized applications.
Whether you’re a beginner or have experience with containerization, you should have a good knowledge of Docker commands that can help you unleash the best out of Docker.
So, Let’s begin with installing Docker on Linux.
Install Docker on Linux
The easy way to install docker on Linux is to just run the install script provided by Docker using the curl command:
$ curl -sSL https://get.docker.com/ | sh
It will automatically install docker on your Linux system. And if you’re already having docker, the command will display a warning.
Docker Commands Cheat Sheet
In this ultimate cheat sheet, we will go through all important docker commands for each particular operation that Docker allows.
Docker Management Commands
The following commands help to get general information about the system.
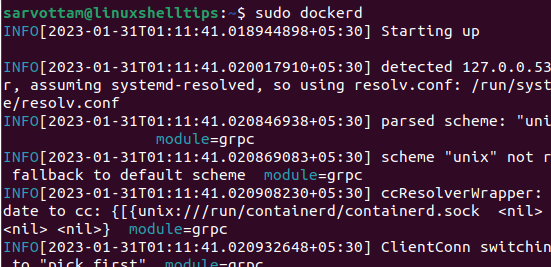
To start the docker daemon manually:
$ dockerd
To get system-wide information regarding the Docker installation:
$ docker info

To get the version of docker you’re using:
$ docker --version

Docker version 20.10.12, build 20.10.12-0ubuntu4
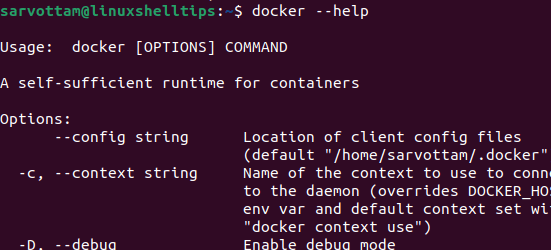
And to get information about all Docker subcommands:
$ docker --help
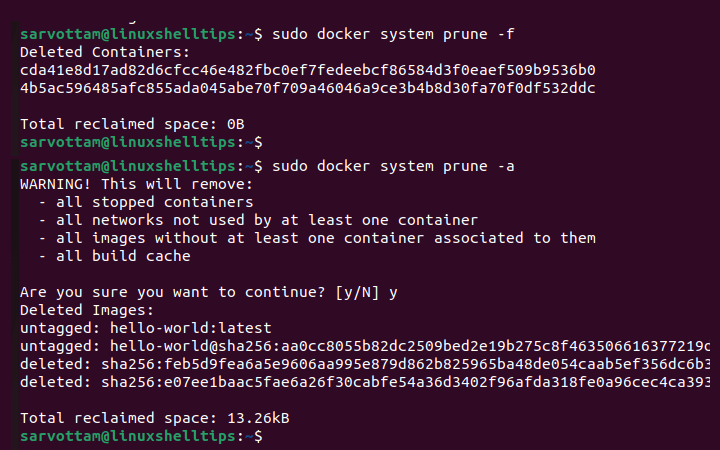
To save some space, you can remove all unused containers, networks, images, and optionally, volumes.
$ docker system prune -f
$ docker system prune -a
Docker Hub
Docker Hub is an official service by Docker that maintains all container images to browse and download. As you will also need to connect with the docker hub library for finding and downloading container images, it’s important to know the commands associated with it.
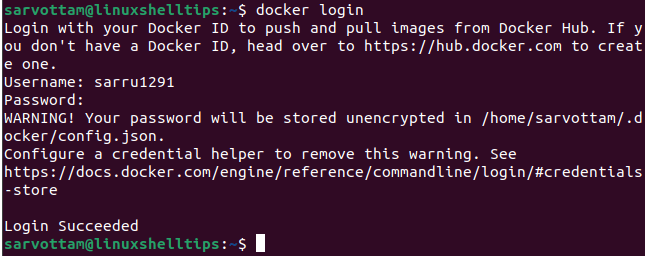
Login into your Docker account using the below command that will prompt you to enter your credentials:
$ docker login
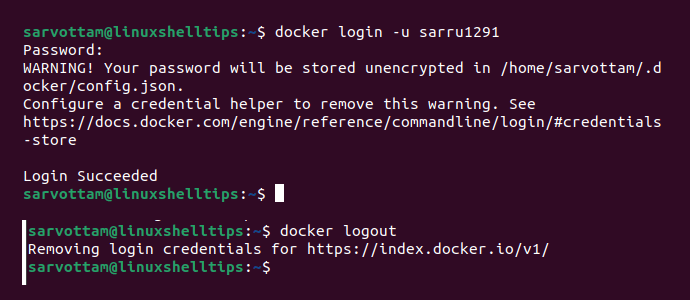
Login into the Docker account using the username:
$ docker login -u <username>
Log out from your Docker account:
$ docker logout -u <username>
Publish your own container image to Docker Hub:
$ docker push <username>/<image_name>
Search on the Docker Hub for an image:
$ docker search <image_name>

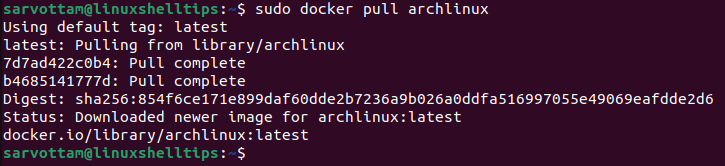
After searching and identifying the image name, pull the image from a Docker Hub:
$ docker pull <image_name>
Or
$ docker pull <image-name>:<tag-name>
Docker Images
Docker Images are lightweight packages of multiple software like code, runtime, system tools, system libraries, and settings required to run an application.
As you can download various images from a public repository Docker Hub, you can also build your image and push it to Docker Hub.
If you have got a dockerfile from which you want to build images, just go to the location and run:
$ docker build
You can also build images using your GIT remote repository using the command:
$ docker git <repo-web-url>
To list all images available in your Docker, run:
$ docker image ls

For normally deleting Docker Image, run:
$ docker image rm <image-name>
And in case you wish to remove all unused images, just hit:
$ docker image prune
Docker Containers
The image that you download from Docker Hub is just a template that you can use to create multiple runtime instances known as a container. A container runs in isolation regardless of the infrastructure.
Run the command to create a container with a custom name:
$ docker container create -t -i - -name <container-name> <image-name>

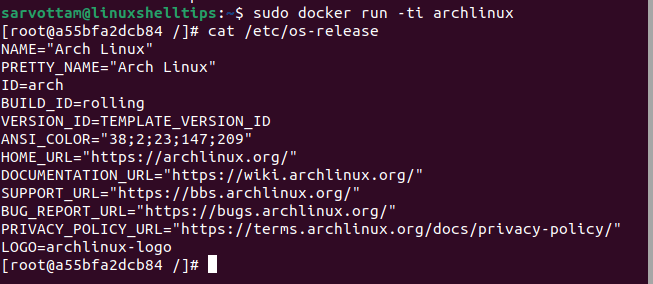
Now to run a container:
$ docker container run -ti <image-name>
In case, you want to rename your container, execute:
$ docker container rename <current-container-name> <new-container-name>

Want to change any specifications of your container? run update command:
$ docker container update --cpu-shares 512 -m 300M infinite
To stop a container and restart it:
$ docker restart <container-name or container-id>
To pause a running container:
$ docker pause <container-name or container-id>
To unpause all processes in the specified containers:
$ docker unpause <container-name or container-id>
You can also send a SIGKILL signal to stop a container:
$ docker kill <container-name or id>
If you want to macro information related to all containers you have, use the below commands.
List all running docker containers:
$ docker ps

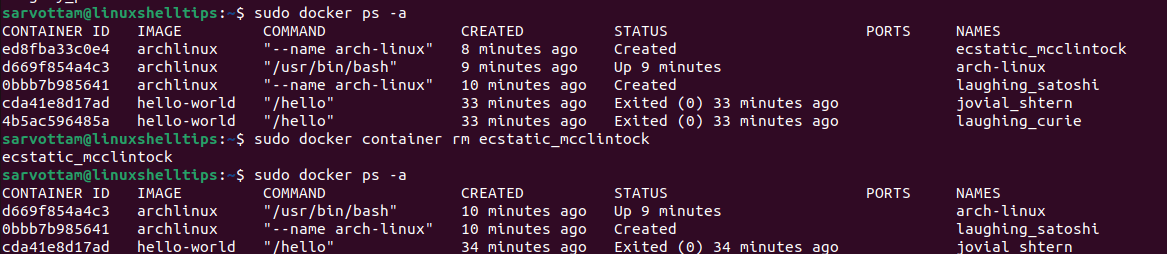
List all docker containers whether running or not:
$ docker ps -a
Or
$ docker ps -all

Get logs for a particular docker container:
$ docker logs <container-name>
You can also retrieve logs of a specified time using:
$ docker logs -f –until=[interval] [container]
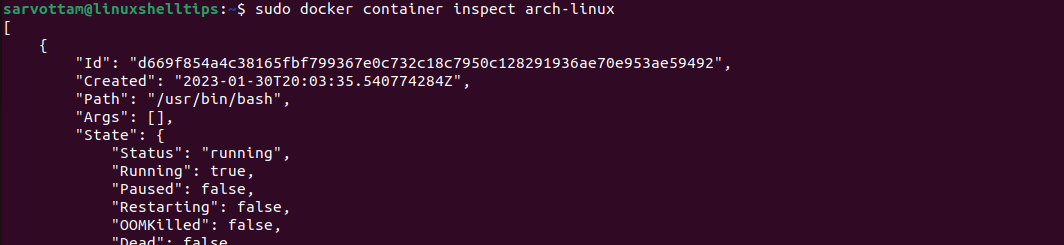
You can even inspect the docker container by running:
$ docker container inspect <container-name>
Furthermore, you can also inspect if there are any changes happened to files or directories on a container’s filesystem:
$ docker diff <container-name>
If you wish to obtain real-time events from the server, you can use docker events:
$ docker events <container-name>
To display all running processes in the docker container:
$ docker top <container-name>

Apart from the processes list, you can also get complete live stream statistics of resources usage by the docker container:
$ docker stats <container-name>

If you want to remove any running docker container, execute:
$ docker container rm <container-name>
If you want to remove the docker container along with all of its data, use the -v option:
$ docker container rm -v <container-name>
Docker Network
Interestingly, Docker includes support for networking containers through the use of network drivers. Docker automatically creates 3 network interfaces when you install it: bridge, host, and none. A new container is launched into the bridge network by default.
To view all available networks:
$ docker network ls

After listing, connect to a particular network by running:
$ docker network connect <network> <container>
To disconnect the docker network.
$ docker network disconnect <network> <container>
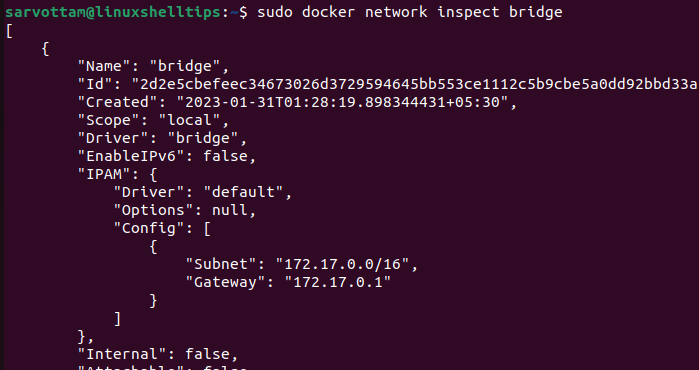
Before connecting to a network, you can execute the below command to get information about a network:
$ docker network inspect <network>
You can also remove the network from the list of available networks:
$ docker network rm <network>
To establish a distributed network between many Docker daemon hosts:
$ docker network create -d overlay <network>
Sometimes, you may want your container directly connect to a Network when it starts, so to do that:
$ docker container run -it -d --network=<network> <container-name>
Docker Commands For Plugin Management
You might be using Docker plugins to bring some new functionality to it. Below are the commands you can use for enabling or disabling plugins.
$ sudo docker plugin

Before start installing, you can browse through the Docker Hub to decide which plugin you want:
$ sudo docker plugin install <plugin>

To list all docker plugins:
$ docker plugin ls

To enable a docker plugin:
$ sudo docker plugin enable <plugin>
To disable a docker plugin:
$ sudo docker plugin disable <plugin>
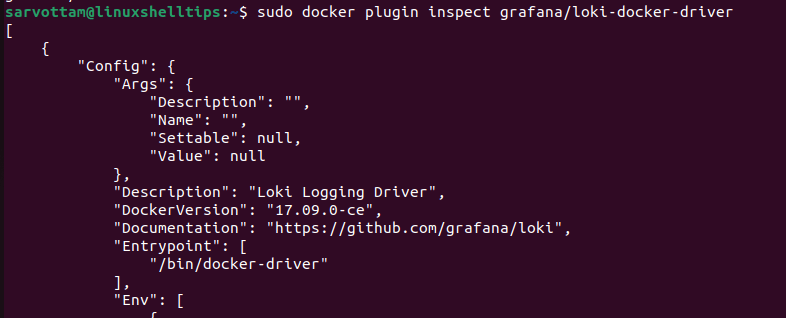
To view details about a docker plugin:
$ docker plugin inspect <plugin>
To remove a docker plugin, first, disable it and then remove it:
$ docker plugin rm <plugin>

And finally, to create a plugin if you already have a config.json and rootfs file:
$ sudo docker plugin create <plugin> <path-to-data>
Docker Cheat Sheet
| Command | Description |
|---|---|
curl -sSL https://get.docker.com/ | sh |
Install docker in Linux. |
dockerd |
Start the docker daemon manually. |
docker info |
List system-wide information regarding the Docker installation. |
docker --version |
List the installed docker version. |
docker --help |
List the help on any docker command. |
docker system prune |
Remove all unused containers, networks, images, and optionally, volumes. |
docker login |
Login into your Docker account. |
docker login -u <username> |
Login into the Docker account using the username. |
docker logout -u <username> |
Log out from your Docker account. |
docker push <username>/<image_name> |
Publish your own container image to Docker Hub. |
docker search <image_name> |
Search on the Docker Hub for an image. |
docker pull <image_name> |
Pull the image from a Docker Hub. |
docker build |
Build Docker Images. |
docker git <repo-web-url> |
Build Docker Images Using Git. |
docker image ls |
List Docker Images. |
docker image rm <image-name> |
Remove Docker Image. |
docker image prune |
Remove Unused Docker Images. |
docker container create -t -i - -name <container-name> <image-name> |
Create Docker Container |
docker container run -ti <image-name> |
Run Docker Container |
docker container rename <current-container-name> <new-container-name> |
Rename Docker Container |
docker container update --cpu-shares 512 -m 300M infinite |
Update Docker Container |
docker restart <container-name or container-id> |
Stop Docker Container |
docker pause <container-name or container-id> |
Pause Docker Container |
docker unpause <container-name or container-id> |
List Docker Container Processes |
docker kill <container-name or id> |
Kill Docker Container |
docker ps -all |
List All Docker Container |
docker logs <container-name> |
Get Logs of the Docker Container |
docker container inspect <container-name> |
Inspect Docker Container |
docker diff <container-name> |
List Docker Container Filesystem Changes |
docker events <container-name> |
List Docker Events |
docker top <container-name> |
List Running Processes in Docker Container |
docker stats <container-name> |
List Docker Container Statistics |
docker container rm <container-name> |
Remove Docker Container |
docker container rm -v <container-name> |
Remove Docker Container with Data |
docker network ls |
List Docker Networks |
docker network connect <network> <container> |
Connect to Docker Network |
docker network inspect <network> |
List Information of Docker Network |
docker network rm <network> |
Remove Docker Network |
docker network create -d overlay <network> |
Establish Connection Between Docker hosts |
sudo docker plugin |
List Docker Plugin Commands |
docker plugin install <plugin> |
Install Docker Plugin |
docker plugin ls |
List Docker Plugins |
sudo docker plugin enable <plugin> |
Enable Docker Plugin |
sudo docker plugin disable <plugin> |
Disable Docker Plugin |
sudo docker plugin inspect <plugin> |
List Info of Docker Plugin |
sudo docker plugin rm <plugin> |
Remove Docker Plugin |
sudo docker plugin create <plugin> <path-to-data> |
Create Docker Plugin |
Conclusion
The Docker cheat sheet contains almost all available commands from pulling container images from Docker Hub to managing images and its runtime instance Containers with networking and plugin features.
Docker commands are not just available for image information but you can also build your own images and push them to the docker hub for other people to use.
Docker is no doubt one of the efficient platforms for application development, of which you should have solid knowledge. Combining various options with docker subcommands, you can explore it more in your own way.