MySQL is a relational database management system and one of the most popular relational databases in use today. Similar to most other database management systems, MySQL is delivered with two main components separately: the server and the client.
As you might know, the server in a SQL database is a background process (daemon) that processes SQL statements. It can be called from a client, which can be a command line or a GUI-based utility, or it can be called programmatically inside the source code. A client can also call a remote MySQL server.
Today, let us see how we can install MySQL Server in Ubuntu.
Installing MySQL Server in Ubuntu
MySQL is available in the official Ubuntu ‘main’ repository and can be installed using the apt package manager as shown.
$ sudo apt install mysql-server
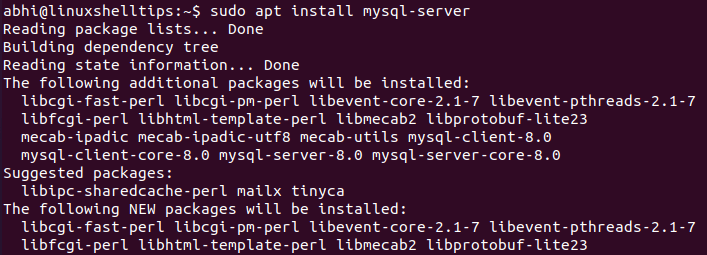
Note that the package ‘mysql-server‘ always points to the latest stable version of MySQL server, which is MySQL Server 8.0 at the time of writing this article.
If for some reason the user needs to install an older version, it is not available in official Ubuntu repositories and the user needs to install it by manually downloading Deb package files from the MySQL website.
Another thing to be noted from the screenshot is: in the list of additional packages, you can see that it is also trying to install MySQL Client. Thus, installing the package MySQL Server not only installs the server, but also the client, which we can use to test if the server is installed properly.
Connecting to MySQL Server in Ubuntu
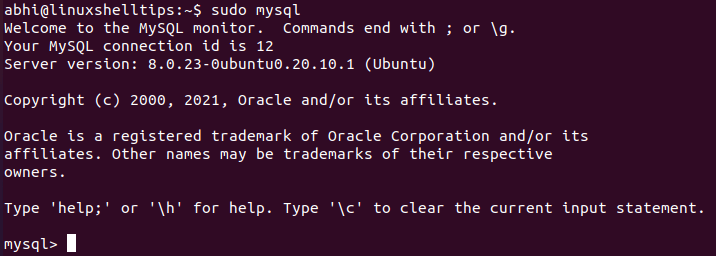
Open MySQL client as a sudo user for the first time.
$ sudo MySQL
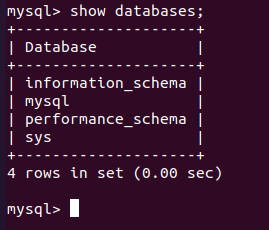
Next, call the statement ‘SHOW DATABASES‘ to see if the server works and returns the list of preinstalled databases.
mysql> SHOW DATABASES;
Use the ‘sys’ database, and try to run a ‘SELECT’ on one of the tables.
mysql> USE SYS;
mysql> SHOW TABLES;
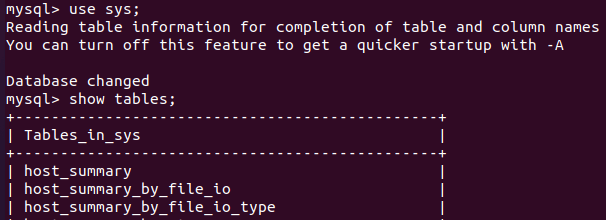
mysql> SELECT HOST, STATEMENTS FROM HOST_SUMMARY;
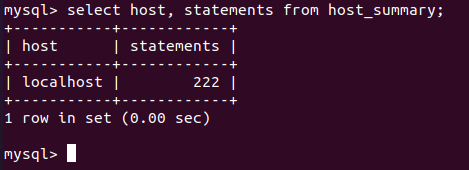
The data is being returned, meaning we can confirm that MySQL Server has been installed successfully.
Securing MySQL Server in Ubuntu
The MySQL Server comes with a command for securing the installation: called as ‘mysql_secure_installation‘. This command can be used to set a root password, remove anonymous accounts, remove test databases, etc.
$ sudo mysql_secure_installation
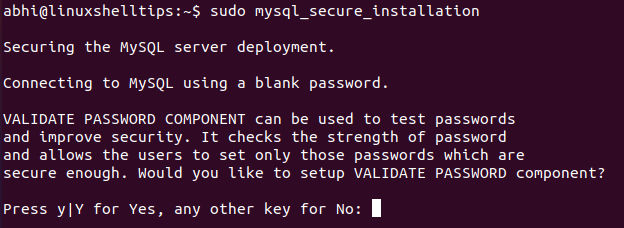
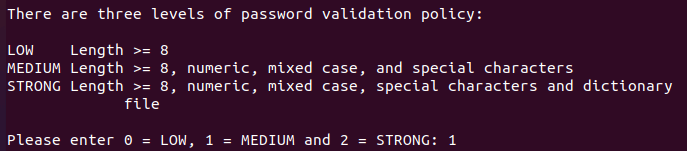
As you can see, the command prompts ask you to first choose if you want to install some missing security components, eg. VALIDATE PASSWORD. Press Y and hit Enter. It will now ask for password strength level: it is recommended that you choose 1 or 2, i.e. medium or strong.
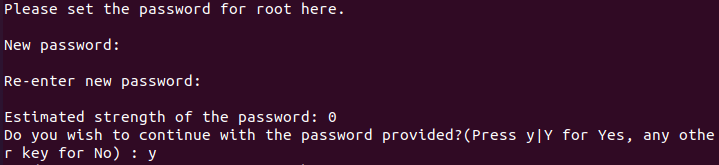
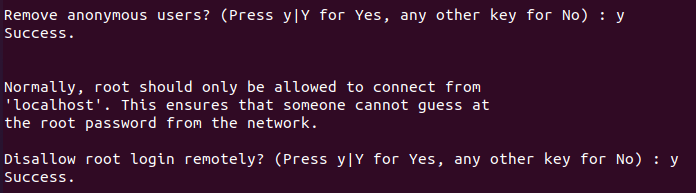
Now, the command will prompt you with few questions to strengthen security. It is recommended that you press Y and opt for each of the security measures.
Since the root password is assigned now, you can log in to MySQL as a root user with the following command:
$ sudo mysql -u root -p

If you want to uninstall MySQL Server, you can read our guide – Completely Uninstall MySQL Server in Ubuntu
Conclusion
We learned how to install MySQL Server on an Ubuntu machine and verify if it is installed properly. It is recommended that after verifying the installation with the steps given above, the next step you should do is to create a new database user and use MySQL with the new user instead of logging in with ‘root’, which possesses certain security risks, especially if you are on a network.