Mozilla Foundation’s dedication and effort in developing the Thunderbird mail client application software paid off in a big way. Other than being a renowned mail client, Thunderbird also functions perfectly as news and chat client on top of being an effective RSS feeder. However, most Linux users associate with it as a free email application because of its customizable and easy-to-setup footprints.
[ You might also like: How to Install and Use Alpine with Gmail IMAP in Linux ]
Thunderbird Features
With speed, privacy, and the inclusion of the latest technological milestones as part of Thunderbird’s emailing mantra, expect to reap the following prime features:
- Mail account setup wizard
- Attachment reminder
- Large files management
- Add-ons manager
- Automated updates
- phishing protection
- Robust privacy
Install Thunderbird Email Client in Linux
Depending on the default package manager of the Linux operating system distribution you are using, you can quickly install Thunderbird from either of the following terminal commands implementation.
$ sudo apt-get install thunderbird     [On Debian, Ubuntu and Mint]
$ sudo yum install thunderbird         [On RHEL/CentOS/Fedora and Rocky Linux/AlmaLinux]
$ sudo emerge -a sys-apps/thunderbird  [On Gentoo Linux]
$ sudo pacman -S thunderbird           [On Arch Linux]
$ sudo zypper install thunderbird      [On OpenSUSE]
Getting Started with Thunderbird Email Client in Linux
After the installation of the Thunderbird mail client has successfully completed on your end, launch it from the Linux terminal or the system app launcher.
$ thunderbird
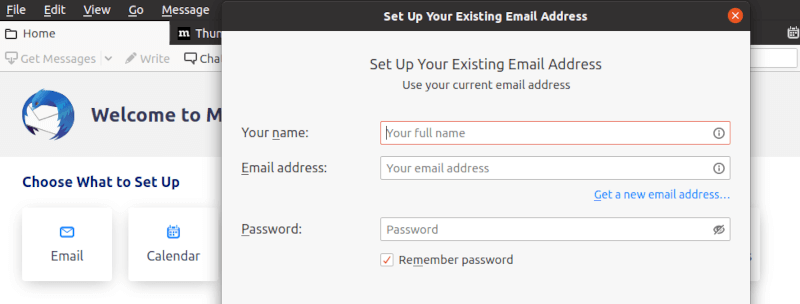
You will be met with a screen prompt that asks you to set up an email address to use under this mail client. You can either choose to “Get a new email address…” or set up an existing email address to use with thunderbird as its mail client.
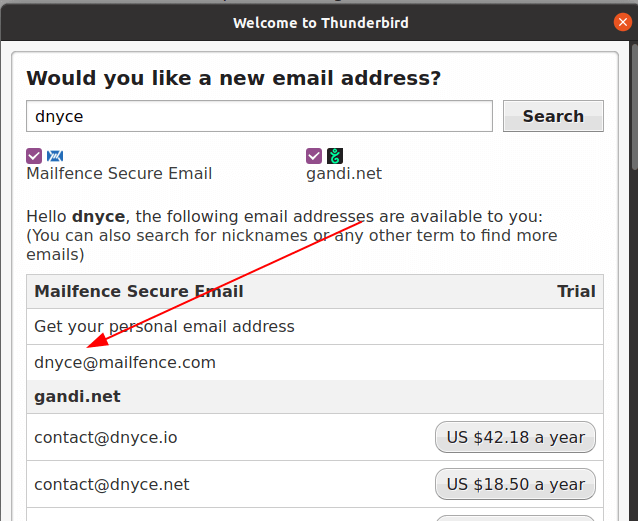
Getting a New Thunderbird Email Address
You will have to key in your preferred username and search for an email address match. Afterward, you will choose one of the email address results based on a price plan preference. You will then follow the screen prompt guides to finalize any necessary steps that will lead to the full acquisition of your new email address.
Setting Up Gmail in Thunderbird
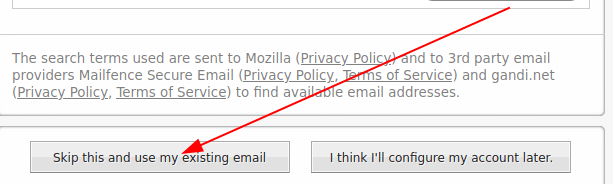
This tutorial assumes that you can comfortably acquire a new email address if you need one. We can therefore skip to the step of using an existing email address.
Populate the resulting page with the needed user information.
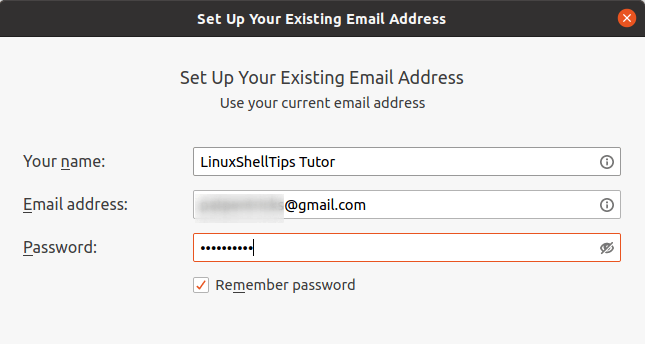
It will lead to the following screen capture.
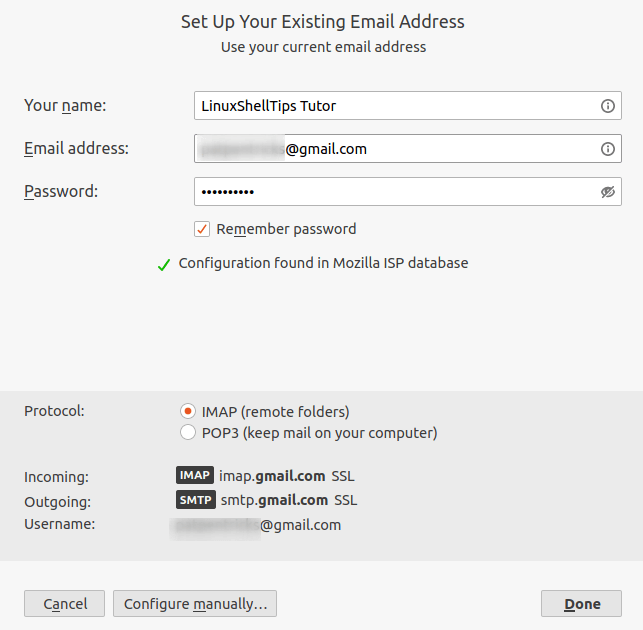
Thunderbird will auto-generate and configure the needed mail protocols for your incoming and outgoing mails; with inclusion to SSL (Secure Socket Layer). It will also let you choose whether you want to keep your mails on a local folder (POP3 protocol) on your local computer or on a remote folder (IMAP protocol) on the mail server you will be using.
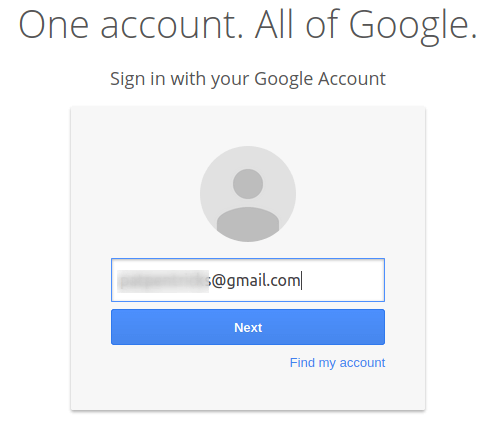
If you are satisfied with your configurations, click on the [Done] button. Since am using a Gmail email ID, I will be redirected to the following prompt.
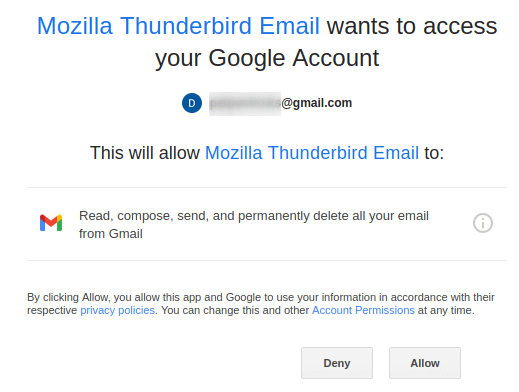
Thunderbird will then take some time to configure itself as your new mail client.
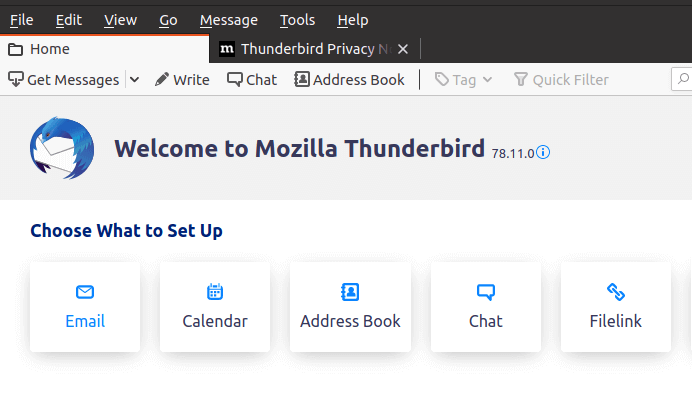
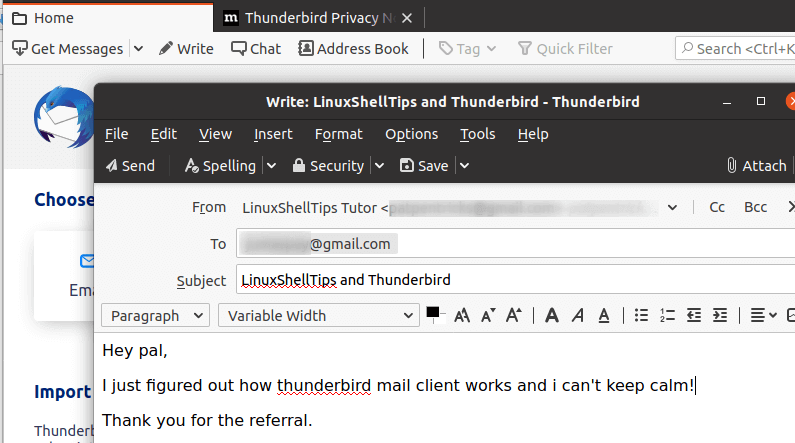
You can now send emails.
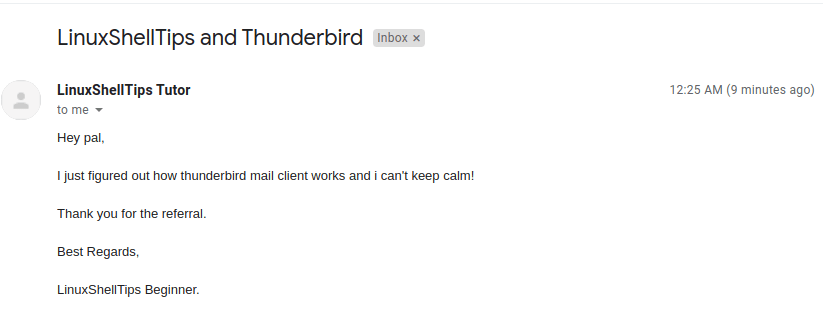
The received mail will be in a format similar to the screen capture below.
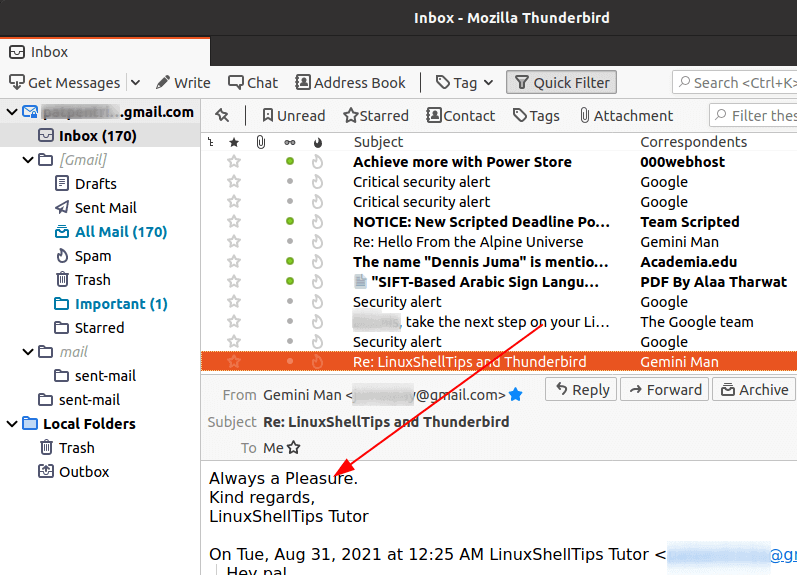
You will also be able to receive email replies and send other replies if need be.
Thunderbird, being a very effective mail client, comes as a high recommendation for any Linux users because of the way it auto-configures most technical aspects of a mail server like protocol preferences.
It makes sure that its users do not have to waste time troubleshooting for configuration settings before starting to enjoy its polished and improved mail management interface.