Python has become the go-to choice for a programming language; not only for general object-oriented programming but for various scientific, mathematical, statistical, etc. applications.
All this has been possible due to a strong developer community that has developed libraries and APIs for every purpose, in Python. From machine learning to medicine, it has libraries for all sectors.
One such library is Pillow, which contains methods for image processing using Python. Today we will see how to use Pillow to resize an image using Python in Linux.
Prerequisites
Make sure to install Python3 and PIP (handy package manager for Python) in your Linux system with the following command.
$ sudo apt install python3 python3-pip       [On Debian, Ubuntu & Mint]
$ sudo dnf install python3 python-pip        [On CentOS, RHEL & Fedora]
$ sudo pacman -S python3 python-pip          [On Arch and Manjaro]
$ sudo zypper install python3 python3-pip    [On openSUSE]
Next, install Pillow using Pip as follows:
$ pip3 install pillow
Or
$ pip install pillow
Resizing Images Using Pillow in Linux
First of all, open a file to write Python code or simply start the Python 3 interpreter on the command line.
$ python3

Import ‘Image‘ class from Pillow. Note that Pillow library is known with the name PIL in Python 3.
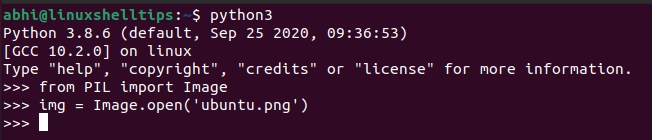
>>> from PIL import Image

Open the image file with ‘Image.open‘.
>>> img = Image.open('filepath')
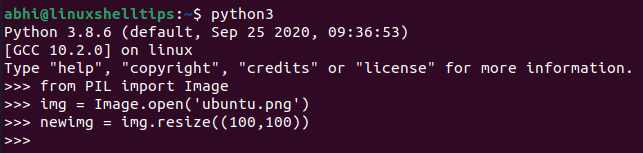
Next, call the method ‘resize‘ on the Image object ‘img‘. The method takes one argument: a tuple containing the new width and height of the image in pixels.
>>> newimg = img.resize((new_width, new_height))
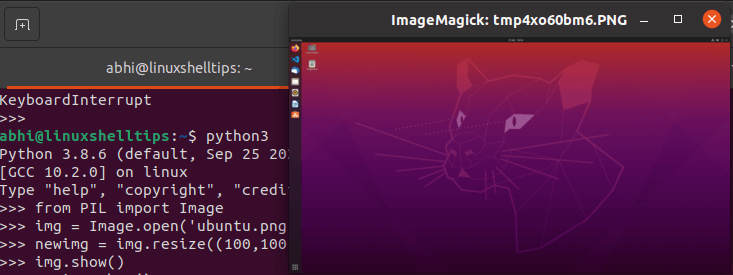
In fact, you can even call the function ‘show‘ to see how the original and resized files look.
>>> img.show()
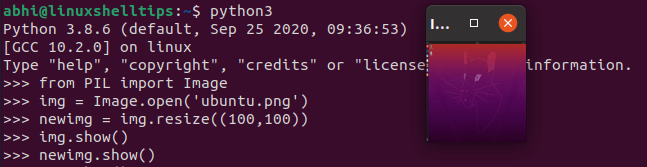
See resized image.
>>> newimg.show()
Finally, save the resized image to a new file.
>>> newimg.save('resized_ubuntu.png')
If you coded all these lines in a file, now you can save and exit the file.
from PIL import Image
img = Image.open('filepath')
newimg = img.resize((new_width, new_height))
newimg.save('resized_ubuntu.png')
and run the following to do all the above steps one after the other in a go.
$ python3 file.py
Verify if the new file has indeed been saved.
$ ls resized_ubuntu.png

Conclusion
We learned how to resize an image using Python in a quick and easy way with the help of the Pillow library. If you are interested in learning Pillow in more depth, make sure you read the official documentation.
Thanks for reading and let us know your thoughts below!